Fighting And Iterative Model Deployment
Overview
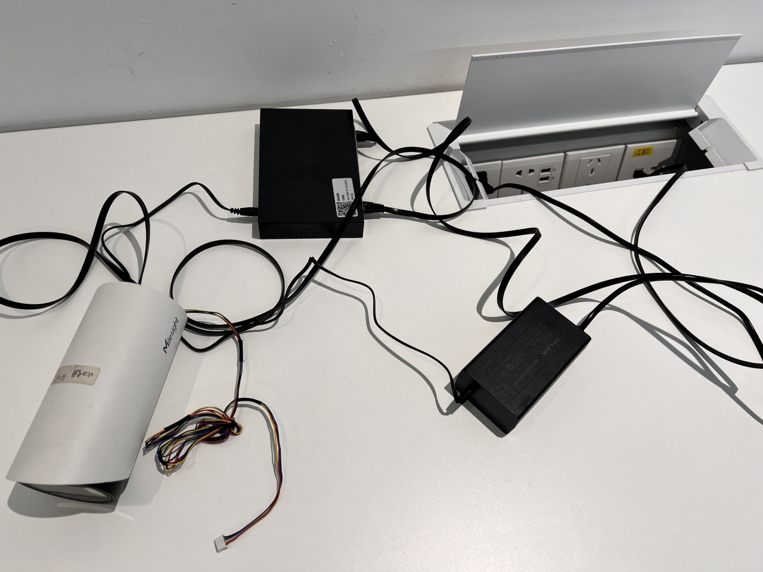
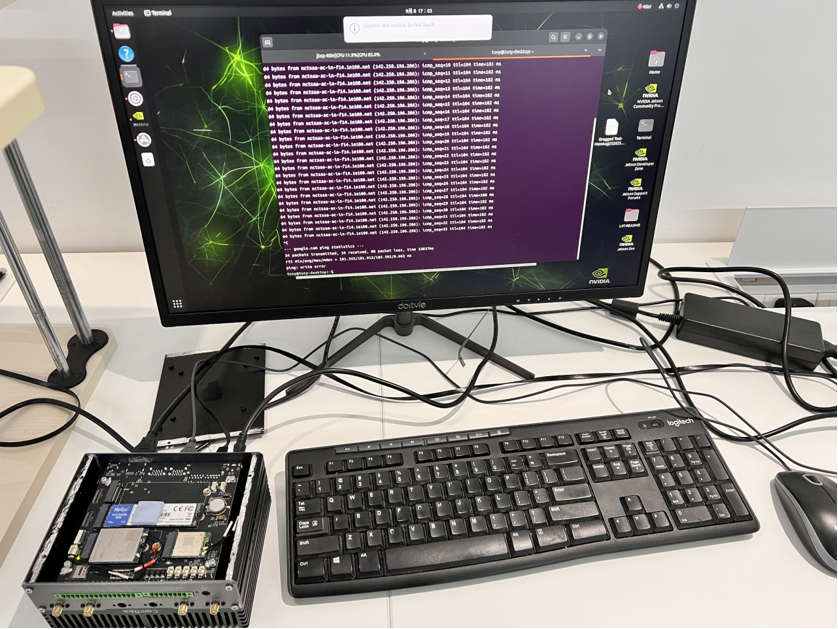
This guide walks through deploying the “Fighting & Falling” AI model with an AI BOX + VMS + IPC setup. The IPC captures the video stream, the AI BOX performs inference, and the VMS displays the results.
AI BOX refers to the NG4500 series device, VMS is the video management system, and IPC is the front-end camera device.
Below are real photos of the IPC and AI BOX:
System Architecture
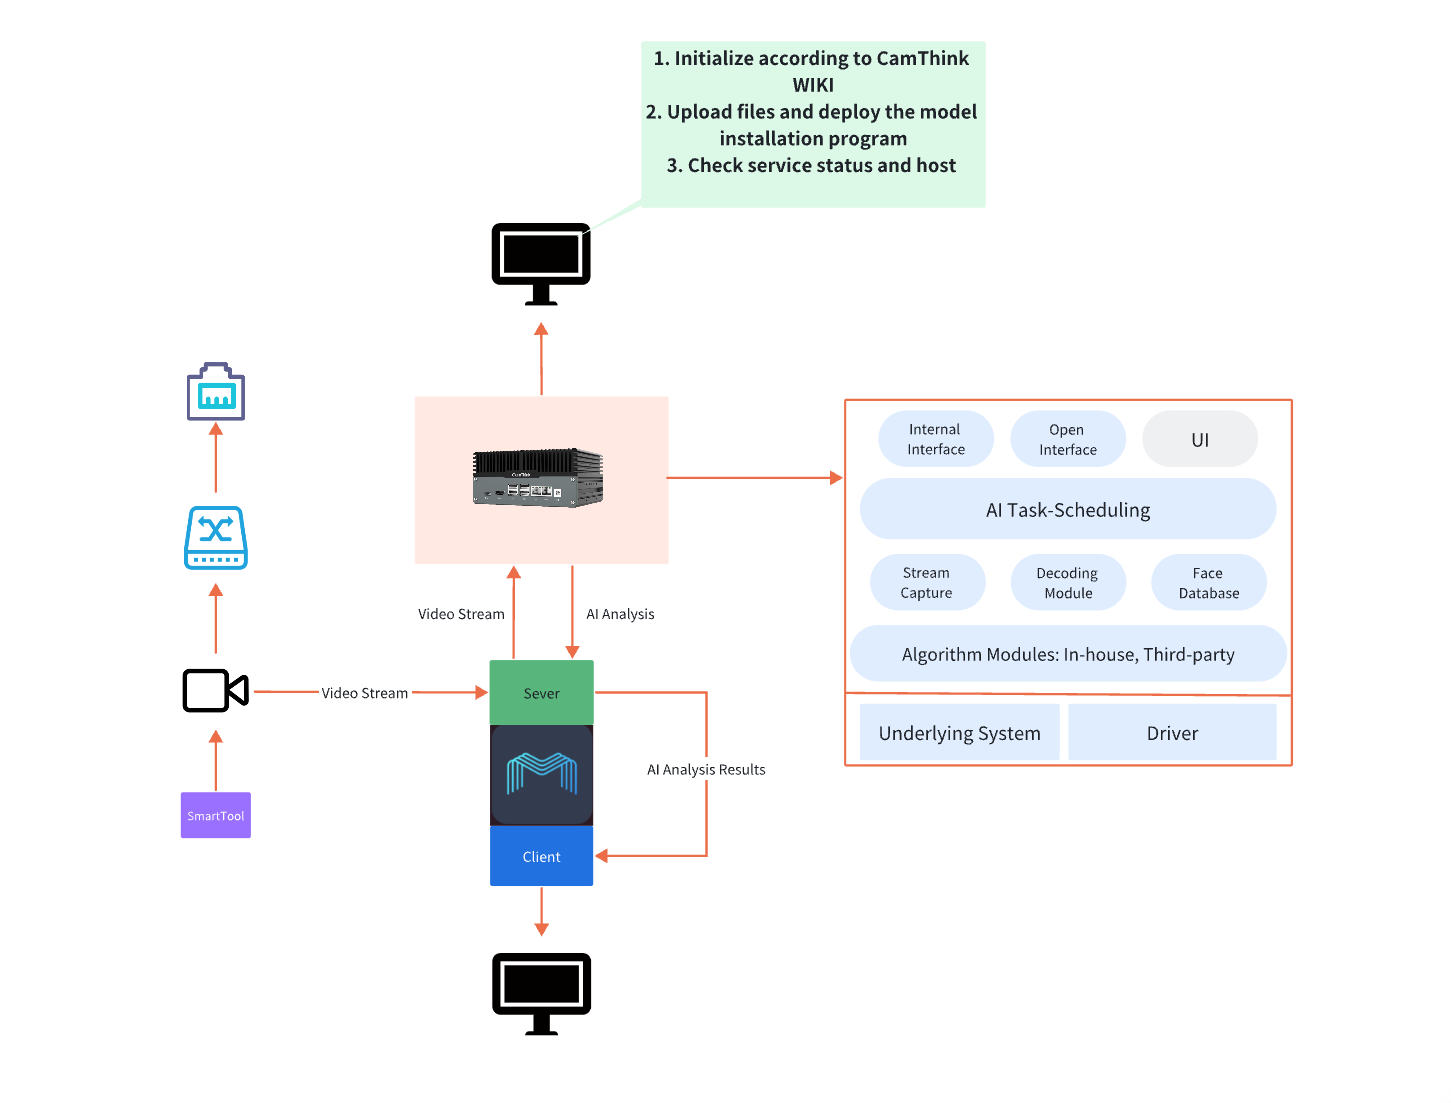
The figure above shows the complete workflow. The IPC collects video on the edge and connects to the network through a switch. The IPC stream is ingested by the VMS. As the VMS itself has no AI capability, the VMS server forwards the data to the AI BOX for inference. The AI BOX delivers high performance at low power and offers rich I/O expansion for IoT scenarios—something traditional servers struggle with on the edge. Once the AI BOX finishes processing, the results are returned to the VMS server and presented in the VMS client.
Deploying the AI Model on AI BOX
Make sure the NG4500 Series device has been initialized. If not, refer to the NG4500 Series Quick Start.
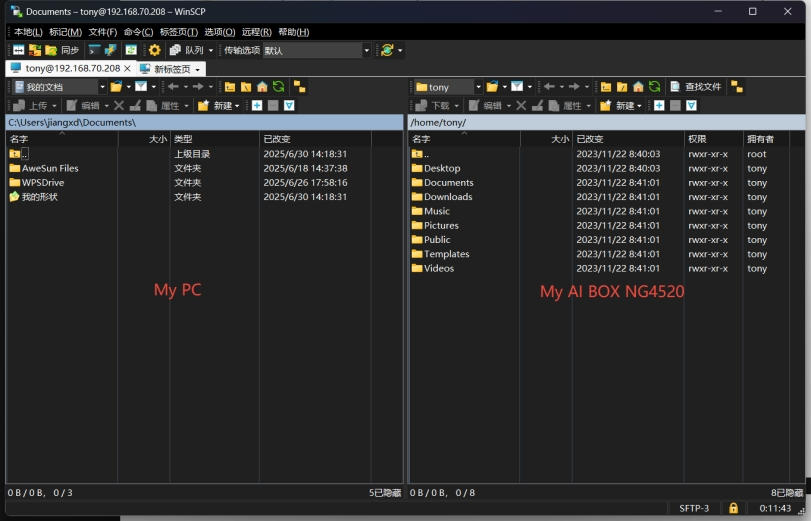
Step 1. Launch WinSCP
Any file-transfer tool works if WinSCP is unavailable.

Step 2. Log In and Verify
After logging in, check the AI BOX directory structure.
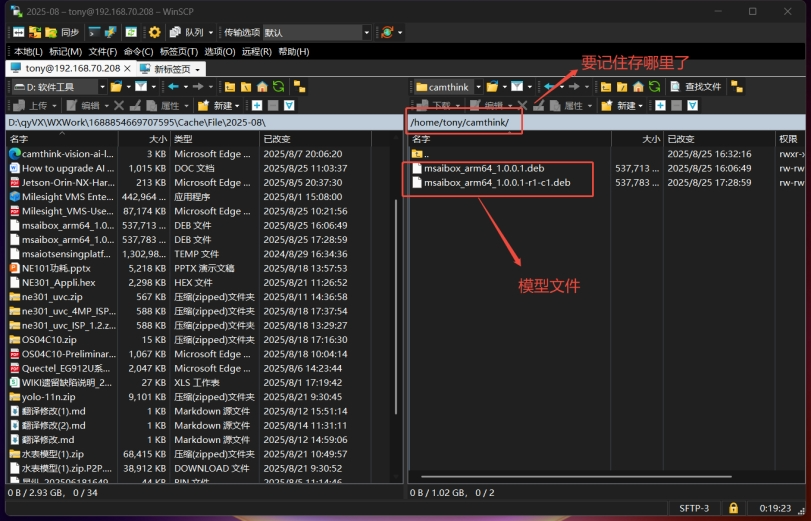
Step 3. Import the Firmware Package
Copy the firmware from your computer to any folder on the AI BOX. This example uses the aibox2 directory (you will locate the firmware in this folder when logging in with PuTTY).
Download the AI BOX firmware package: msaibox_arm64_1.0.0.1-r1-c1.deb.
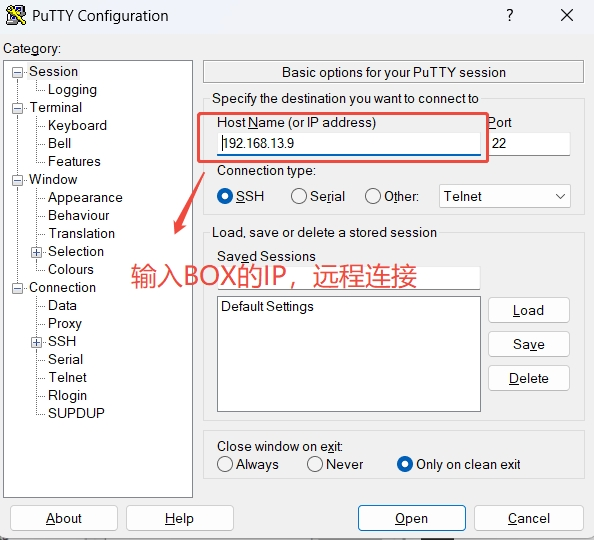
Step 4. Open an SSH Tool
PuTTY is used in this example, but you can use Xshell, OpenSSH, or any other SSH client.
Launch PuTTY and enter the device IP.
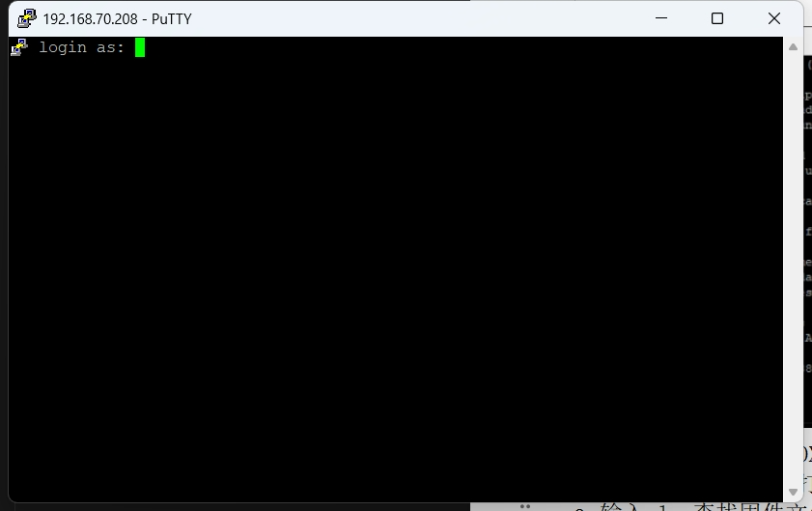
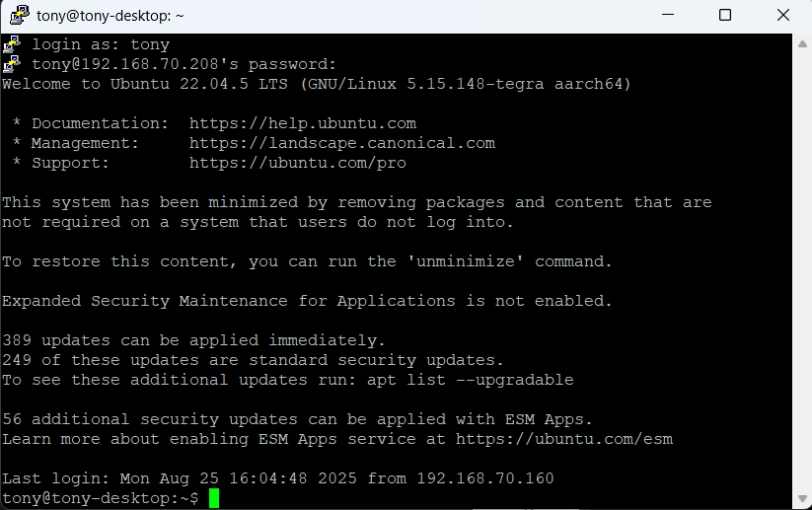
Step 5. Log In to the Box
Enter the AI BOX username and password that were set during initialization.
Step 6. Navigate to the Firmware Directory
Switch to the root user and move to the directory that stores the AI BOX package.
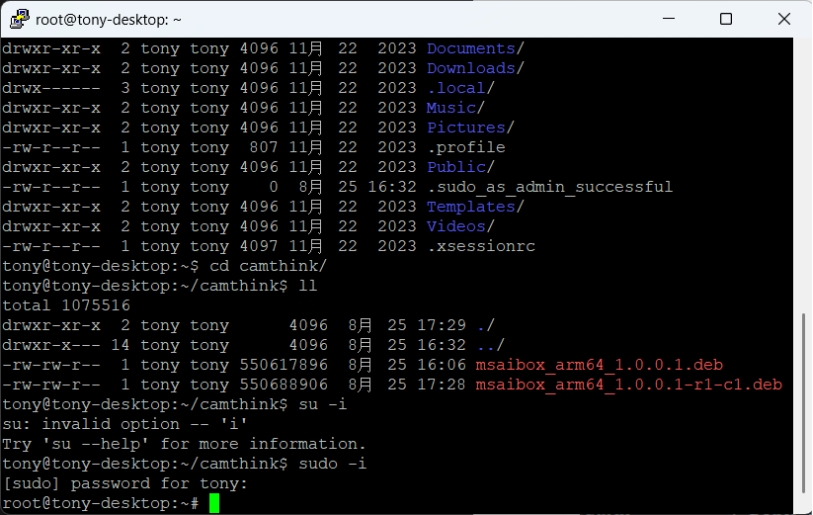
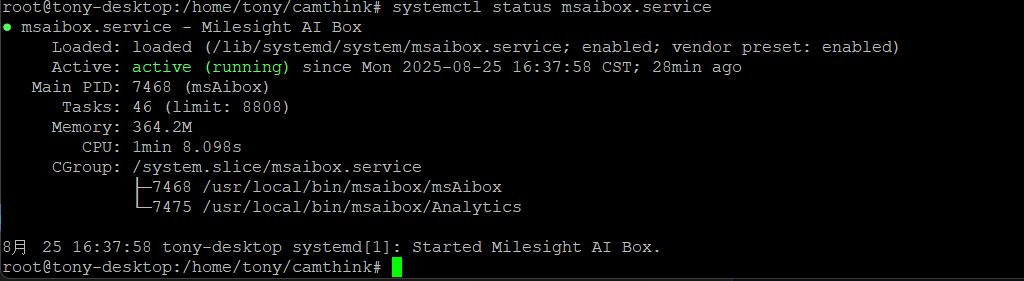
Step 7. Install the Firmware
Run ls to confirm the firmware file, locate the folder, and install it with dpkg -i your-package.deb (format: dpkg -i + filename). The deployment completes once the command finishes.

Configure the VMS and Connect to the AI BOX
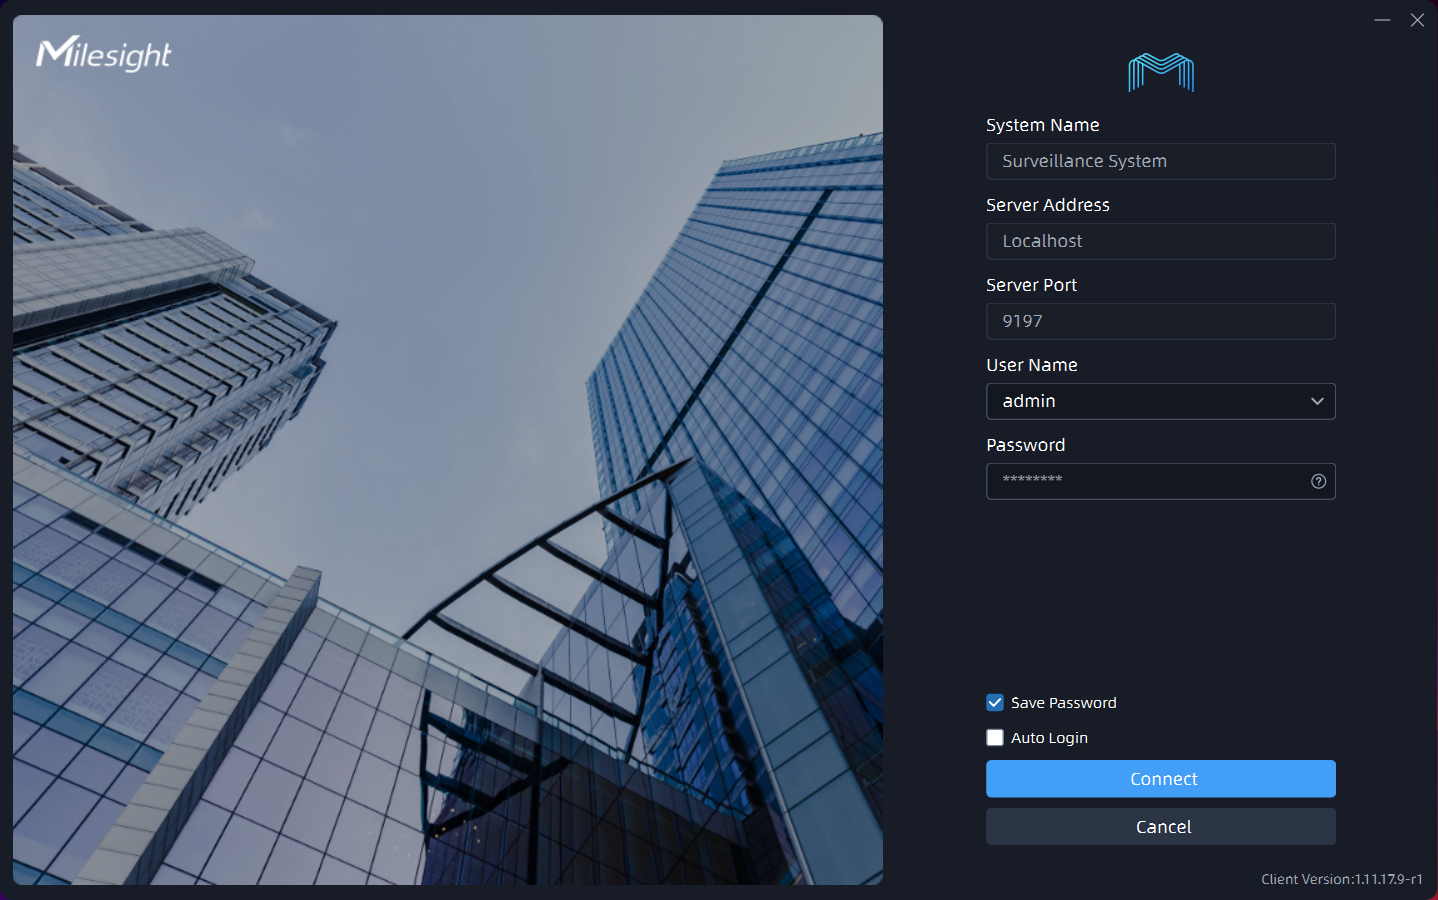
Step 1. Install and Log In to the VMS (Windows)
The VMS adopts a C/S architecture. For installation details, refer to Chapter 2. Installation in the VMS User Manual.
Milesight VMS download
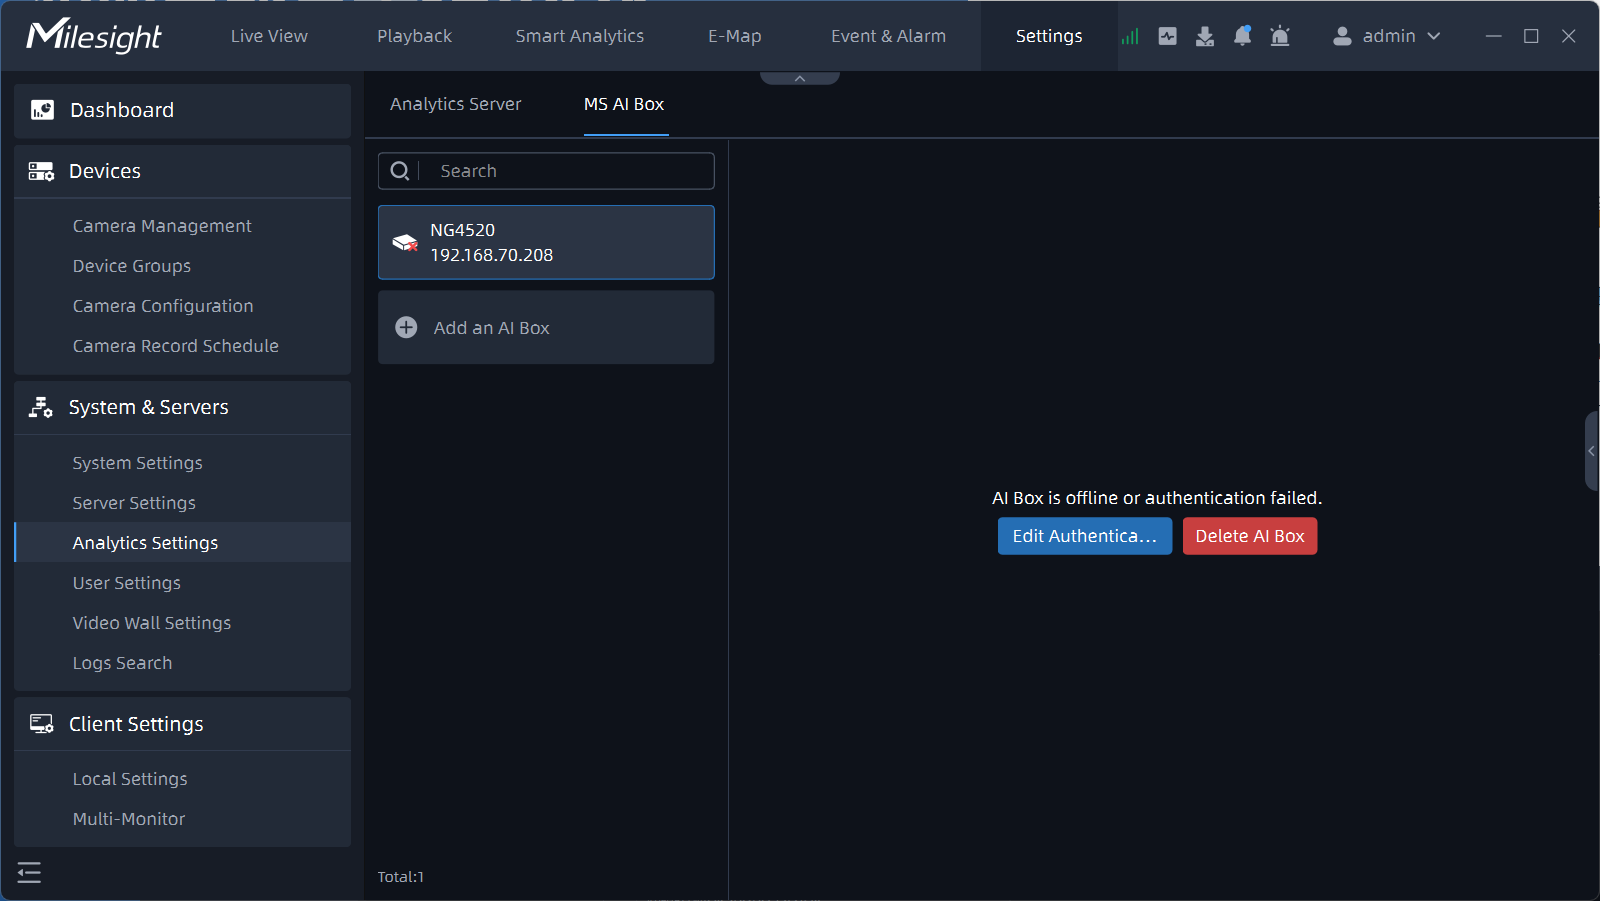
Step 2. Add the AI BOX in VMS
Navigate to System & Service Settings → Comprehensive Configuration and add the intelligent box. Use the IP configured earlier. In this version the username and password are fixed: admin / password. After saving, click Apply and verify the connection.
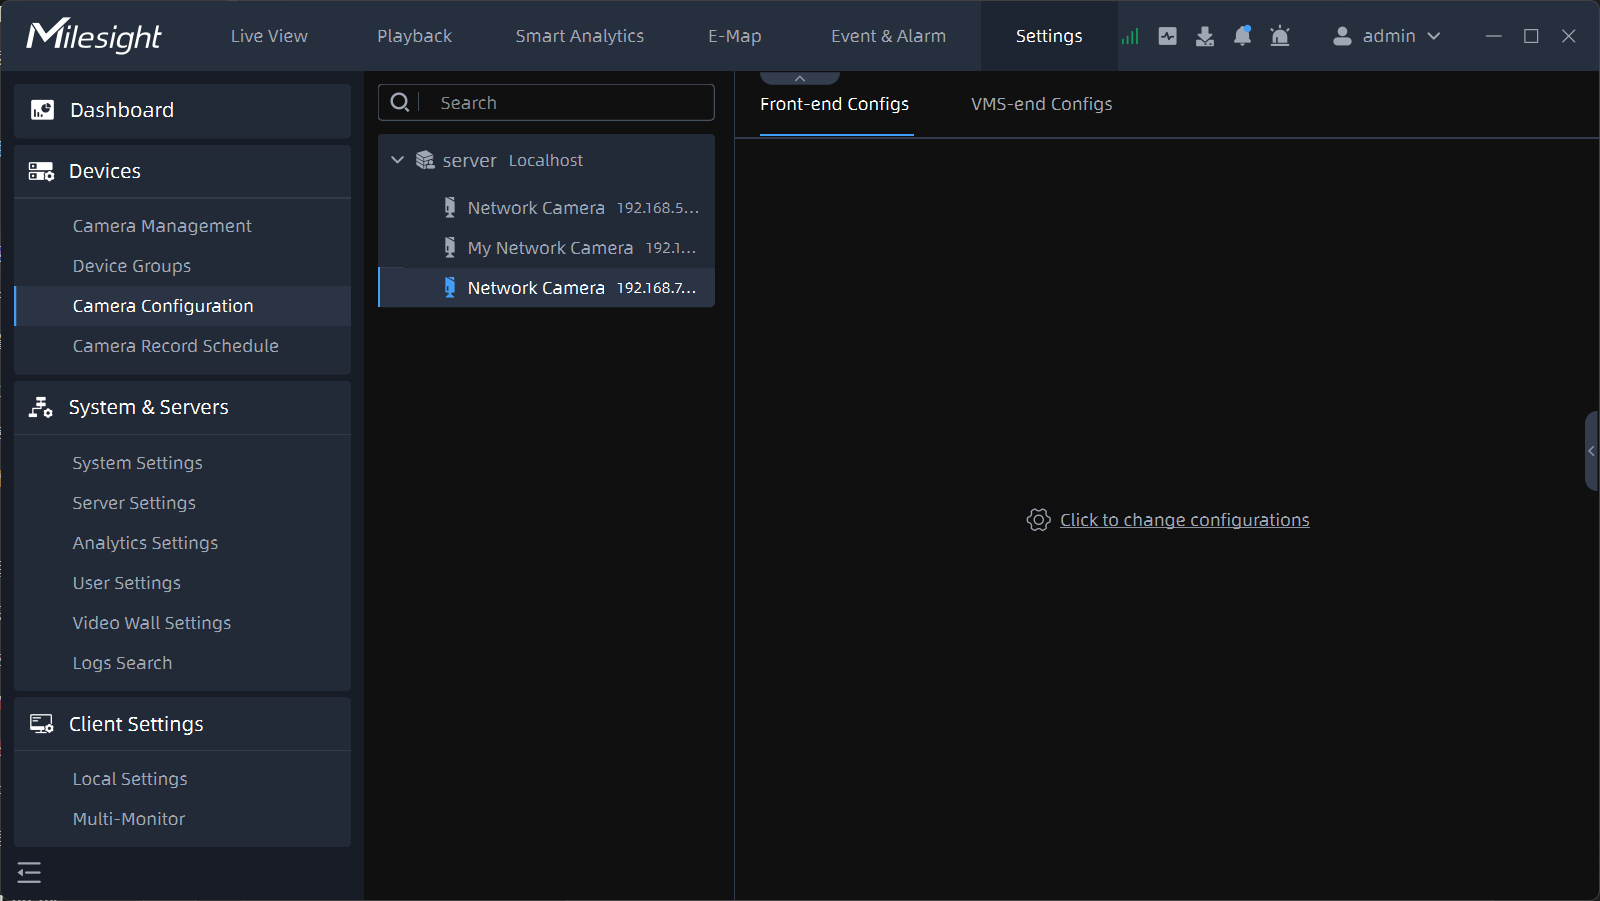
Step 3. Configure the Camera Parameters
- Choose which cameras require AI analytics, and draw regions of interest—only events inside the region are detected.
- Configure algorithm parameters such as sensitivity (higher sensitivity triggers more easily but may increase false alarms) and fall duration thresholds.
- After tuning, click Apply to save. You can batch apply the same configuration to other cameras.
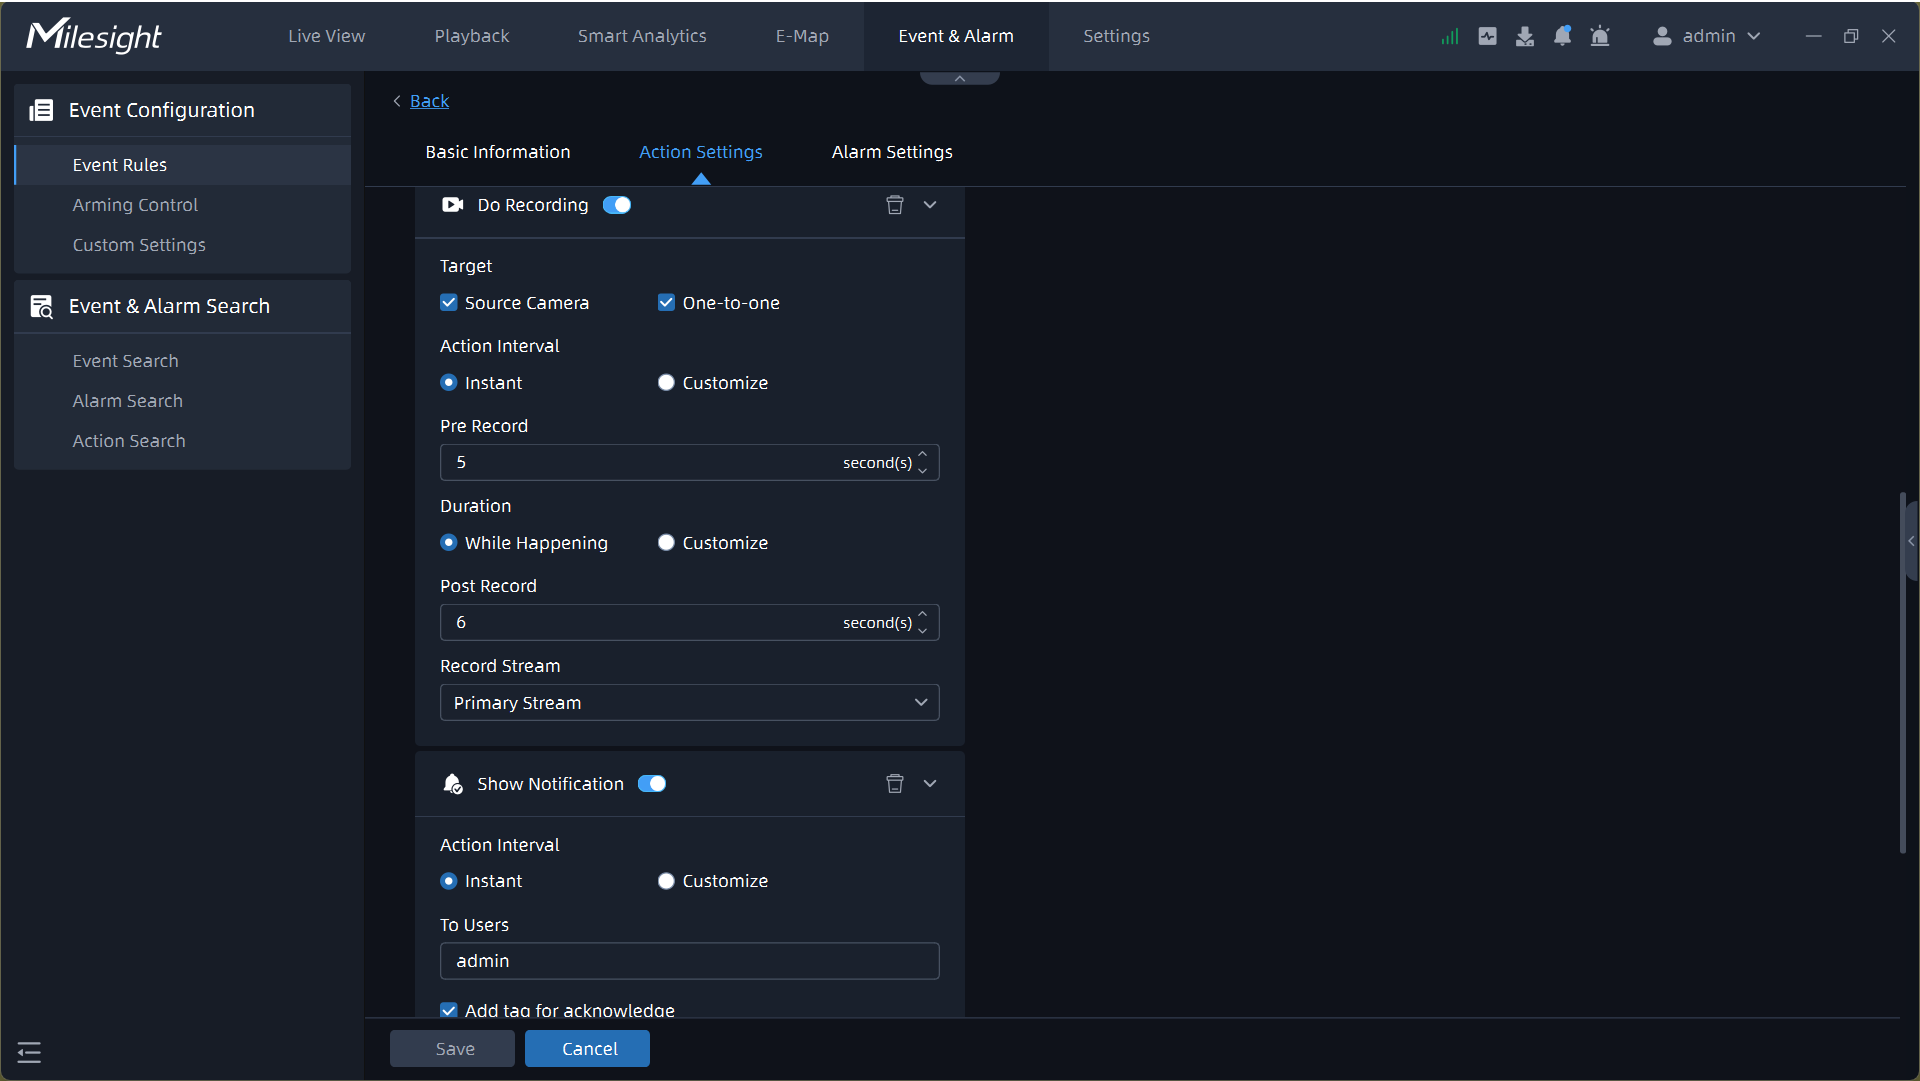
Step 4. Configure Events and Alarms
Define which actions should be triggered when the AI detects an event, how the actions run, and how the alarms are displayed in the UI.
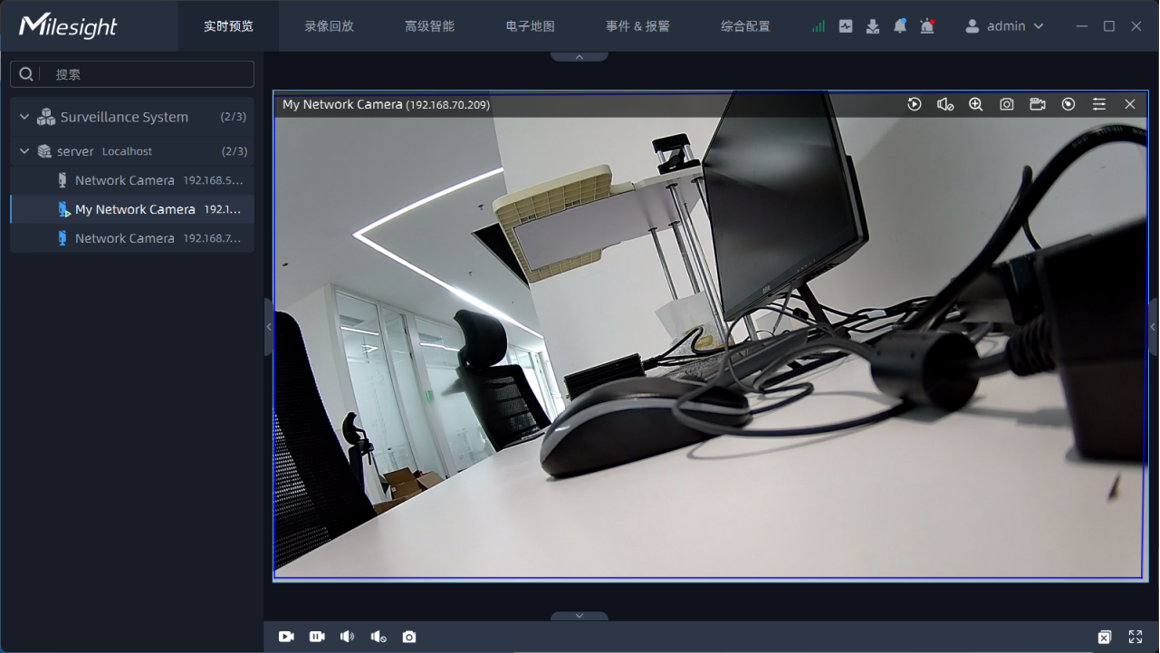
Step 5. Live View Verification
Use the LIVE page to validate the live video. When the rule is triggered, the live view executes the actions configured in the previous step.
Deploying IPC Devices
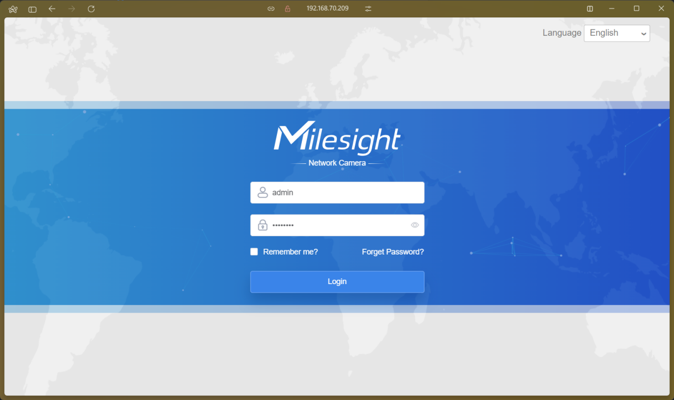
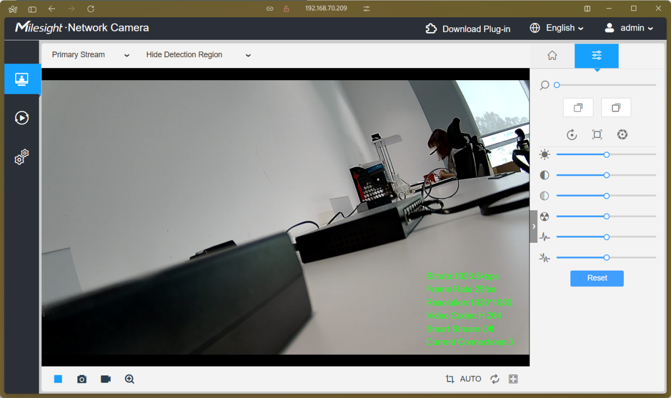
- Configure the IPC IP address, username, and password.
- Visit the IPC IP through the H5 page to check the feed.
- Add the local IPC device inside the VMS.
- Third-party IPCs are also supported; you are not limited to CamThink devices.
Demo Videos
Video 1 (Fighting Detection): Shows the on-site workflow where fighting is detected, alarms are reported, and devices are linked.
Video 2 (Fall Detection): Demonstrates fall event recognition with multi-scene monitoring and coordinated warnings.
FAQ
- After adding the BOX IP in the VMS, the username and password are fixed as
admin/password; they are different from the BOX SSH credentials. - VMS releases are tightly coupled with firmware versions. For example, the r1 BOX firmware must be used with the r1 VMS.
- False alarms can result from the installation location or camera angle; adjust the deployment accordingly.
- The VMS license starts with a trial code. Contact us when it expires if you need ongoing access.
- To obtain the VMS installer, contact us.