Quick Start
Overview
This tutorial walks you through the NeoEyes NE301 from scratch: device installation, basic usage, configuration and debugging across the seven Web UI modules, model deployment, and data reporting.
Prerequisites
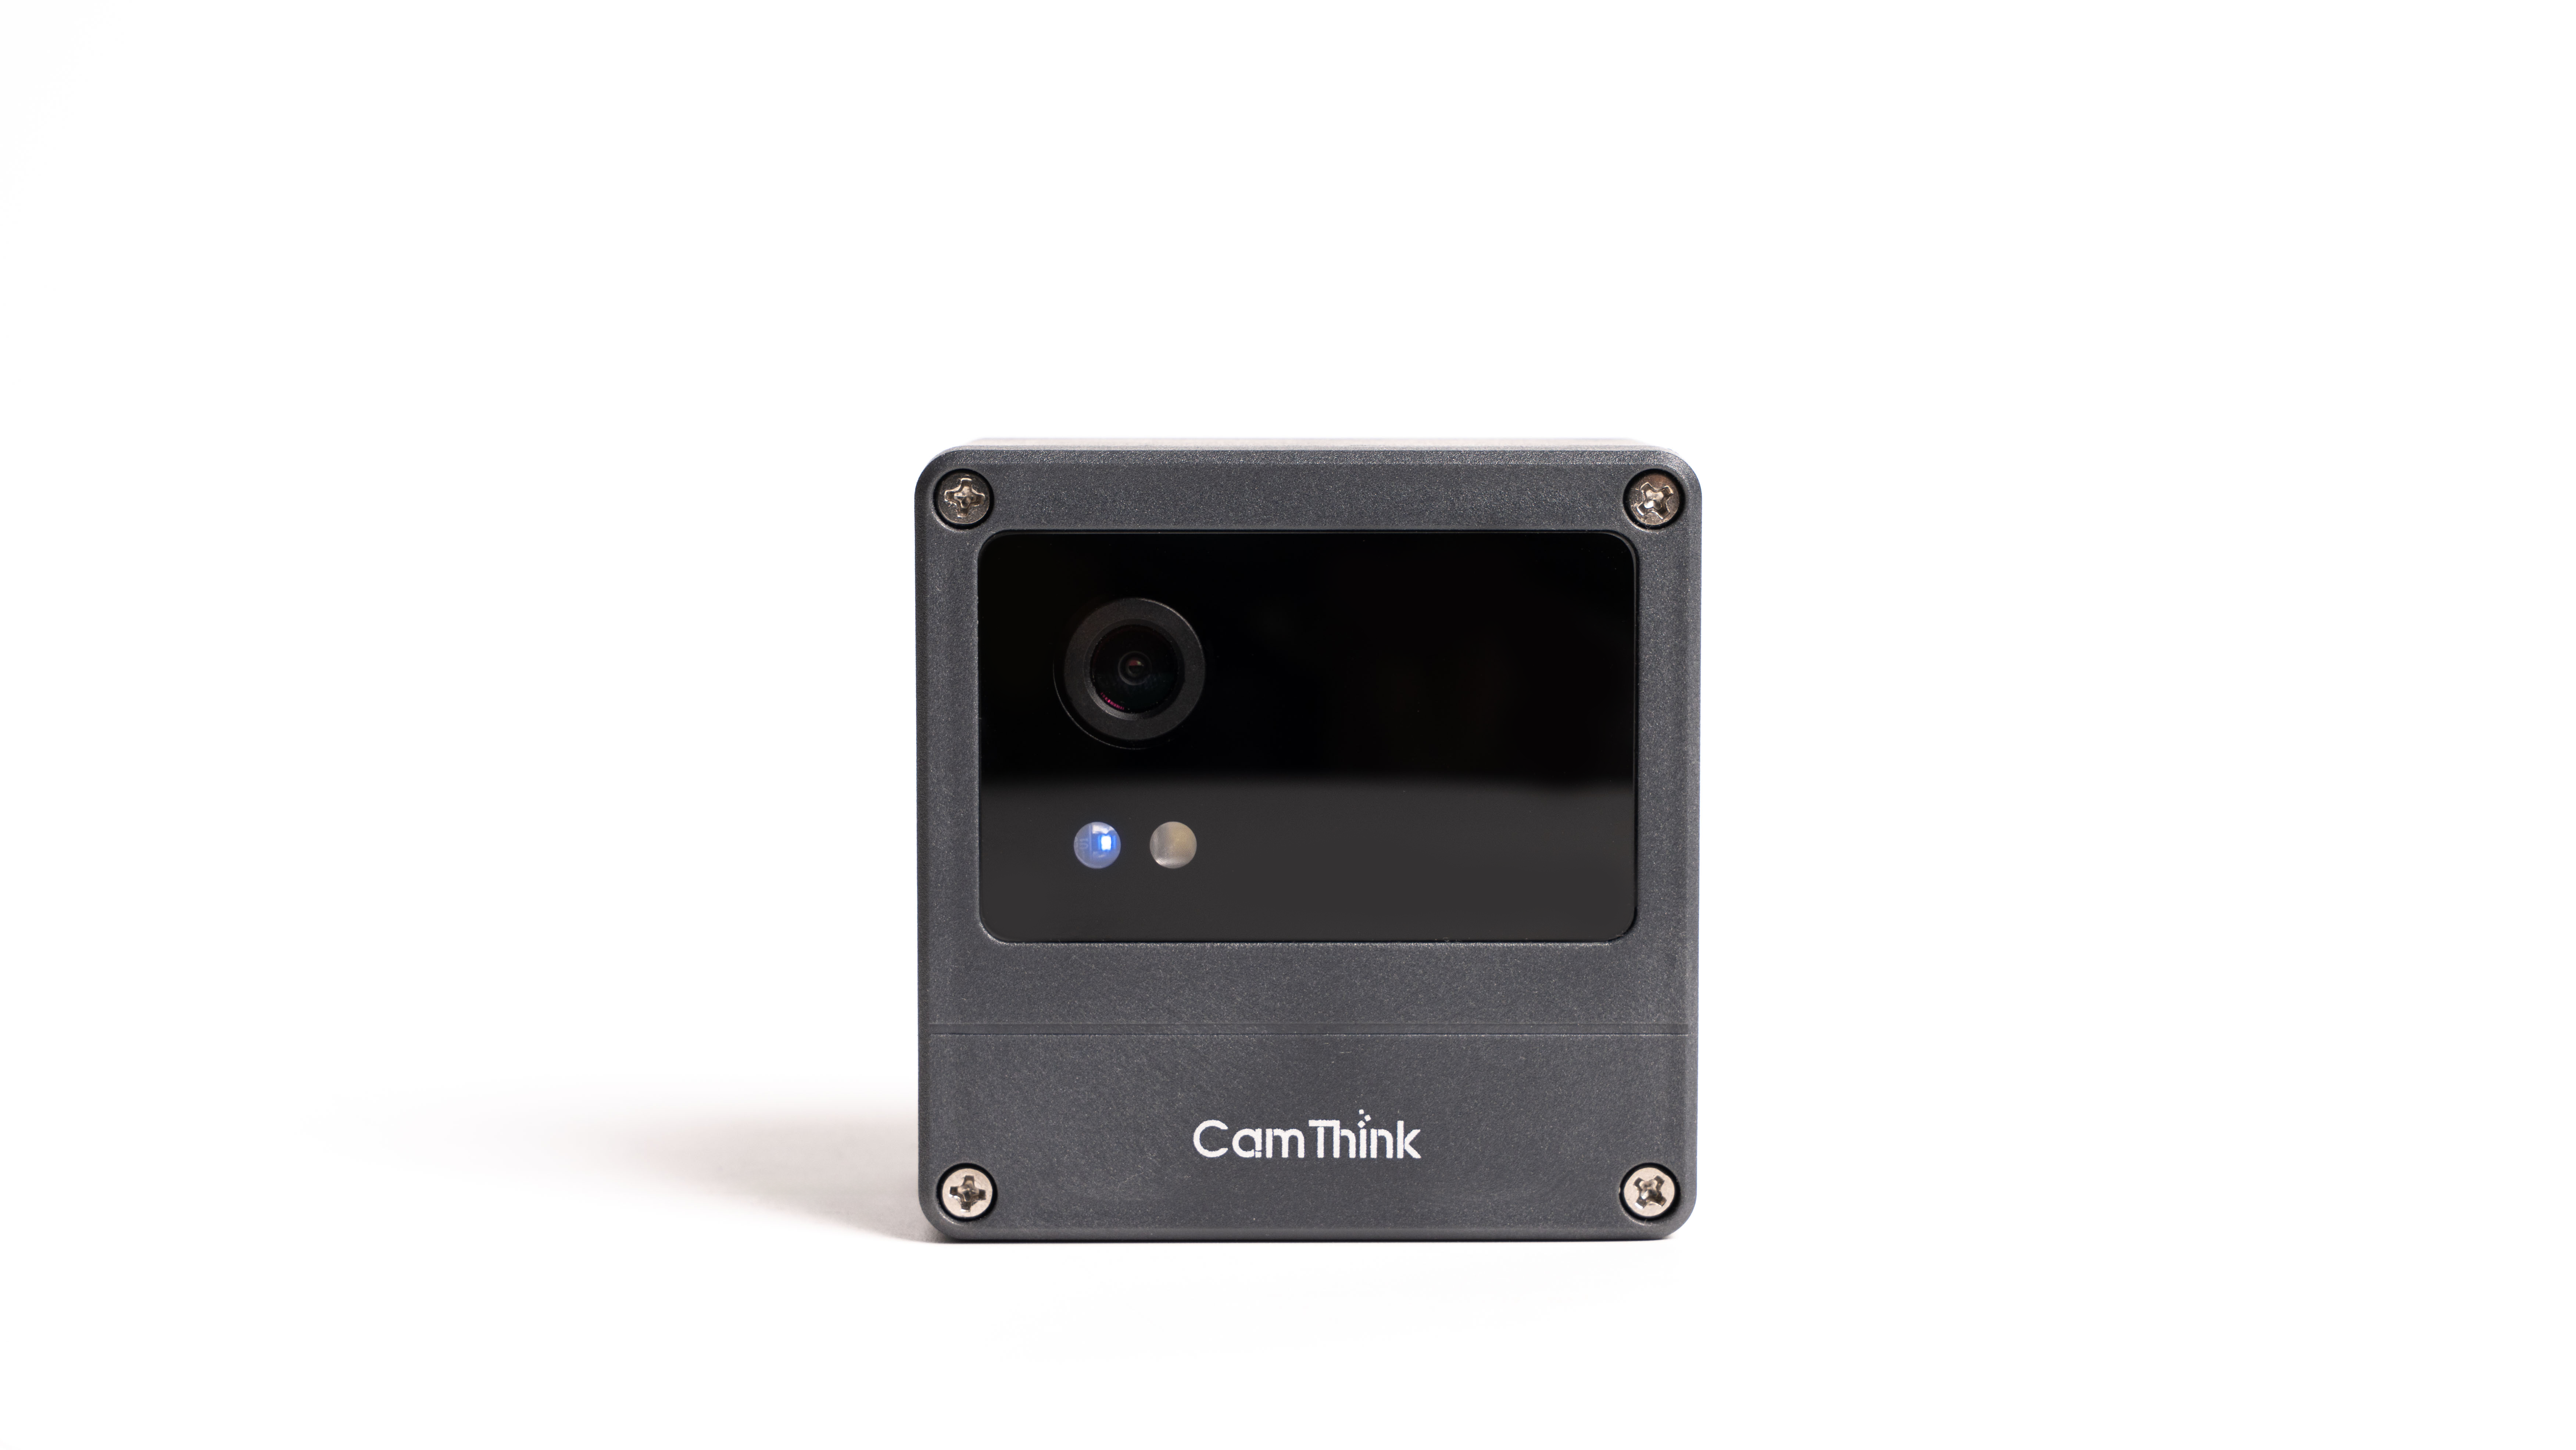
- One NE301 main unit (mainboard, battery compartment, housing)
- 4 x AA batteries, or an alternative DC / solar power supply
- Phillips screwdriver, mounting bracket and fixings
- Optional extensions: Cat-1 module, different lens modules
- A WiFi-capable phone or computer to access the device's Web UI
Tip: The fully-assembled version comes with core firmware and a factory model pre-installed — just load the batteries to start debugging. If you have the dev-board version, make sure all expansion boards are firmly connected before assembling.
Using the Device
Powering On
Use a screwdriver to remove the NE301 rear cover, install the batteries according to the battery compartment layout, and wait for the blue light on the front of the camera to light up — this means the system has started successfully. Once confirmed, refit the rear cover. The device is now ready for configuration.
Connecting and Logging In
The NE301 hosts a built-in WiFi AP that serves a Web UI for debugging model inference, parameters and features. The AP SSID follows the pattern NE301{last 6 hex of MAC}. Connect a phone or computer to this AP, then open a browser and navigate to 192.168.10.10 to reach the configuration page.
Steps:
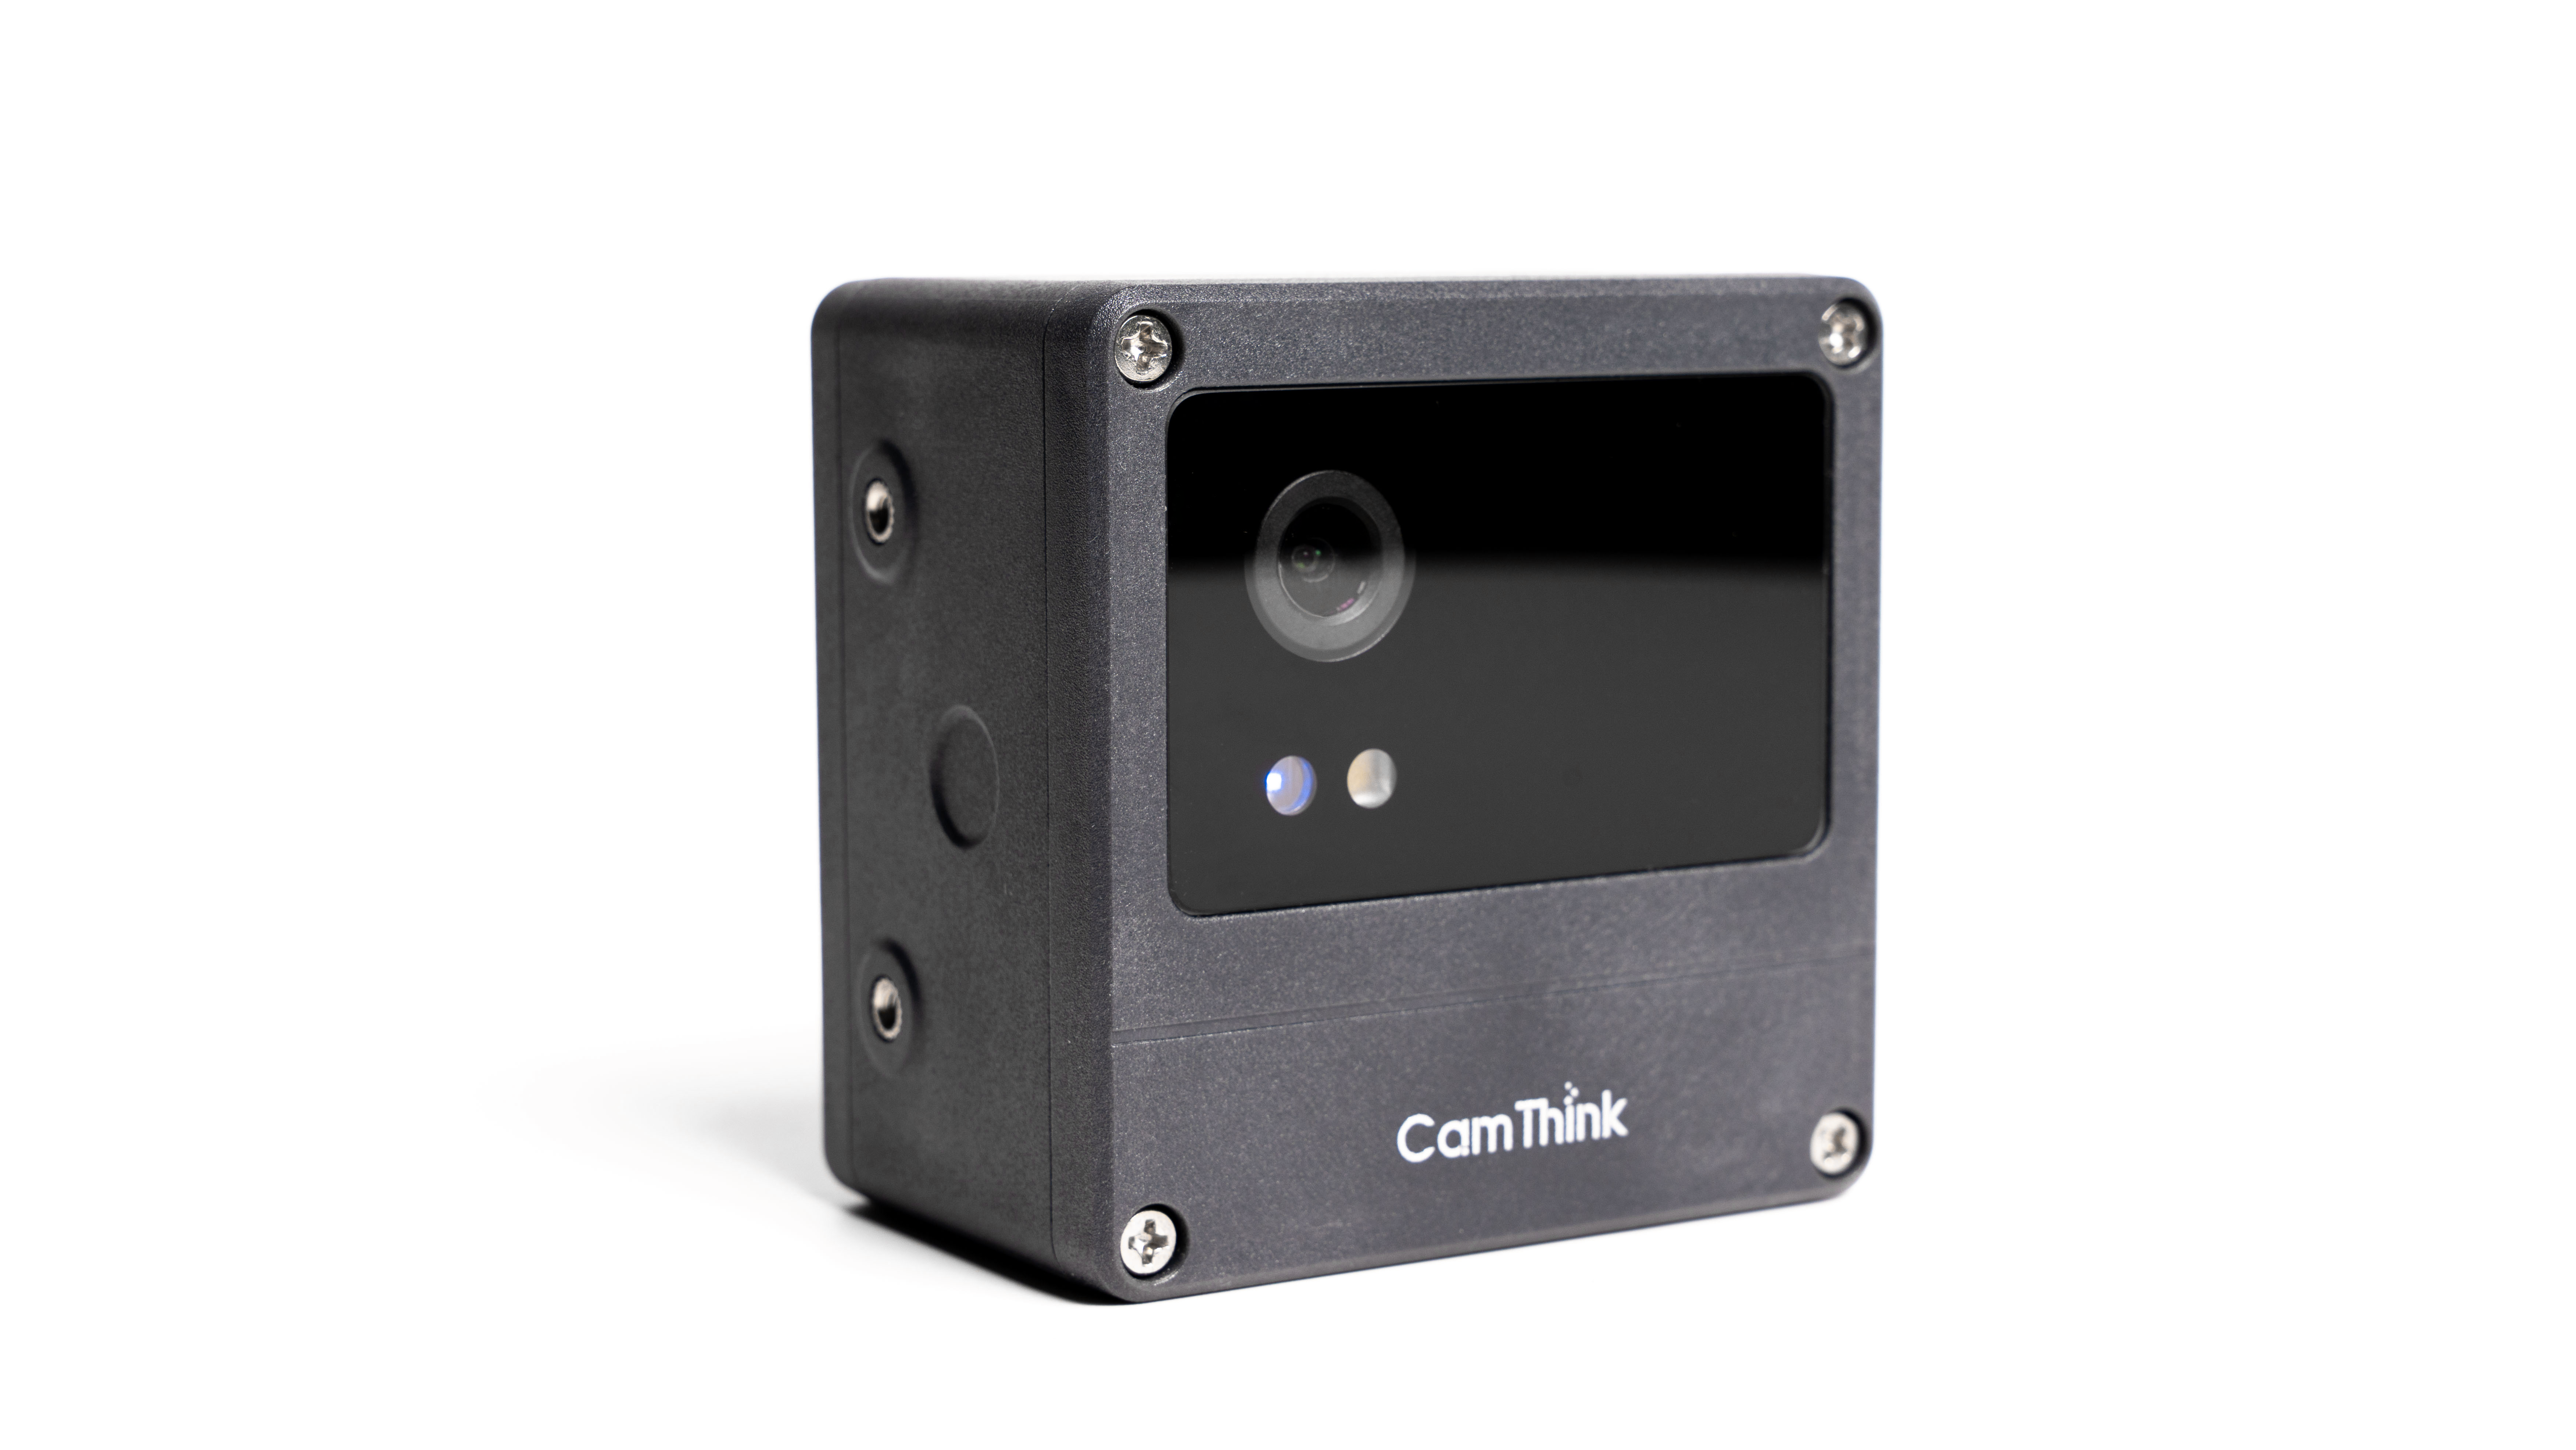
- Confirm the device is on: Briefly press the shutter button on the right side of the camera — if the indicator lights up, the device is running. During debugging, pressing the shutter makes the NE301 capture the current frame and upload it via your configured MQTT/MQTTS or Webhook endpoint.
- Wake and connect the WiFi AP: Long-press the shutter button for about 2 seconds to wake the WiFi AP (the blue system indicator on the front lights up). Find the
NE301{last 6 hex of MAC}hotspot in your WiFi list and connect — no password is needed. Once connected, open192.168.10.10in a browser to load the configuration page.
A short press triggers a capture; a 2-second long-press wakes the WiFi AP. The AP enters sleep after being idle for a while — if the page disconnects, long-press again to wake it, or adjust the sleep timer under System Settings → Device Password.
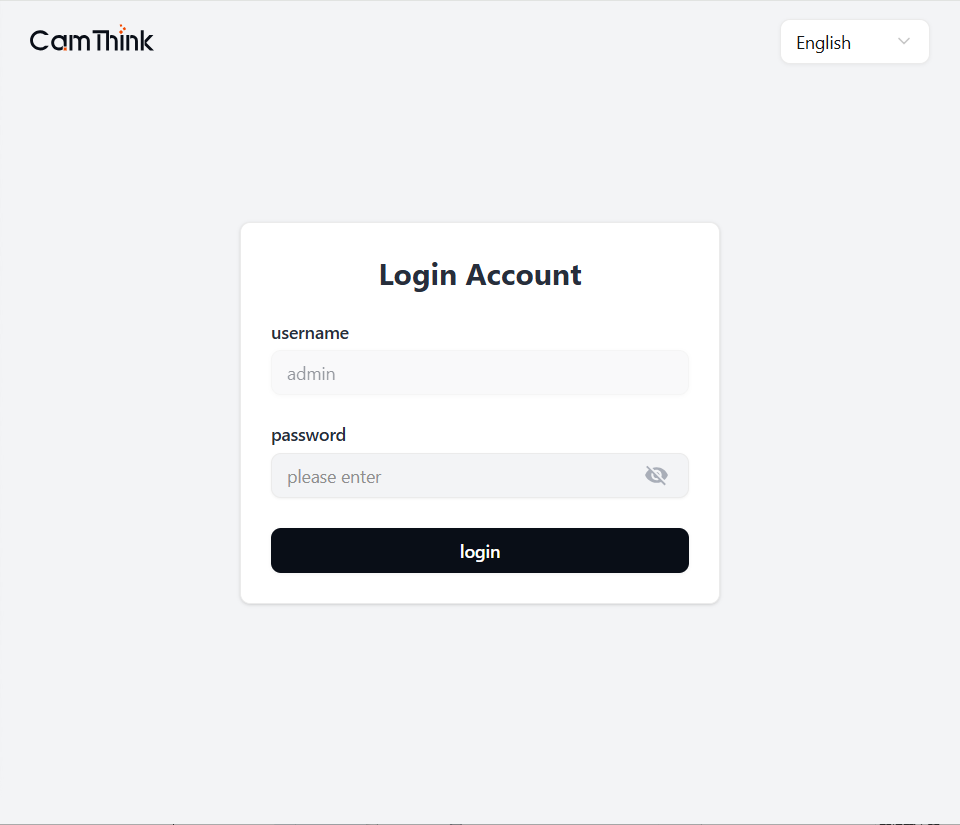
- Log in: The web page opens to the login screen. The username is the built-in
admin(not editable) and the initial password ishicamthink, which can be changed under System Settings → Device Password. Enter the password to enter the main UI.
Module Overview
After logging in, the top navigation provides 7 modules covering everything from debugging to application integration and system management:
| Module | Path | Purpose |
|---|---|---|
| Feature Debugging | /device-tool | Live preview, model management, inference params, power modes, media streaming, wakeup sources |
| Model Validation | /model-verification | Upload a local image for offline inference with the current model, returns JSON results |
| Application Management | /application-management | Data reporting channels: MQTT/MQTTS and Webhook |
| Hardware Management | /hardware-management | Image params (flip, ISP, capture) and supplement-light policy |
| System Settings | /system-settings | Communication method, device password, firmware upgrade |
| Storage Management | /storage-management | SD card status, capacity and storage policy |
| Device Information | /device-information | Device name, MAC, SN, HW/SW versions, power and communication |

1. Feature Debugging
The most frequently used module — integrates live preview, model deployment, inference tuning, power and operating modes, media streaming, and wakeup source configuration (PIR / Remote Control / Scheduled Capture).
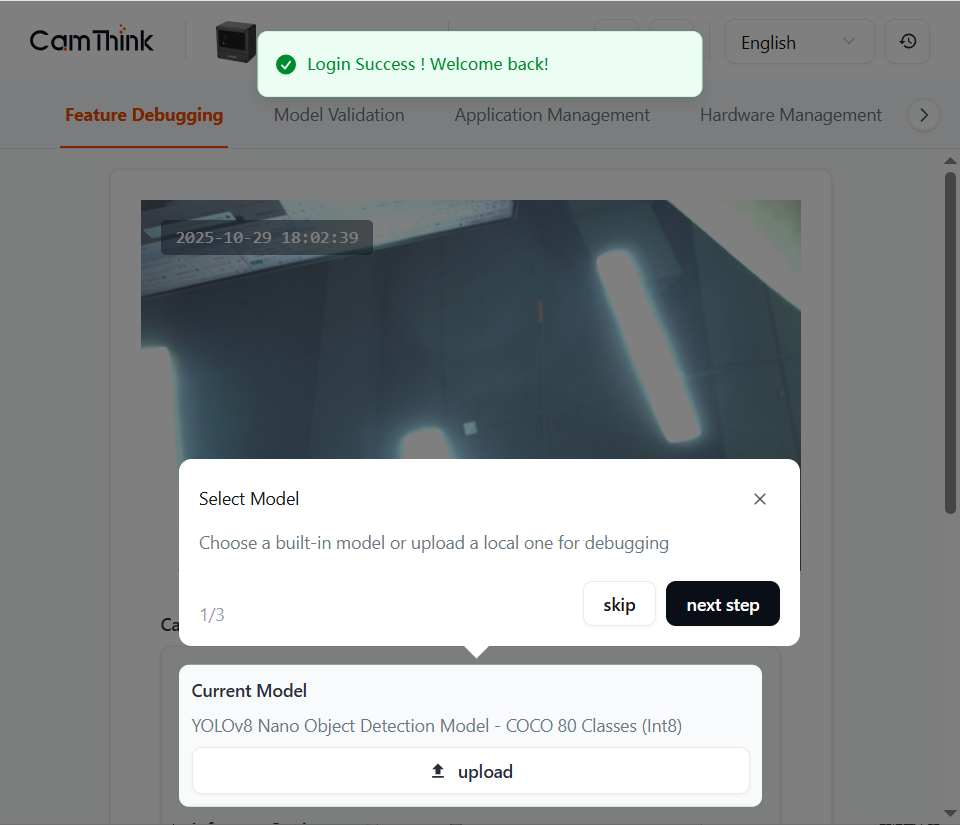
1.1 First-time Guidance
The first time a phone or PC connects, a guided wizard appears (Select Model → inference params → wakeup source). Follow it for initial setup, or click Skip. The main Feature Debugging UI appears afterwards.
1.2 Live Preview Toolbar
The toolbar at the top of the page controls the live view:
- Reload: Reload the live video stream.
- Photo Capture: Manually trigger a capture.
- AI Inference: Toggle real-time AI overlay (on by default).
- Stream Info: View current stream parameters.
- Snapshot: Save the current frame as a snapshot.
- Fullscreen: Fullscreen preview.
The device supports millisecond-level real-time inference on the live stream — preview the feed and verify AI results in real time on the Web UI via the local WiFi AP, with no cloud service required.
1.3 Model Management
The Current Model area shows the deployed model. The NE301 runs TFLite Int8 inference on the STM32N6 NPU; model packages come in two output-format suffixes: _uf (float32 output) and _ui (int8 output). The factory-preset model is a YOLOv8 Nano object detection model (COCO 80 classes, _uf / Float32 output variant). Click upload / Choose File to upload a new model package and replace it in one step — the new model takes effect immediately.
To train a model tailored to your own scenario, see Training and Deploying YOLOv8 on STM32N6.
1.4 Hot-reloading Inference Parameters
Inference Settings supports hot-reload — drag the slider or type a value and it takes effect immediately, no reboot:
- NMS Threshold: Non-Maximum Suppression threshold, range 0–100, default 50. Lower values suppress overlapping boxes more aggressively.
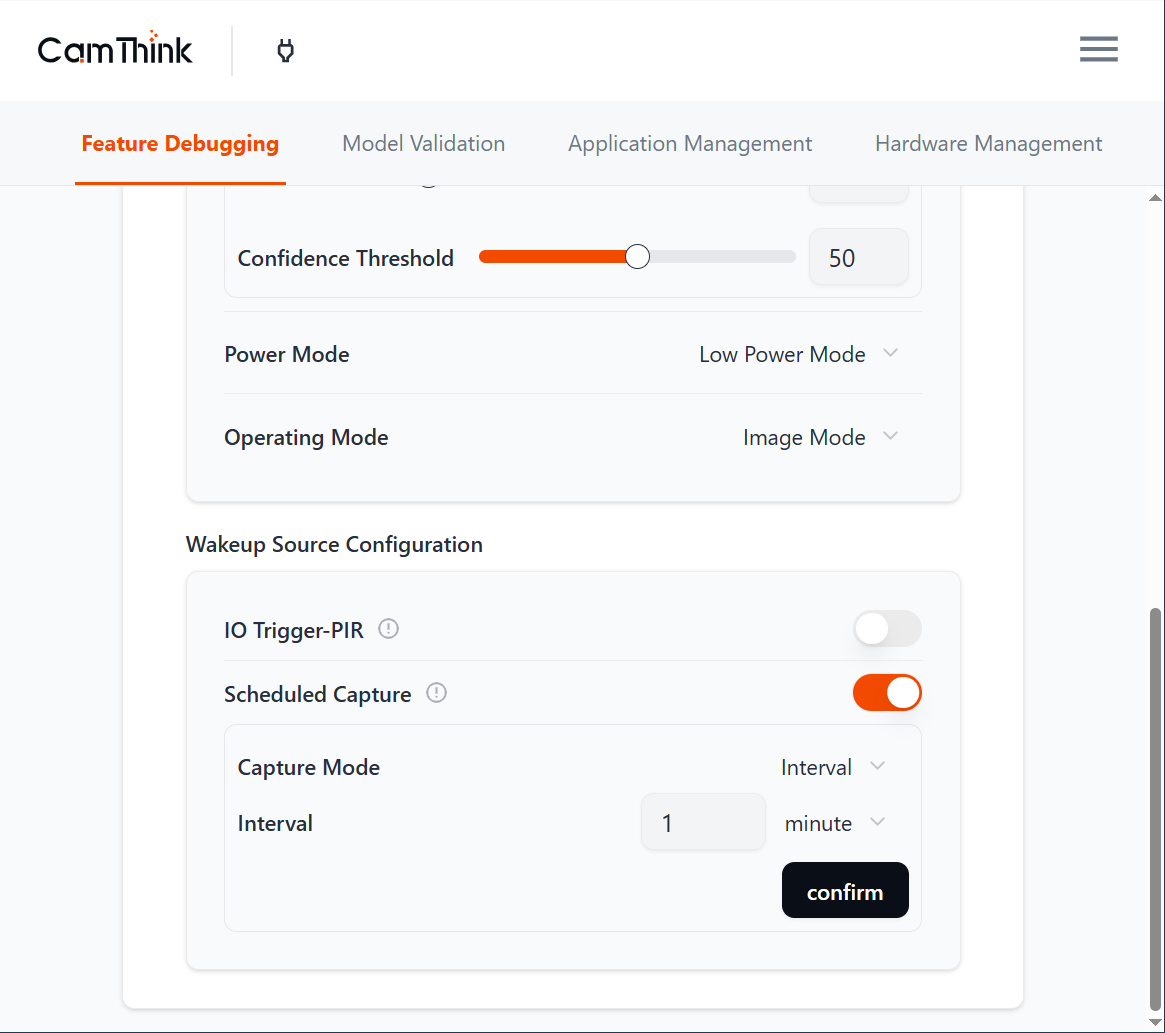
- Confidence Threshold: Range 0–100, default 20. Detections below this threshold are filtered out.
1.5 Power and Operating Modes
To balance performance against power draw, Feature Debugging exposes three performance-related settings:
- Power Mode:
Full Speed Mode(default): Full-load operation, highest inference FPS, highest power draw.Low Power Mode: Reduced compute and clock — ideal for long-term, battery-powered duty.
- Operating Mode: Currently supports
Image Mode; more modes will be added. - Work frequency: CPU clock —
HSE 200 MHz/HSE 400 MHz/HSI 800 MHz/HSE 800 MHz(default). Higher frequency = faster inference and higher power; lower frequency suits energy-saving scenarios.
Tip: For long-running battery deployments, combine
Low Power Mode+ a lower Work frequency with the wakeup-source policy below to significantly extend battery life.
1.6 Media Streaming (RTMP / RTSP)
Stream Settings pushes the device feed to an external server via RTMP or RTSP, integrated directly into Feature Debugging — no CLI required.
- Stream Type: Select
RTMPorRTSP. - URL: Stream server address (max 256 chars).
- Secret Key: Stream key (max 128 chars, show/hide toggle).
- Status / Connection Duration: Live connection state (disconnected / connected) and duration.
- Click
connectto start pushing; status turns connected when successful.
Advanced debugging can still use the CLI
rtmp_url <url> [stream_key]. For a full live-streaming recipe, see RTMP Video Streaming.
1.7 Wakeup Source Configuration
Wakeup sources control what events wake the device from low-power sleep to capture a frame. There are three — IO Trigger-PIR, Remote Control, and Scheduled Capture — each enabled by a switch that expands into detailed settings.
IO Trigger-PIR
Triggers a capture via the PIR (passive infrared) sensor — suited for human-detection scenes like corridors and entrances. Configure after enabling:
- Usage:
Rising EdgeorFalling Edge, matching the sensor signal edge. - Sensitivity: Range 0–255. Indoors 20–50 recommended; lower it outdoors to reduce false triggers from wind and motion.
- Ignore Time: Time window after a trigger during which the sensor does not respond (0–15) — prevents rapid repeat triggers.
- Pulse Count: Number of signal pulses required for a valid trigger (1–4); 2–3 filters out interference.
- Window Time: Time window for evaluating a valid trigger (0–3).

Remote Control
When enabled, the device accepts server-issued commands (remote capture, sleep, etc.) via the Data Receiving Topic configured under Application Management → MQTT. Leaving it on long-term adds network overhead — enable as needed.
Supported remote commands:
Capture:
{
  "cmd": "capture",
  "request_id": "req-001",
  "params": {
    "enable_ai": true,
    "chunk_size": 0,
    "store_to_sd": false
  }
}
Sleep:
{
  "cmd": "sleep",
  "request_id": "req-002",
  "params": {
    "duration_sec": 60
  }
}
Scheduled Capture
When enabled, supports two Capture Modes — click confirm after configuration to apply:
- Interval: Capture at a fixed interval.
- Interval Type:
Normal(regular interval) orScheduled(planned interval). - Interval: Interval value, unit selectable in
minute/hour/day. - The page shows Next Capture (next capture time) so you can verify the schedule.
- Interval Type:
- Fixed Point: Capture at fixed times of day — click
addto add multiple time points (00:00–23:59).

Combine with PIR or other hardware triggers for a "scheduled patrol + event capture" hybrid strategy.
2. Model Validation
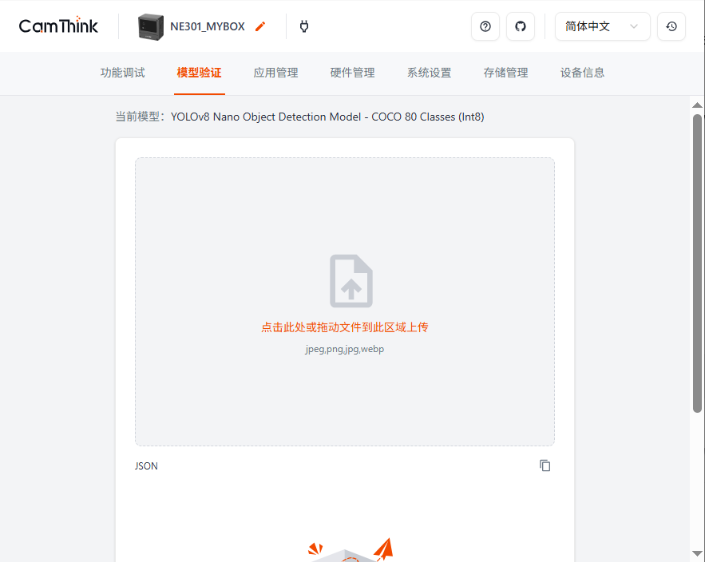
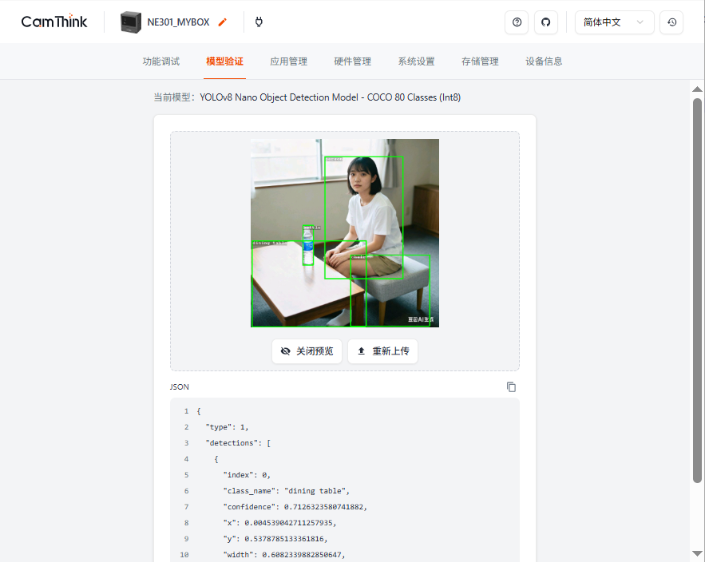
Model Validation lets you test the deployed model offline — no need to capture on-site. Click or drag to upload a local image (jpeg / png / jpg / webp) on the Model Validation page; the device runs inference with the current model, overlays green detection boxes on the image, and shows the JSON result (class, confidence, coordinates) below, so you can quickly evaluate model performance across scenes.
3. Application Management
Application Management configures the device's data reporting channel — MQTT/MQTTS or Webhook, switched via the top tabs. Choose by scenario: MQTT for bidirectional communication (reporting + remote control), Webhook for lightweight one-way data push.
3.1 MQTT/MQTTS
For scenarios that need bidirectional communication (data reporting + remote control commands).
- Protocol: Select
MQTTorMQTTS(SSL-encrypted); choosing MQTTS expands the certificate options. - Server Address: Domain or IP of the MQTT server.
- Port: MQTT default
1883, MQTTS default8883. - Data Receiving Topic: Topic the device subscribes to for server-issued remote commands.
- Data Reporting Topic: Topic the device publishes capture and inference data to.
- Client ID: Unique client identifier in the MQTT service.
- QoS: Quality of Service —
QoS 0/QoS 1/QoS 2. - Username / Password: Credentials for connection authentication.
- CA Certificate (MQTTS only): Upload the CA certificate to verify server identity.
- Client Certificate (MQTTS only): Upload the client certificate for mutual authentication.
- Private Key (MQTTS only): Upload the client private key for encrypted communication.
- SNI (Server Name Indication) (MQTTS only): For servers hosting multiple TLS certificates.


For more on MQTT, see MQTT Data Interaction.
3.2 Webhook
For scenarios that only need to push capture / inference data to your own service, without bidirectional communication. The device HTTP(S) POSTs data to a URL you specify — lighter to integrate than MQTT.
- Enable Push: Toggle Webhook push on/off.
- Push Status: Current enabled / disabled state.
- HTTP(S) Push URL: Server URL that receives the data — HTTP or HTTPS.
- Authentication: Auth method (e.g. None) per your server's requirements.
- Custom CA Certificate: For HTTPS, upload a self-signed CA cert; defaults to the built-in CA bundle (Using built-in CA bundle). Supports upload and Clear.
- Test Push: Send a test request to verify the URL and certificate.

4. Hardware Management
Hardware Management has two sub-modules — Image Management and Lighting Management — switched via the top tabs. The camera module connection status is shown at the top (Connection Status).
4.1 Image Management
Configures frame orientation and capture parameters:
- Camera configuration
- Flip Horizontal: Mirror the frame horizontally — for installations that need a flipped image.
- Flip Vertical: Flip the frame vertically.
- ISP mode: Image Signal Processing mode — optimizes image quality for the lighting environment. Default
Outdoor / bright light; switch based on your installation environment.
- Capture configuration
- Skip frames: Frames to skip before capture, default 30 — lets the image stabilize before the shot.
- Resolution: Capture resolution —
1280x720/1920x1080/2688x1520. - JPEG quality: JPEG quality, default 80. Higher quality means larger files; images over 1 MB are auto-chunked for upload, increasing transfer time.

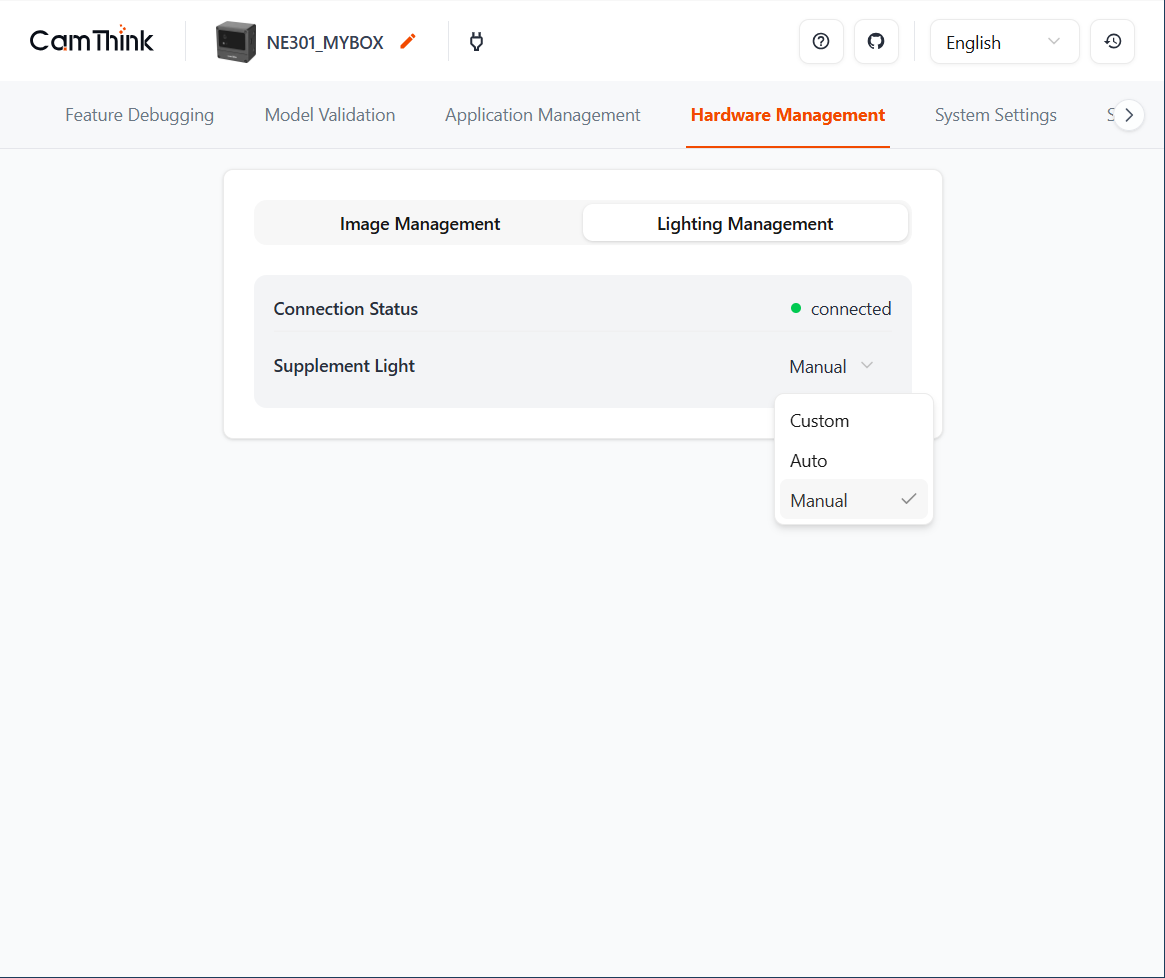
4.2 Lighting Management
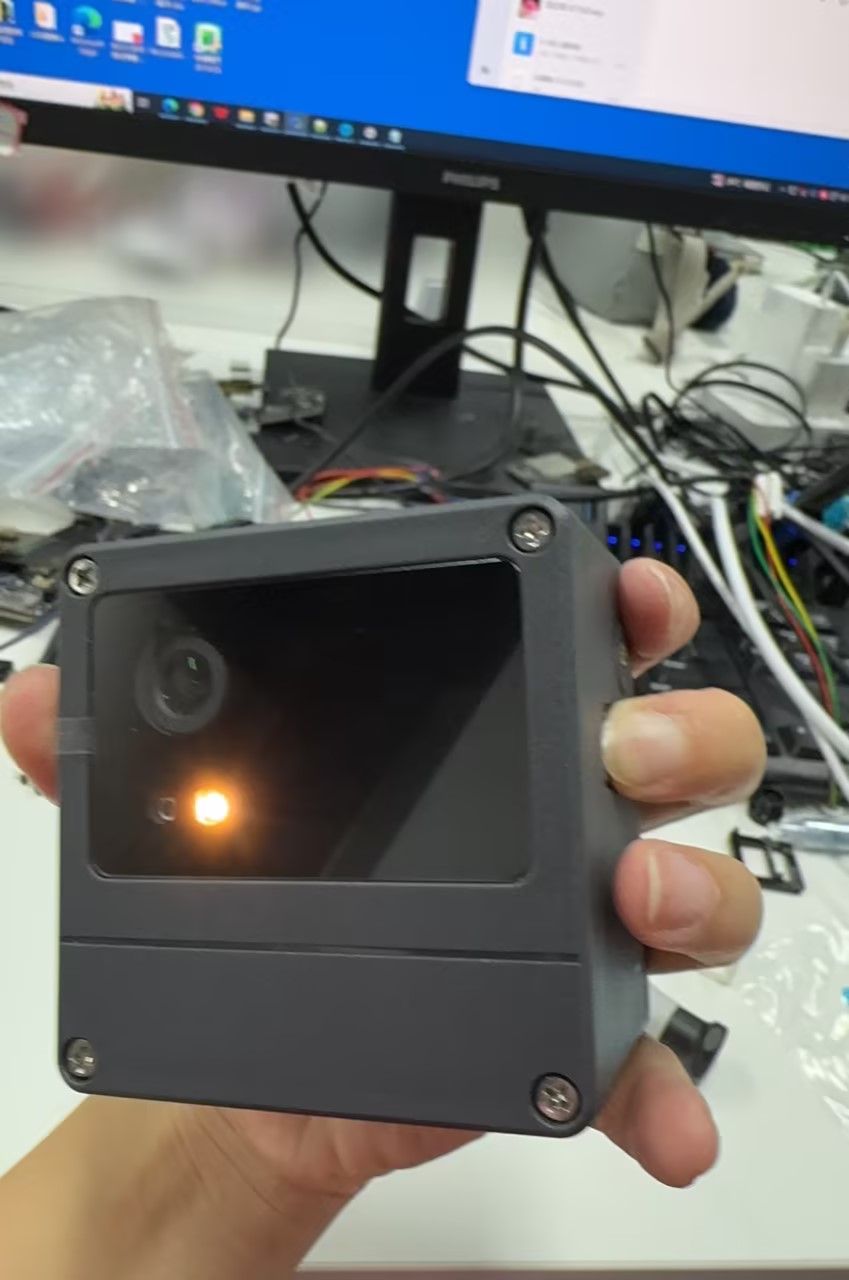
Work Supplement Light supports three modes:
- Always On: Light always on.
- Custom: On during a custom time range (e.g. 20:00–06:00).
- Always Off: Light always off.
Tip: The supplement light is only effective at close range; for power-sensitive scenarios, choose Always Off.
5. System Settings
System Settings contains three sub-modules: Communications, Device Password, and Firmware Upgrade.
5.1 Communications
The NE301 supports three communication options: WiFi, Cat-1, and POE. Change Communication Method switches between them. With WiFi selected, the page auto-scans and lists nearby hotspots.
WiFi connection flow: Find the target hotspot in the scan list, click connect on the right, enter the password in the "Enter Wi-Fi Password" dialog and click confirm. The device always saves the most recent SSID and password.


- WiFi: Built into the standard version. Select a target hotspot, enter the password, and connect. The device always stores the most recent SSID and password.
- Cat-1: Requires a SIM card in the front-cover slot (most regions except North America are supported); once inserted, the page auto-reads the IMEI. Under Cellular, fill in APN, Cellular Username, Cellular Password, and PIN Code per your carrier, then choose Authentication (auth type), Operator (default Auto), and Roaming (toggle). The AT Commands section lets you enter AT commands and click
Sendto test the modem response. After filling in the fields, clicksave, thenconnectto dial up; usedetailsto view network registration details.

- POE (Power over Ethernet): After plugging in the cable, the page shows "cable connected" and the power status (e.g.
POE_ONLINE). IP acquisition supports DHCP (default, automatic) and Static (manual IP / mask / gateway / DNS). Network issues surface as specific error codes (e.g.POE_STATUS_DHCP_FAILED,POE_STATUS_IP_CONFLICT).
Note: Switching communication methods or connecting to an external WiFi network may close the local WiFi AP and disconnect the current configuration page. After confirming the device has joined the target network, access it via the new network.
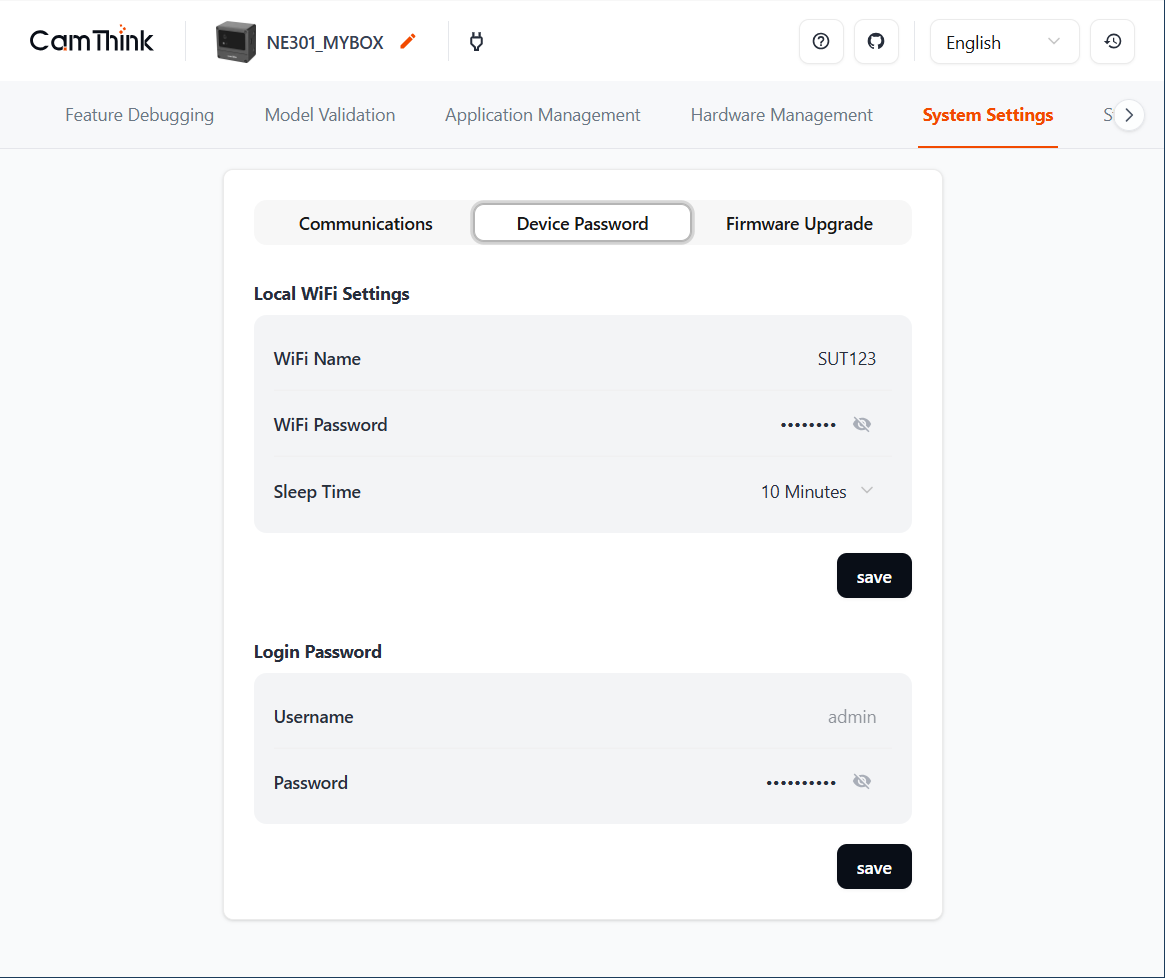
5.2 Device Password
Local WiFi Settings
- WiFi Name: Device hotspot name, following
NE301{last 6 hex of MAC}— the MAC is on the housing label. - WiFi Password: Default no password (open hotspot — connect without a password); you can set a WiFi password here, and the AP restarts after changing it, so you may need to reconnect. The web login password (default
hicamthink) is in Login Password below. - Sleep Time: Auto-off timer for the WiFi AP, default 30 minutes; any web activity resets the timer. Avoid long durations to save battery.
Login Password
- Username: Built-in, not editable.
- Password: Enter the current and new password to save. Recommend 8–20 chars with letters, digits and symbols; avoid weak passwords tied to device info.
- Show/hide toggle supported. If you forget the password, perform a Device Reset to restore factory settings and reset the password to
hicamthink(reset clears all custom config — export a backup first).
5.3 Firmware Upgrade
View firmware versions, perform local upgrades, and import/export models and configuration. The top of the page shows the current firmware version info; the lower section provides Import and Export actions.
Firmware Information
The NE301 firmware consists of the following parts, each shown with its version number, tagged by whether it needs routine upgrade:
- App Version: Main application firmware — the device's core logic. [Routine] Primary target of routine upgrades.
- Web Version: Web frontend — this configuration UI itself. [Routine] Upgraded alongside App.
- FSBL Version: First-stage bootloader. [Special] Only for boot-related updates; no routine upgrade needed.
- AI Model Version: Current model package version. [On demand] Changes on model import / replacement (see below).
- WakeCore Version: Wake core firmware — handles low-power wake-up. [Rarely] Not part of routine upgrades.
Import
Three categories, each with its own entry point and method:
- Firmware upgrade (APP / Web / FSBL): Routine upgrades cover APP and Web; FSBL is only upgraded in special cases. All three are flashed by uploading a
_pkg.binpackage via the Web UI (the Web UI only accepts the_pkg.binsuffix — plain.binfiles cannot be upgraded this way).- APP / Web: Click Import Firmware on this page and select the matching
pkg.binfile. - FSBL: Dedicated path — after logging in, navigate to
http://192.168.10.10/import-fsblin the browser and uploadne301_FSBL_signed_*_pkg.bin. - Upgrade order: Recommended FSBL → APP → Web, waiting for the device to reboot and reconnect to the AP between each step.
- Firmware examples (downloadable from GitHub Releases):
- APP / Web: Click Import Firmware on this page and select the matching
- Model import (as needed): Upload a model package (model file + params) under Feature Debugging → Current Model; verify inference results on the Feature Debugging page after deployment (see 1.3 Model Management).
- Config import (as needed): Re-import a previously exported
.jsonconfig file for batch deployment or disaster recovery. Cross-version imports may have incompatibilities — if an import fails, check the release notes or upgrade to a compatible version first.
Clicking Import Firmware opens the following dialog. Upload the matching _pkg.bin package for each category, then click Confirm Burn to start flashing:

Export
- Export Firmware: One-click export of the current device config (
.json) for backup and batch deployment across devices. Recommended before any upgrade or reset.
Keep power stable during upgrade or import; do not power off or refresh the page before it finishes. A failed upgrade keeps the old version — the device will not brick.

6. Storage Management
Storage Management handles the SD card — captures and inference results can be written to a local SD card so data is retained locally when the network is down.
- SD Card Status: Whether an SD card is detected (Not Detected means none is inserted or recognized).
- Capacity: Used / total capacity (e.g. Used 0 GB / 0.00 GB).
- Storage Policy: Currently supports
Loop Coverage— when the SD card fills up, the oldest data is overwritten automatically so recording continues uninterrupted.

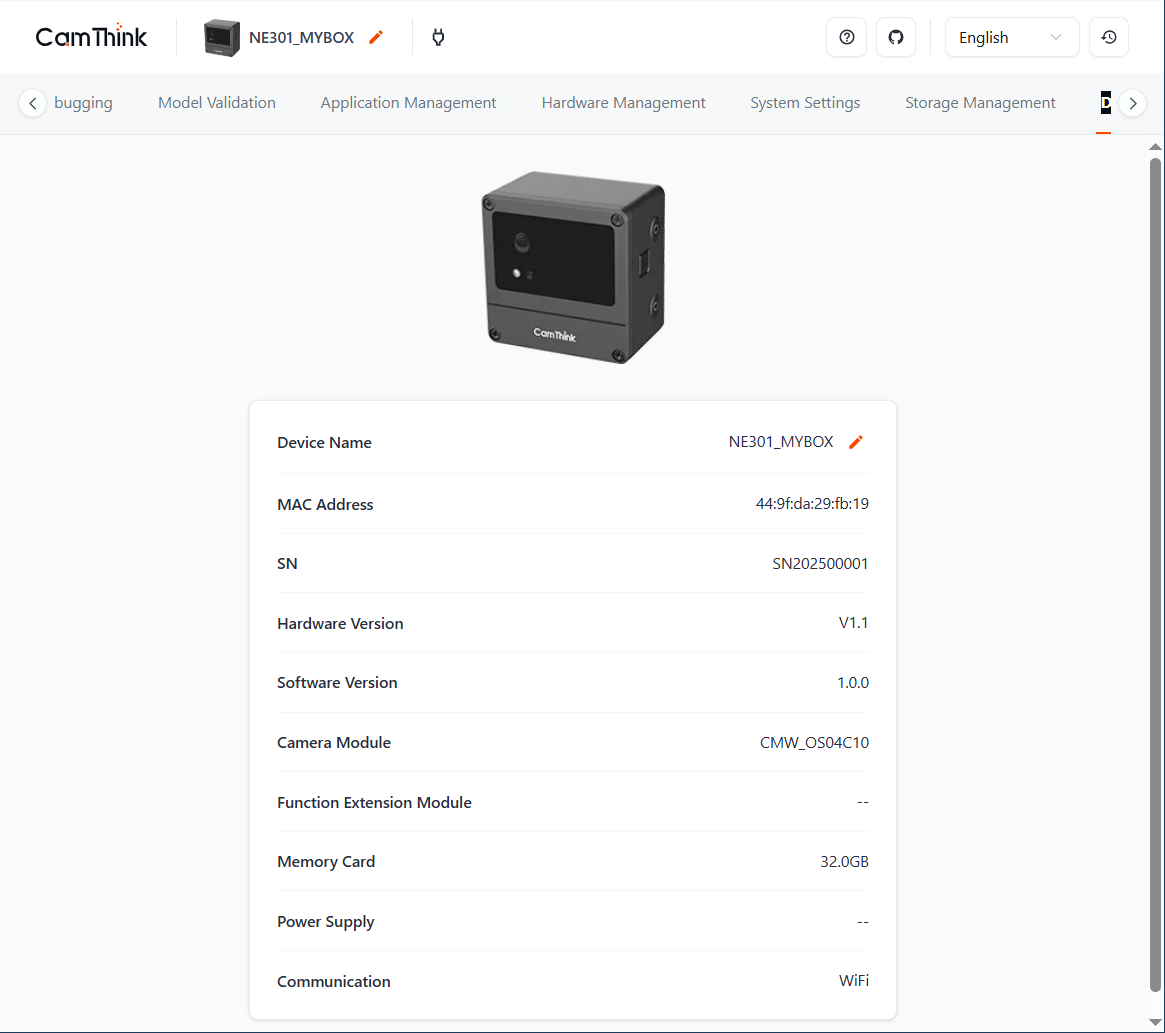
7. Device Information
Shows the device's core attributes:
| Field | Description |
|---|---|
| Device Name | Device name, default NE301{last 6 hex of MAC}, editable; uploaded in the devName field of the JSON report |
| MAC Address | Device MAC address |
| SN | Unique device identifier, used for identification and after-sales |
| Hardware Version | Hardware version |
| Software Version | Current firmware version |
| Camera Module | Camera module model |
| Function Extension Module | Extension module model, -- if none |
| Memory Card | Storage card model and capacity, -- if none |
| Power Supply | Battery shows level (high / mid / low, colored green / orange / red); external power (solar / USB / POE) shows constant power |
| Communication | Communication method: wifi / cat-1 / poe |
Factory Reset
Steps
Quickly press the shutter button twice, then long-press for about 10 seconds — the device restores to factory defaults.
What gets cleared
A reset wipes all custom configuration, including:
- Custom models (restored to the factory-preset model)
- Network and communication settings (WiFi / Cat-1 / POE, etc.)
- All function parameters and the device password (the password reverts to the default
hicamthink)
Back up first
A reset is irreversible. Before resetting, export the current configuration (.json) via System Settings → Firmware Upgrade → Export Firmware so you can restore it afterwards or deploy it across devices.