Case Study - Urban Waste Bin Overflow Monitoring


1. Preface
CamThink is a new developer-focused brand from Milesight, created to make edge AI simpler for everyone. We build open, developer-friendly edge AI hardware for both community builders and enterprise engineers. And help them to move from early prototypes to reliable real-world deployments — accelerating your strategy in edge AI.
Camthink NeoEye 301 is powered by the STM32N6 (Cortex-M55) processor with the "Neural-ART" NPU, which delivers real-time AI inference and professional grade image processing with ultra-low power consumption.
Home Assistant is a free, open-source home automation platform designed to be a central "brain" for your smart applications, it prioritizes local control and privacy. As of early 2026, Home Assistant has become significantly more user-friendly through its "Year of Voice" and "Collective Intelligence" initiatives.
City management efficiency is often hidden in plain sight, masked by "inefficiency" we've grown used to. Most sanitation vehicles today follow fixed routes, stopping even at empty bins.
In this use case, we will show you how to manage the trash bin status to by Edge AI solutions to shift "Scheduled Cleaning" to "Demand-driven" for the smart city industries.
2. Requirement
Hardware:
- Camthink NeoEye 301, Ultra-Low Power Vision AI Camera. Cellular version is recommended.
Software Platform:
- Camthink AI Tool Stack, an end-to-end AI toolset covering the entire workflow from data collection, annotation, training, quantization, to deployment.
- HomeAssistant, you will need to install it in your server in advance.
3. Configuration
In this part, we will show you how to achieve this full usecase step by step.
3.1 Install the NE301 correctly
Firstly, install Camthink NE301 with SIM card inside correctly, press and hold the button for 2 or 3 seconds to activate the WiFi.
3.2 Configure the network and MQTT data forwarding.
Connect the WiFI endpoints start with NE301_<Last 6 MAC digits>, Input the default IP address: 192.168.10.10
- Default Username:
admin - Default password:
hicamthink
Click Login to see the live view with detailed settings.
Navigate to System settings to connect the network access.
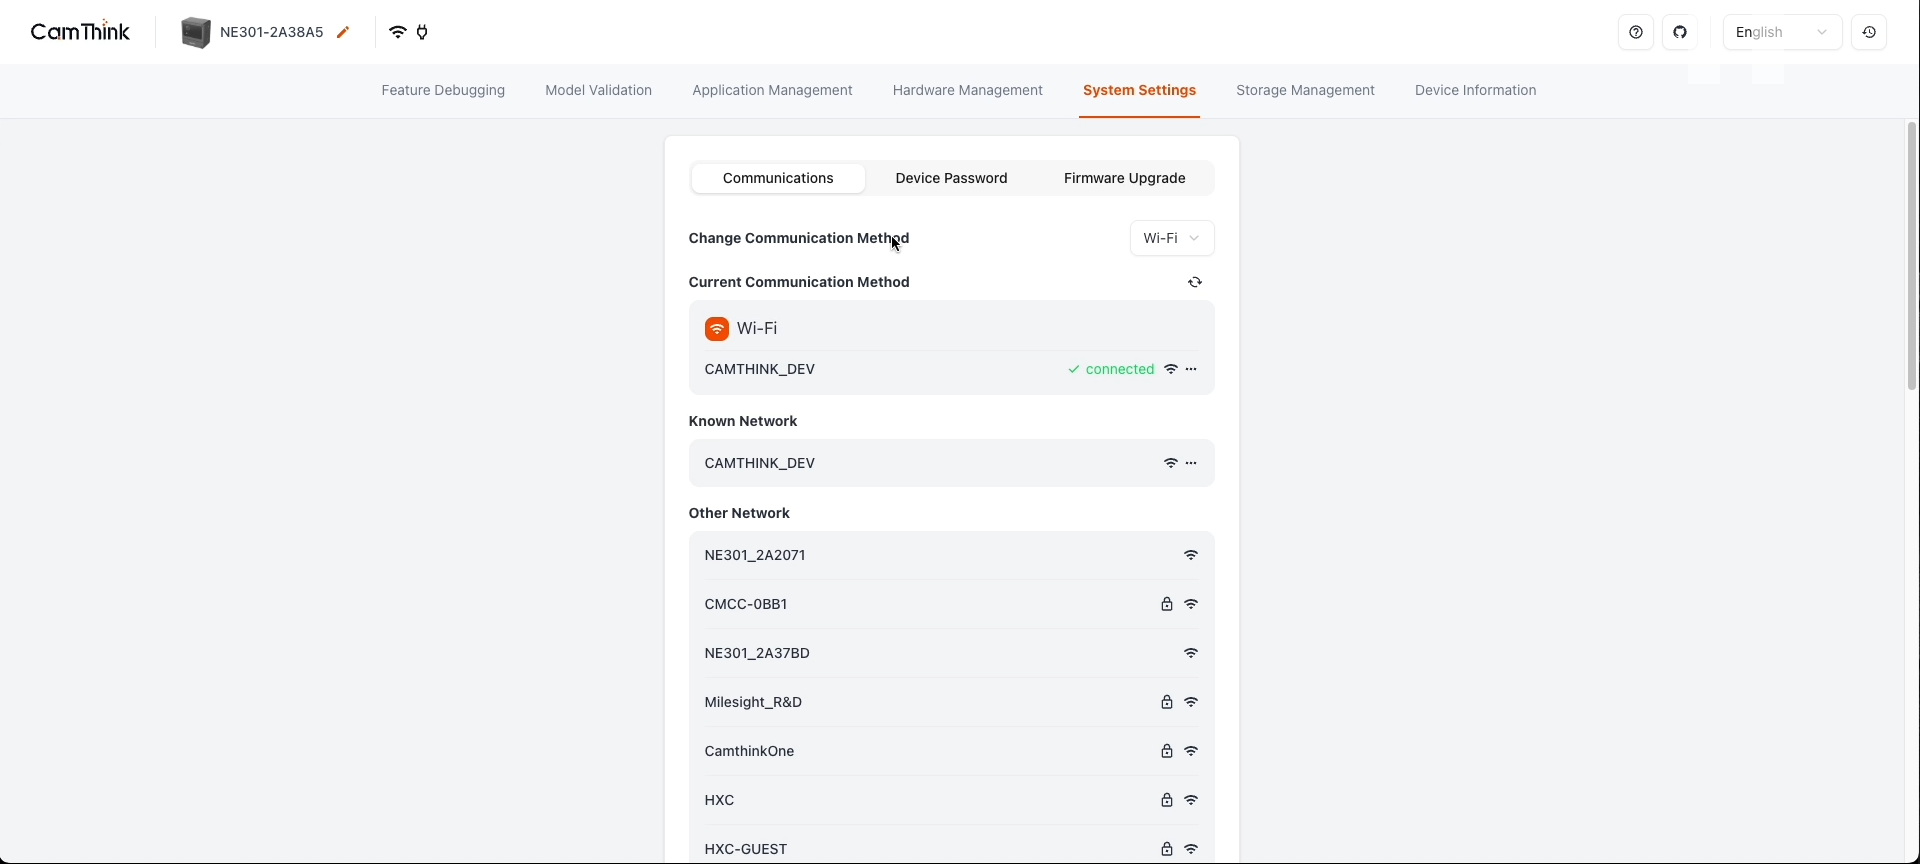
Camthink NE301 supports WiFi and Cellular modules. Choose the method to make sure the network access is connected.
Navigate to Application Management to configure where to forward the data and pictures.
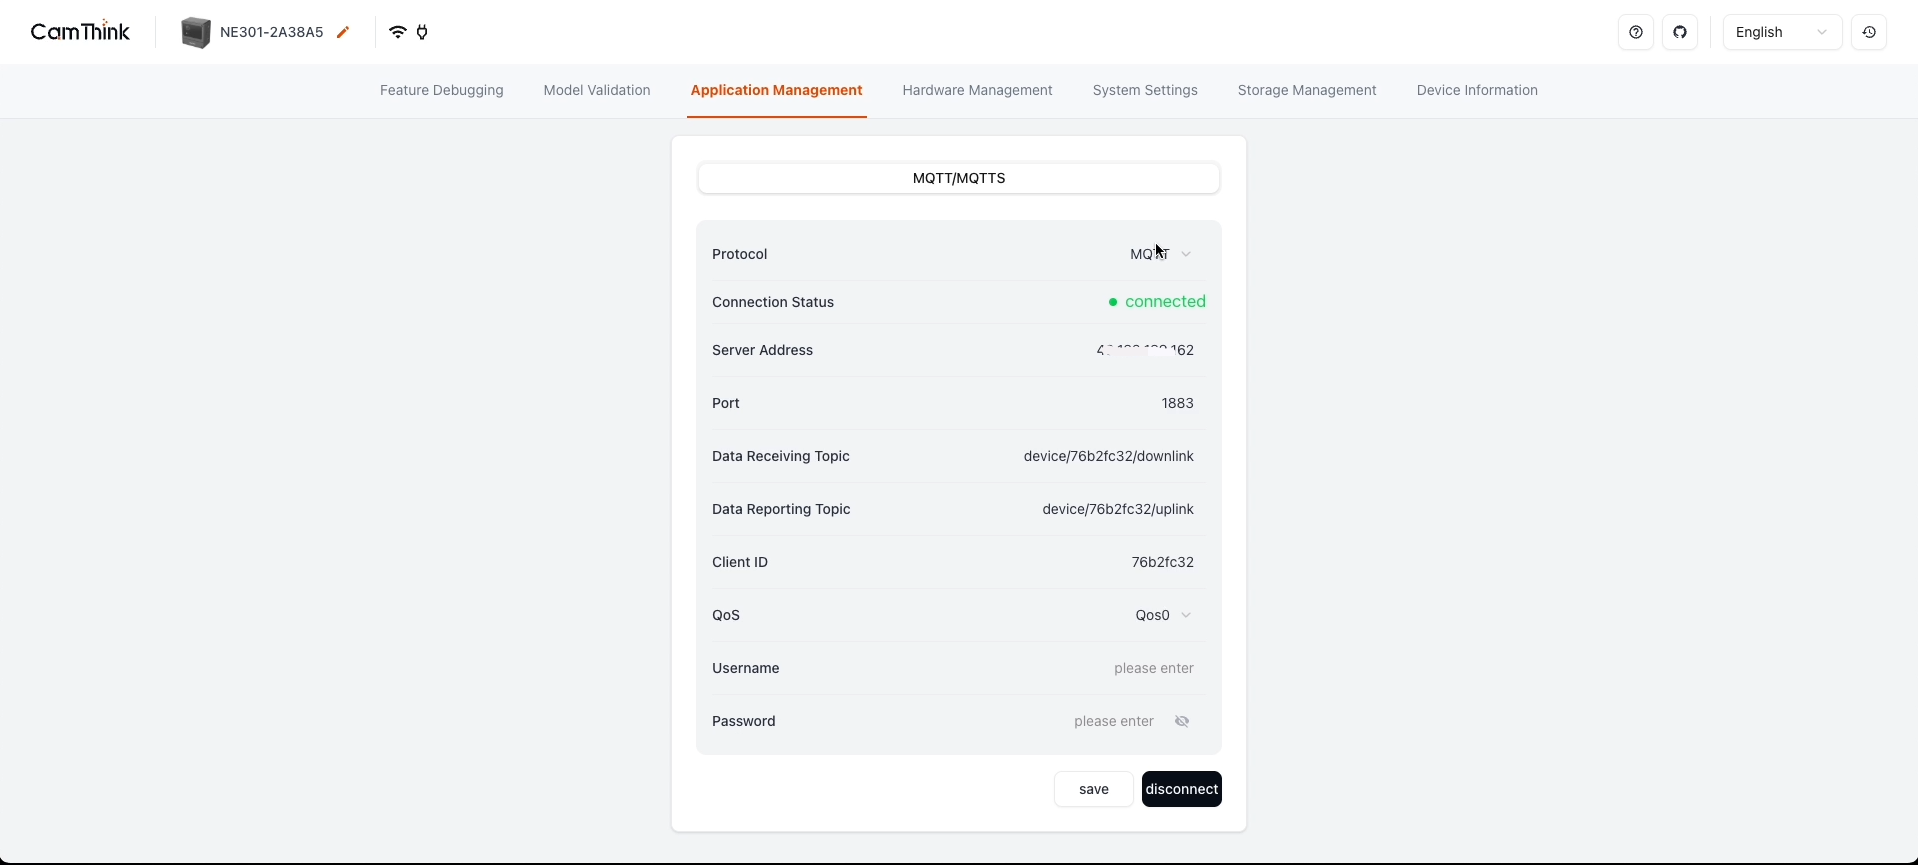
Input the details of your own mqtt broker or AI tool stack server
- Server address: the IP address of the MQTT broker.
- Port: the port of MQTT server, default value: 1883
- Data Receiving Topic: the downlink command topic used to control and trigger the image capture.
- Data Sending Topic: the uplink command topic used to traismit the data and the pictures.
- Client id: the mqtt client id, some servers will verify this value.
- Username: the username to join mqtt server, input it according to the server's needs.
- Password: the password to join mqtt server, input it according to the server's needs.
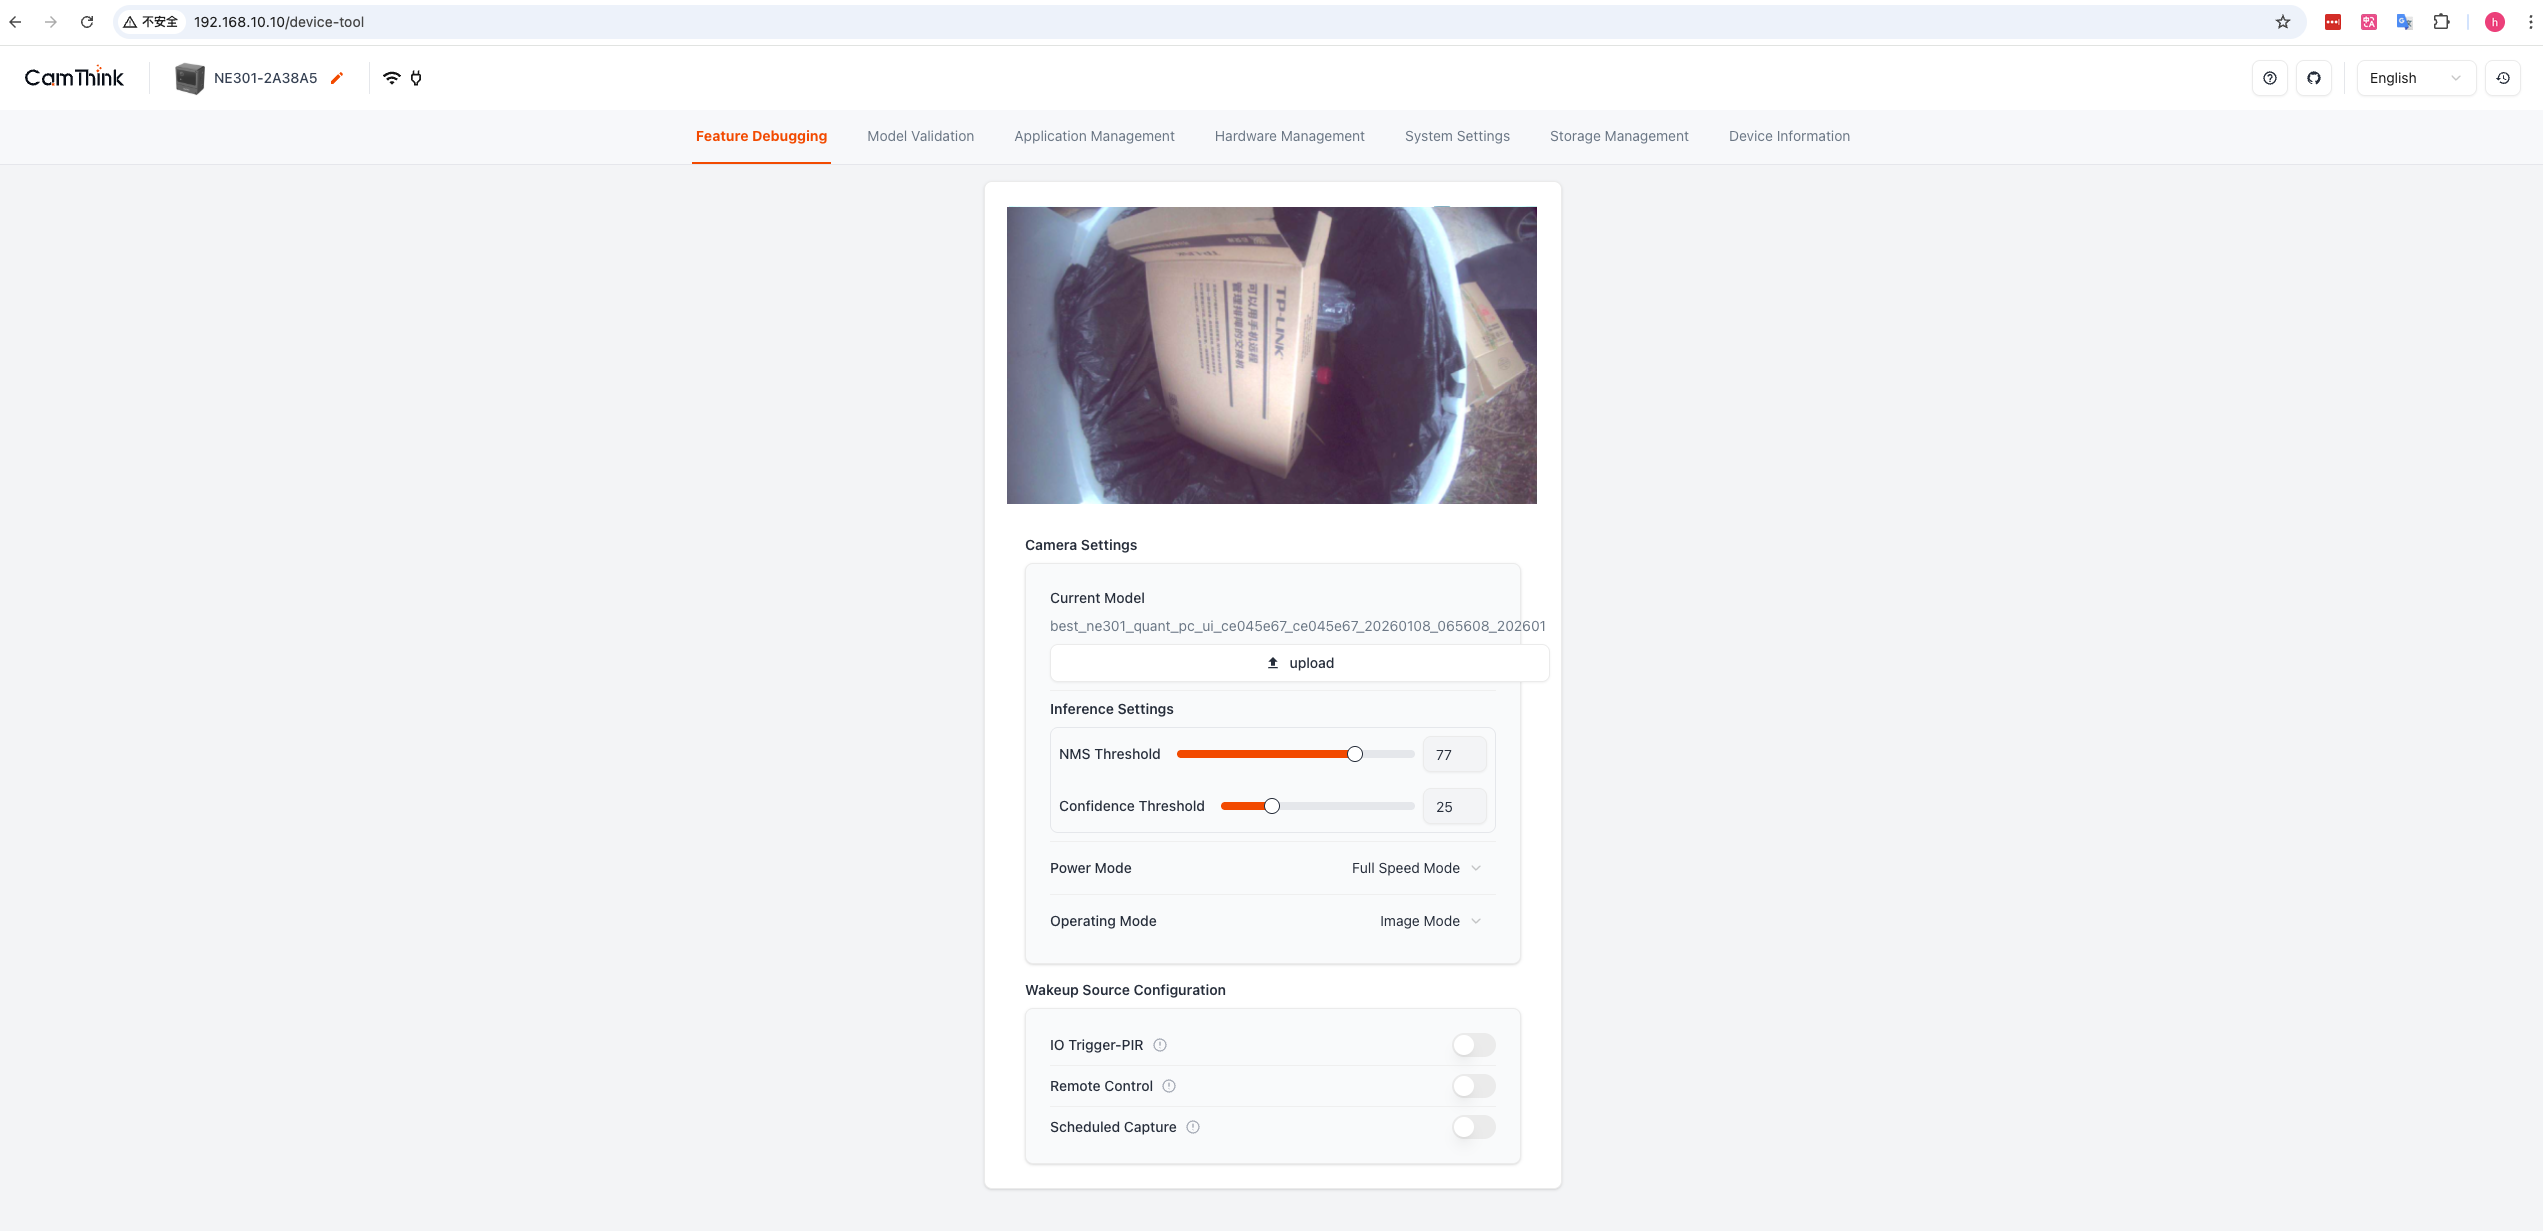
3.3 Collect the images, train and quantize the model.
Login Your own AI tool stack server to create a new project
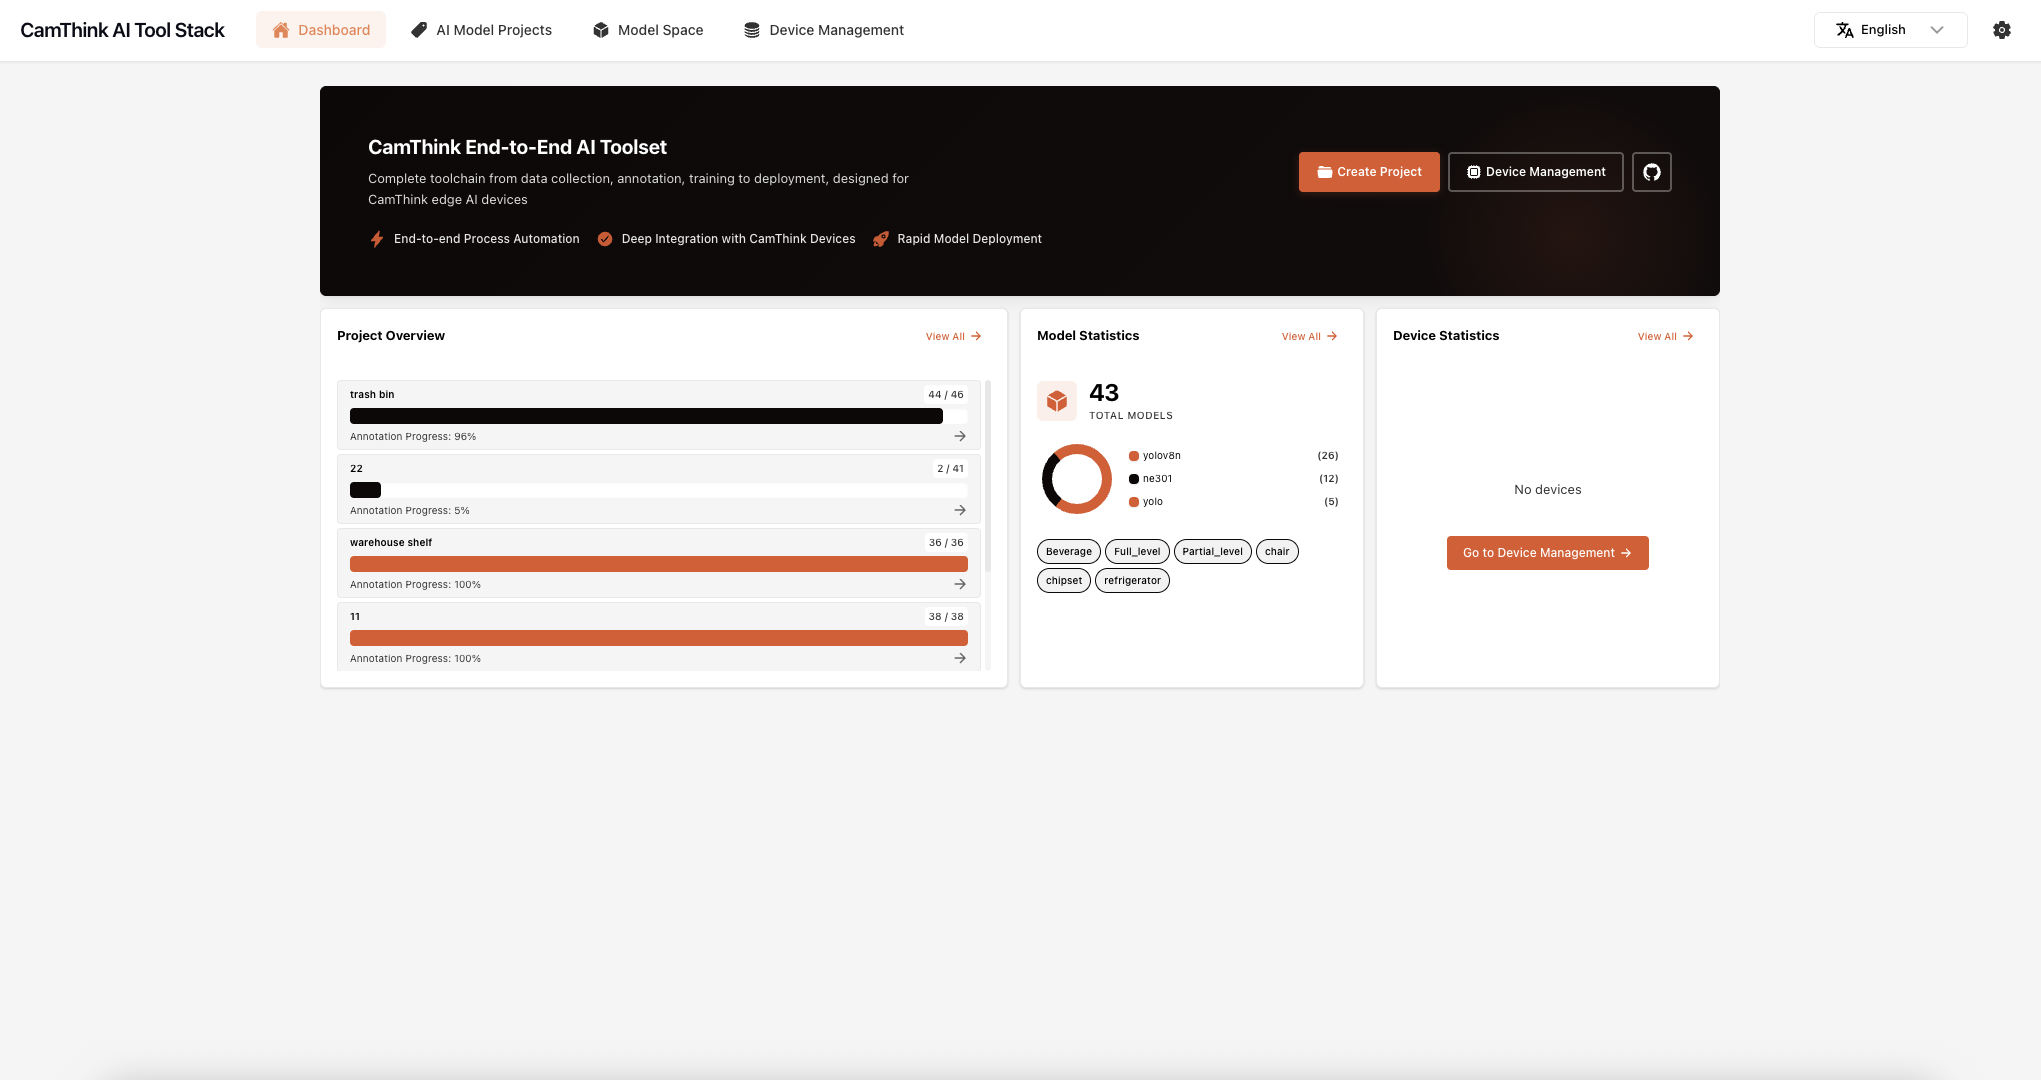
Click Create New AI Model Project, Input the name and description:
Open this project and bind the device for image collection. You will need to create this device first.
The pictures of the refrigerator captured by NE301 will uplink as configured.
If you have prepared the images, just upload them to this platform directly for model training.
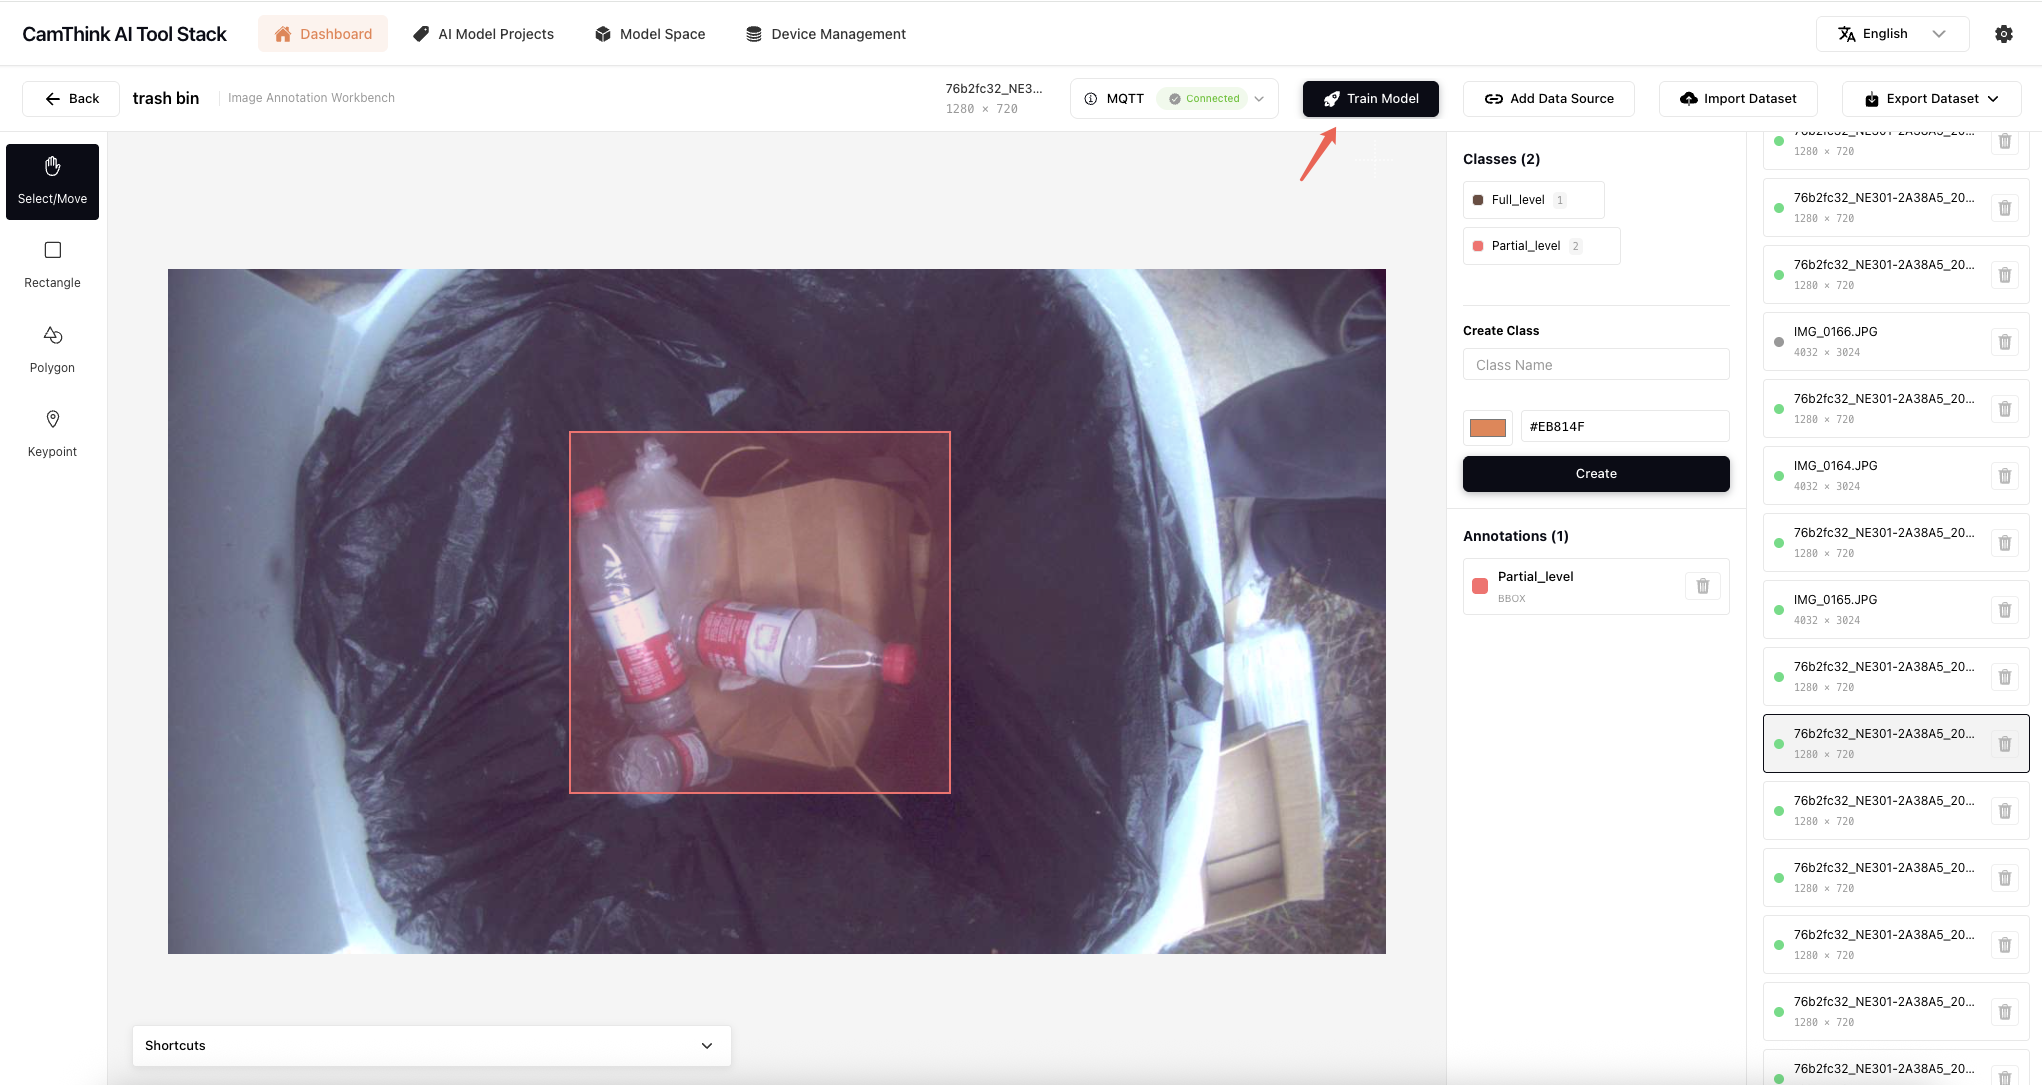
Before starting to train the models, create the Class here, in this example, we create two classes to identify whether the trush bin is Full level or Partial level.
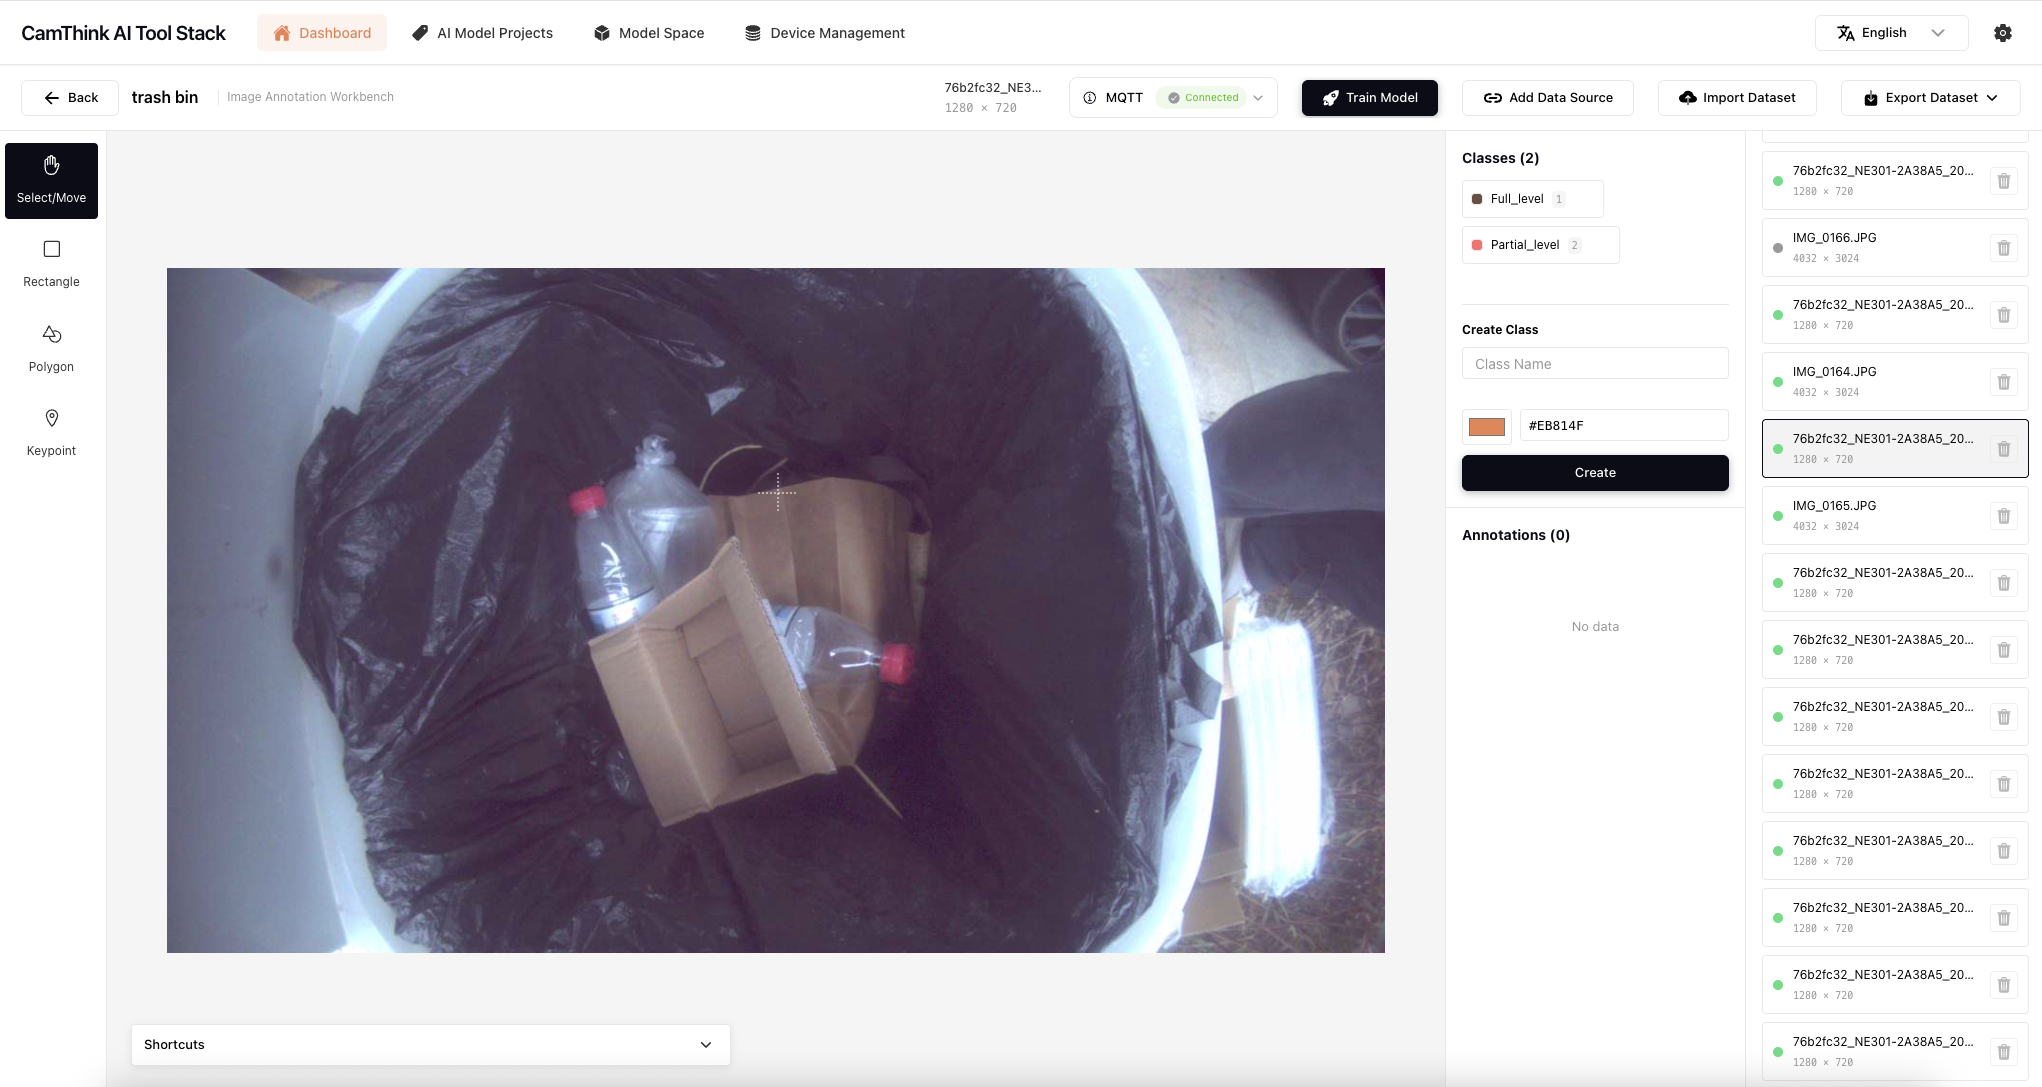
Choose the proper type to tag the object.
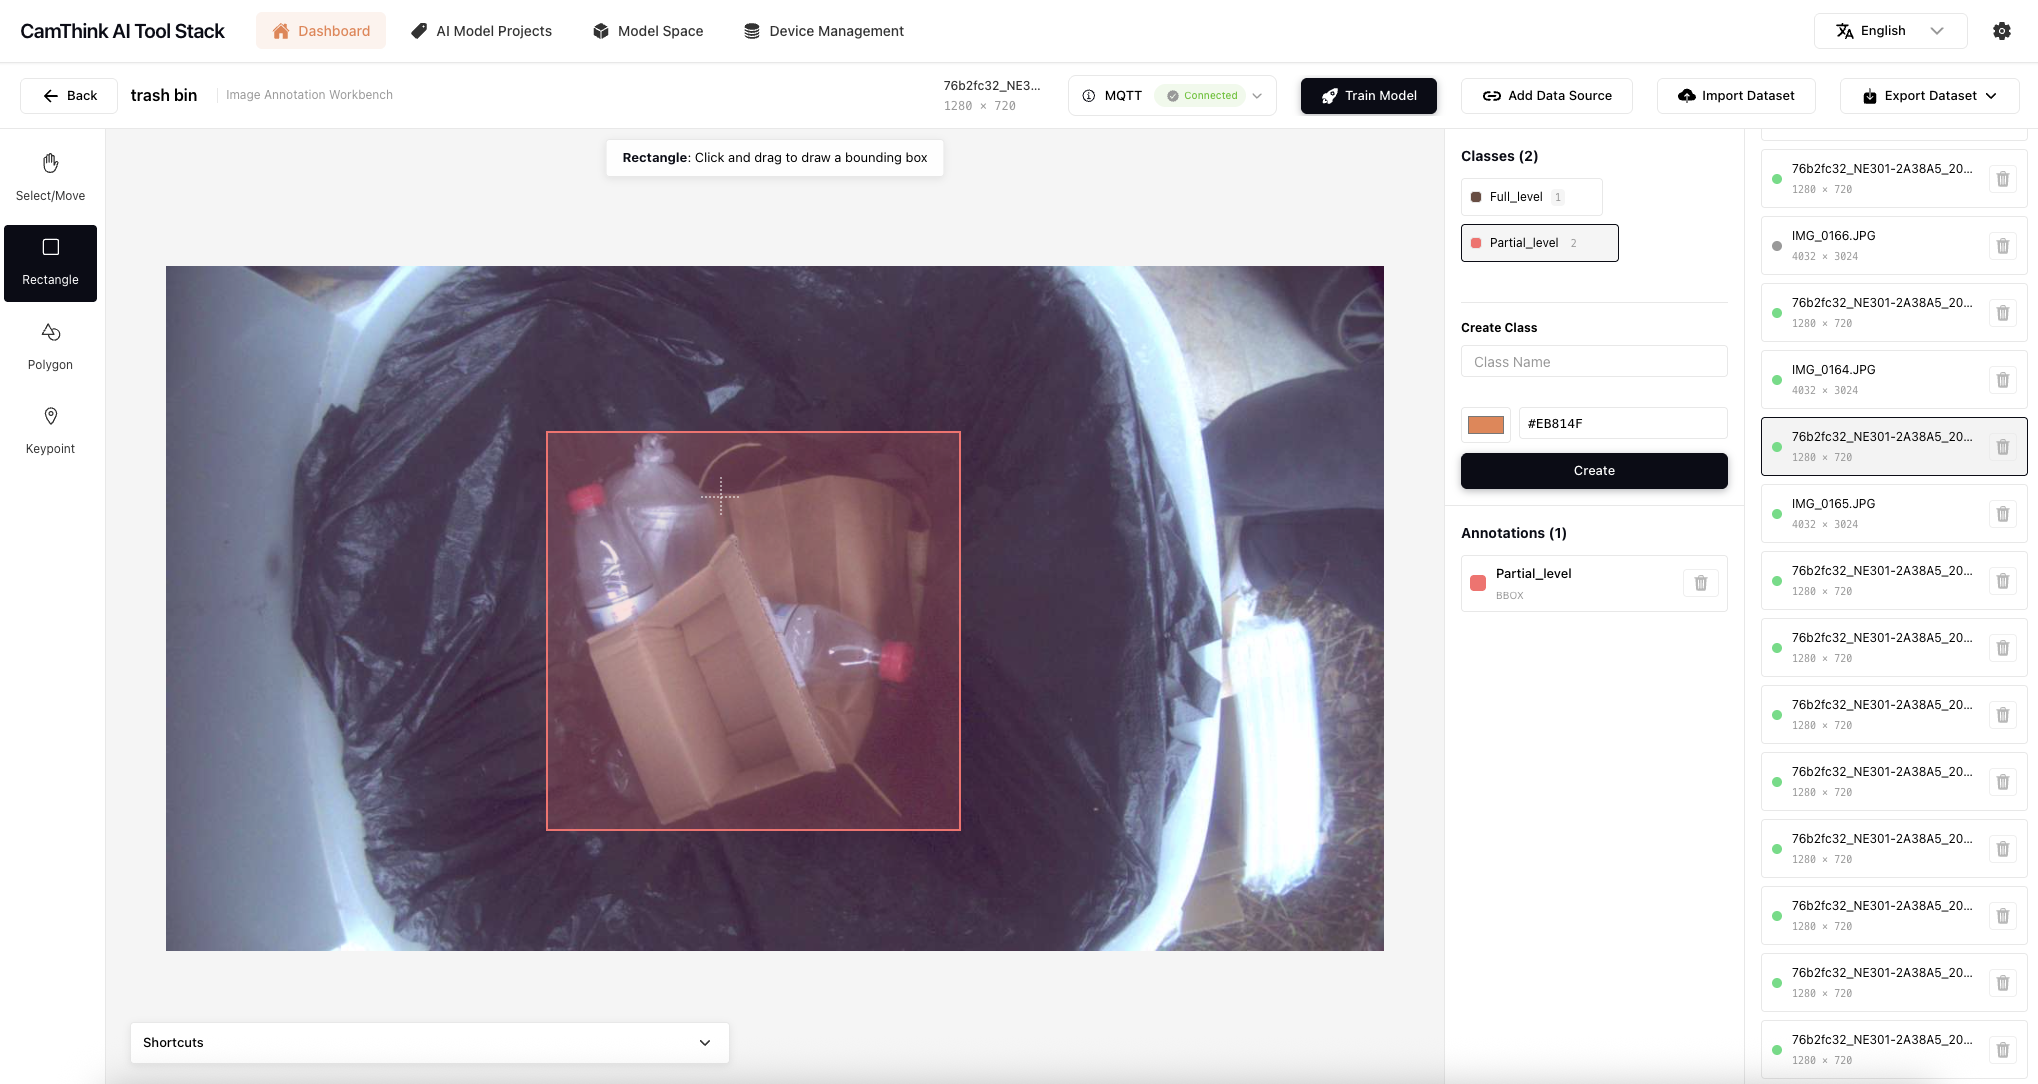
Just do it one by one to make sure all the objects are marked correctly.
If you have the datasets already, just upload them here directly
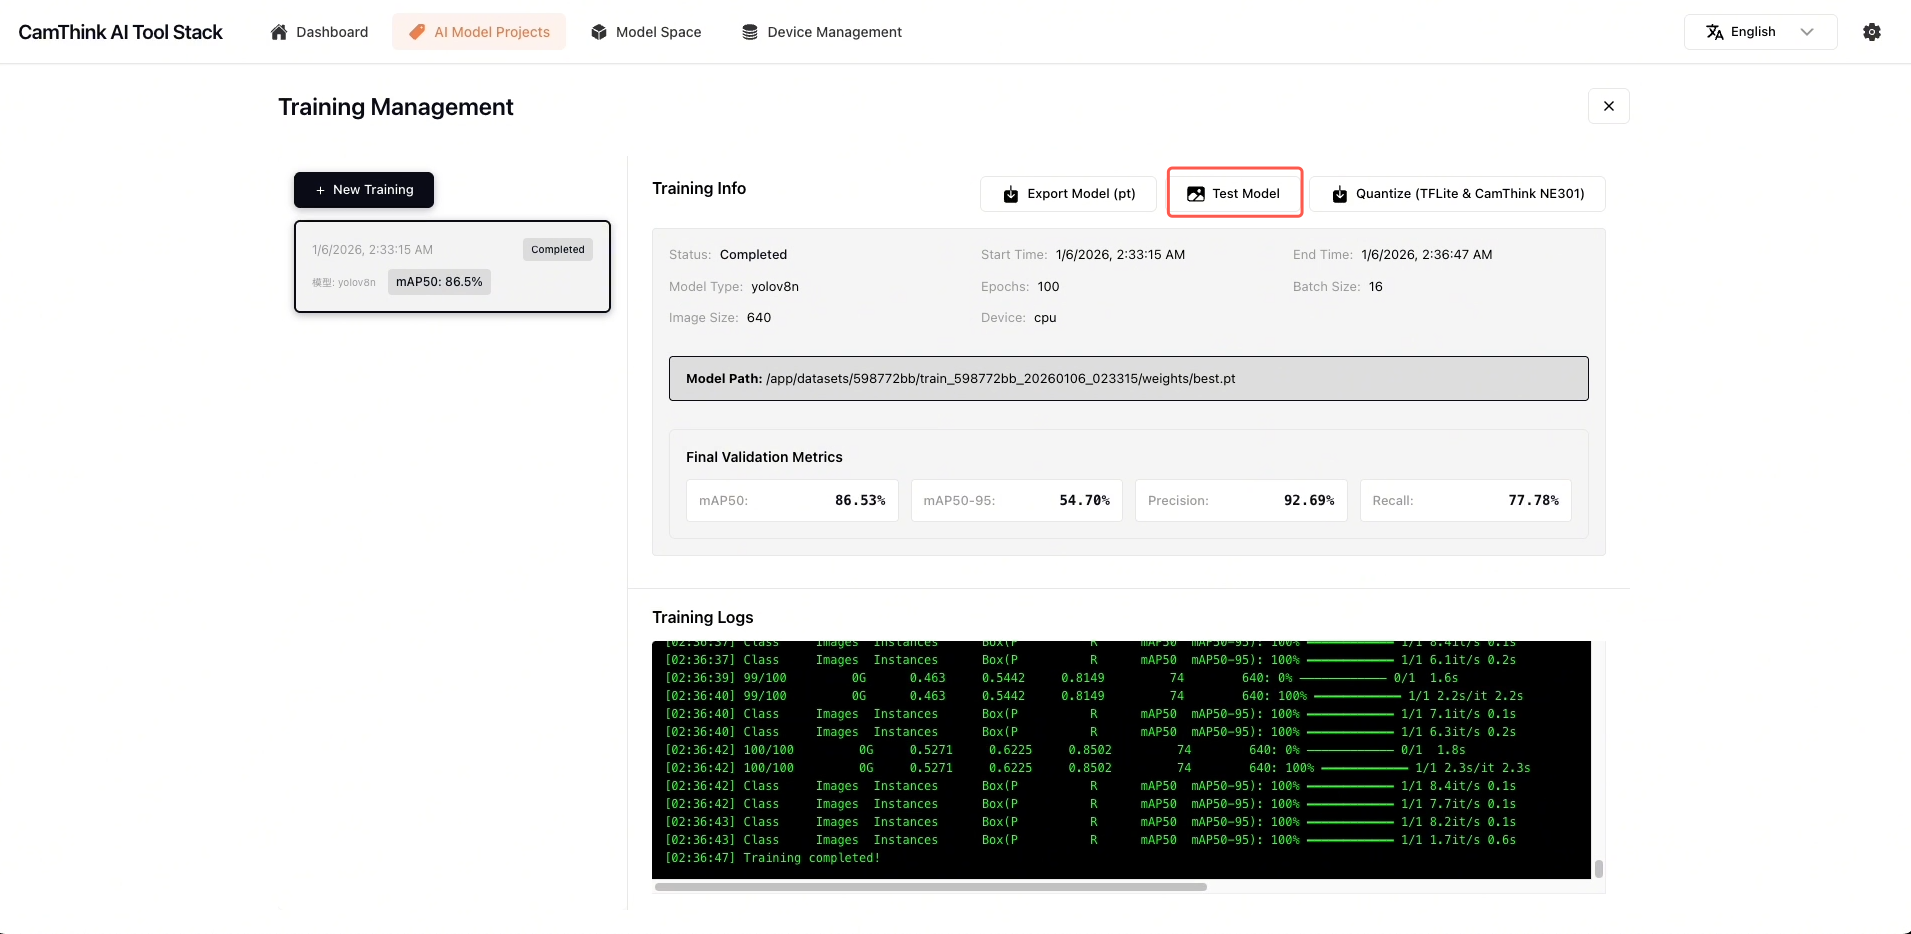
Click 'Train Model' to start the training.
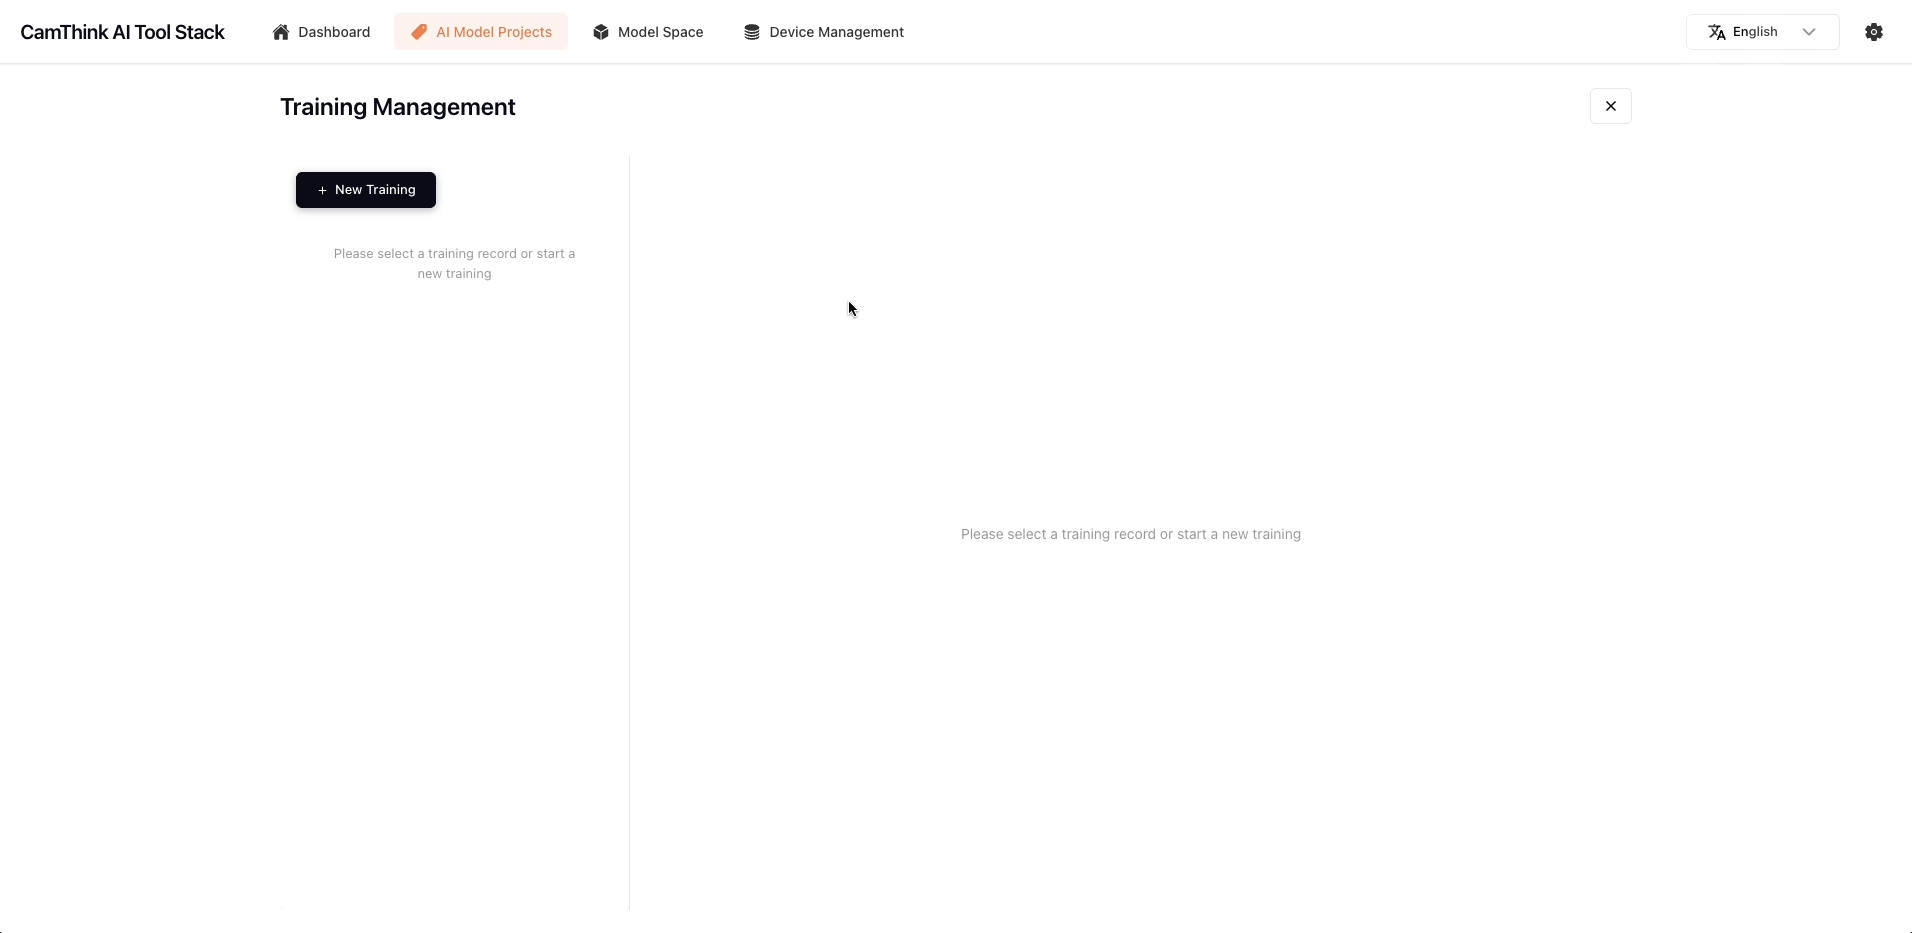
Click 'New Training' to create a new task, keep all the default settings.
Then start the training. It will take a little while.
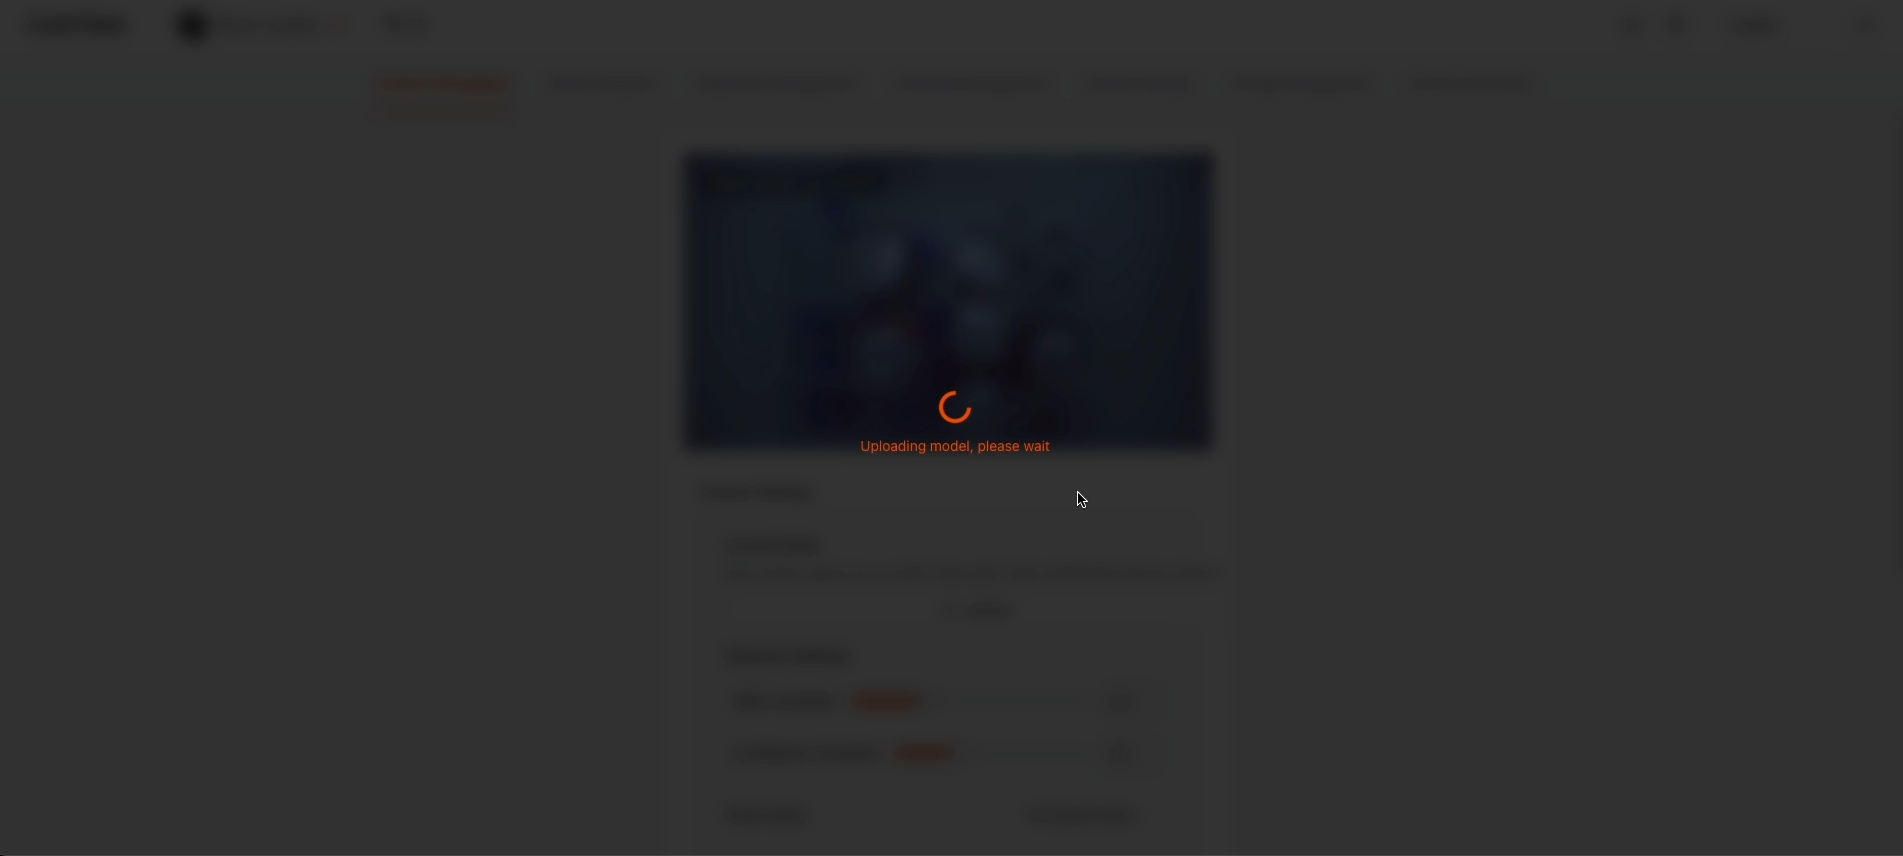
To deploy the model into NE301, we need to quantize it before upload it to the device.
Click the Quantize button.

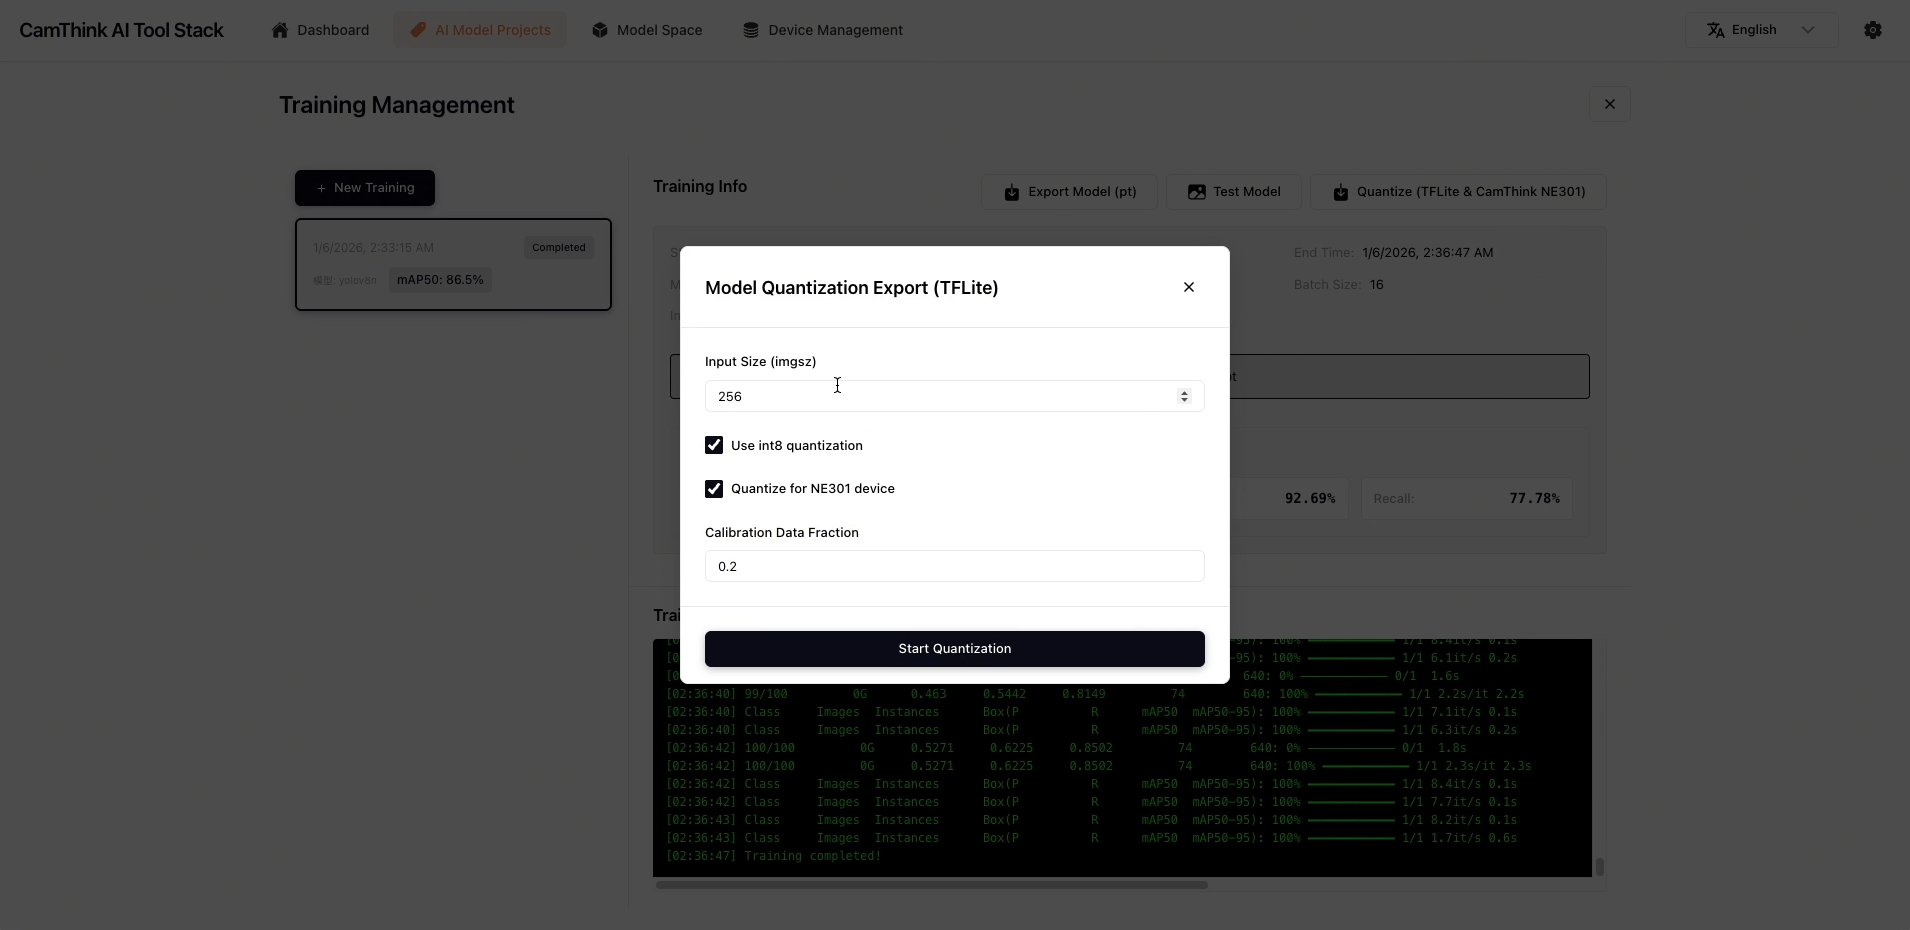
Click it to start, just keep the default settings here
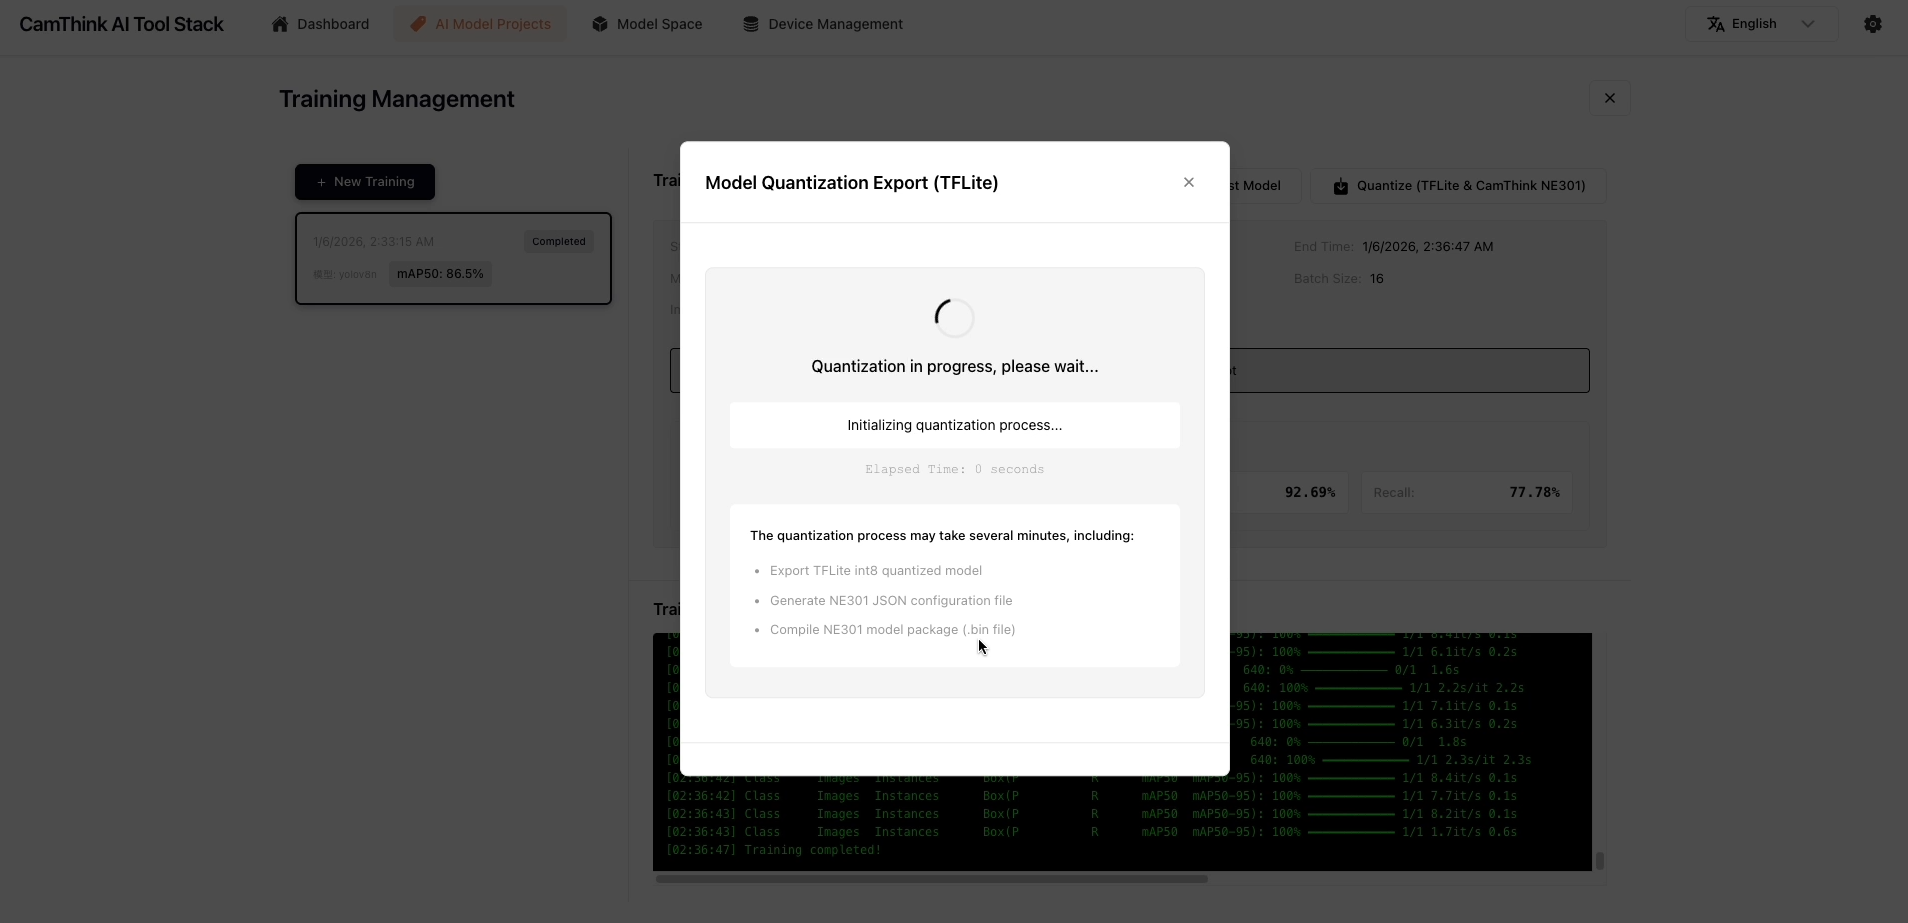
It takes a little while to finish it.
The NE301 Model Package (*.bin) is the exact quantized model. Click to download it.
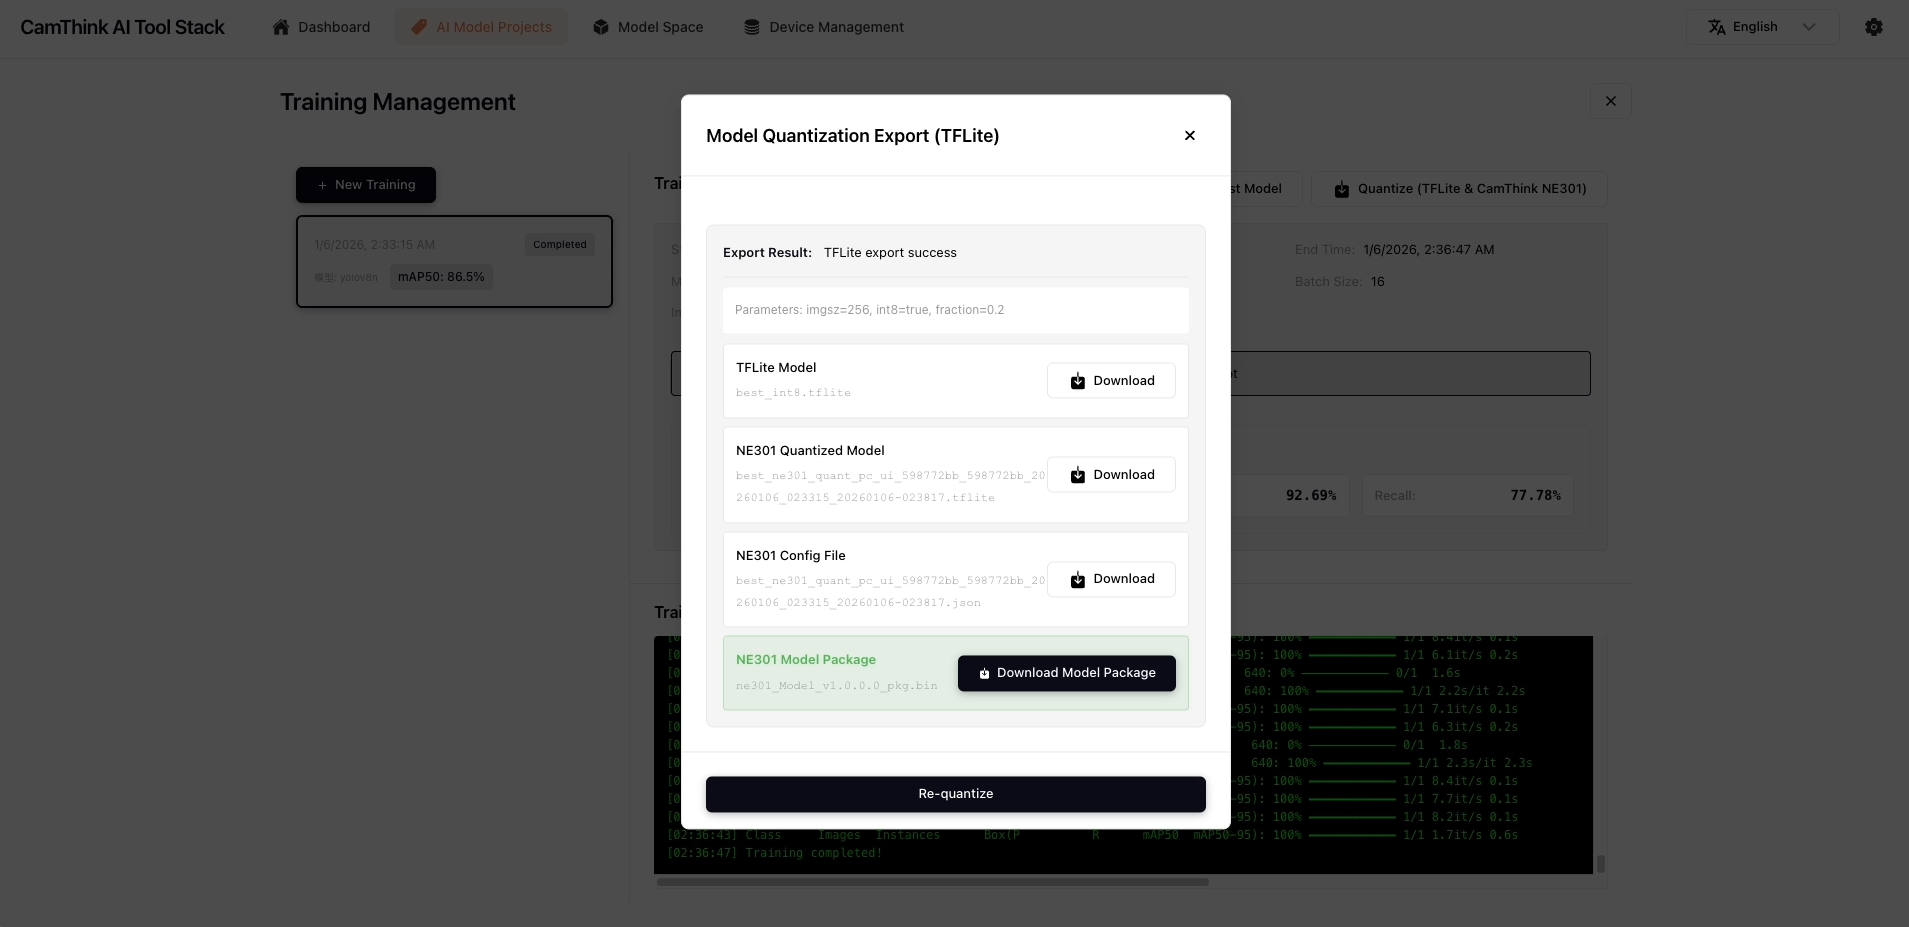
You can also test the model here to confirm if all good
3.4 Verify and Deploy the new model.
Let's back to the device to upload the new model.
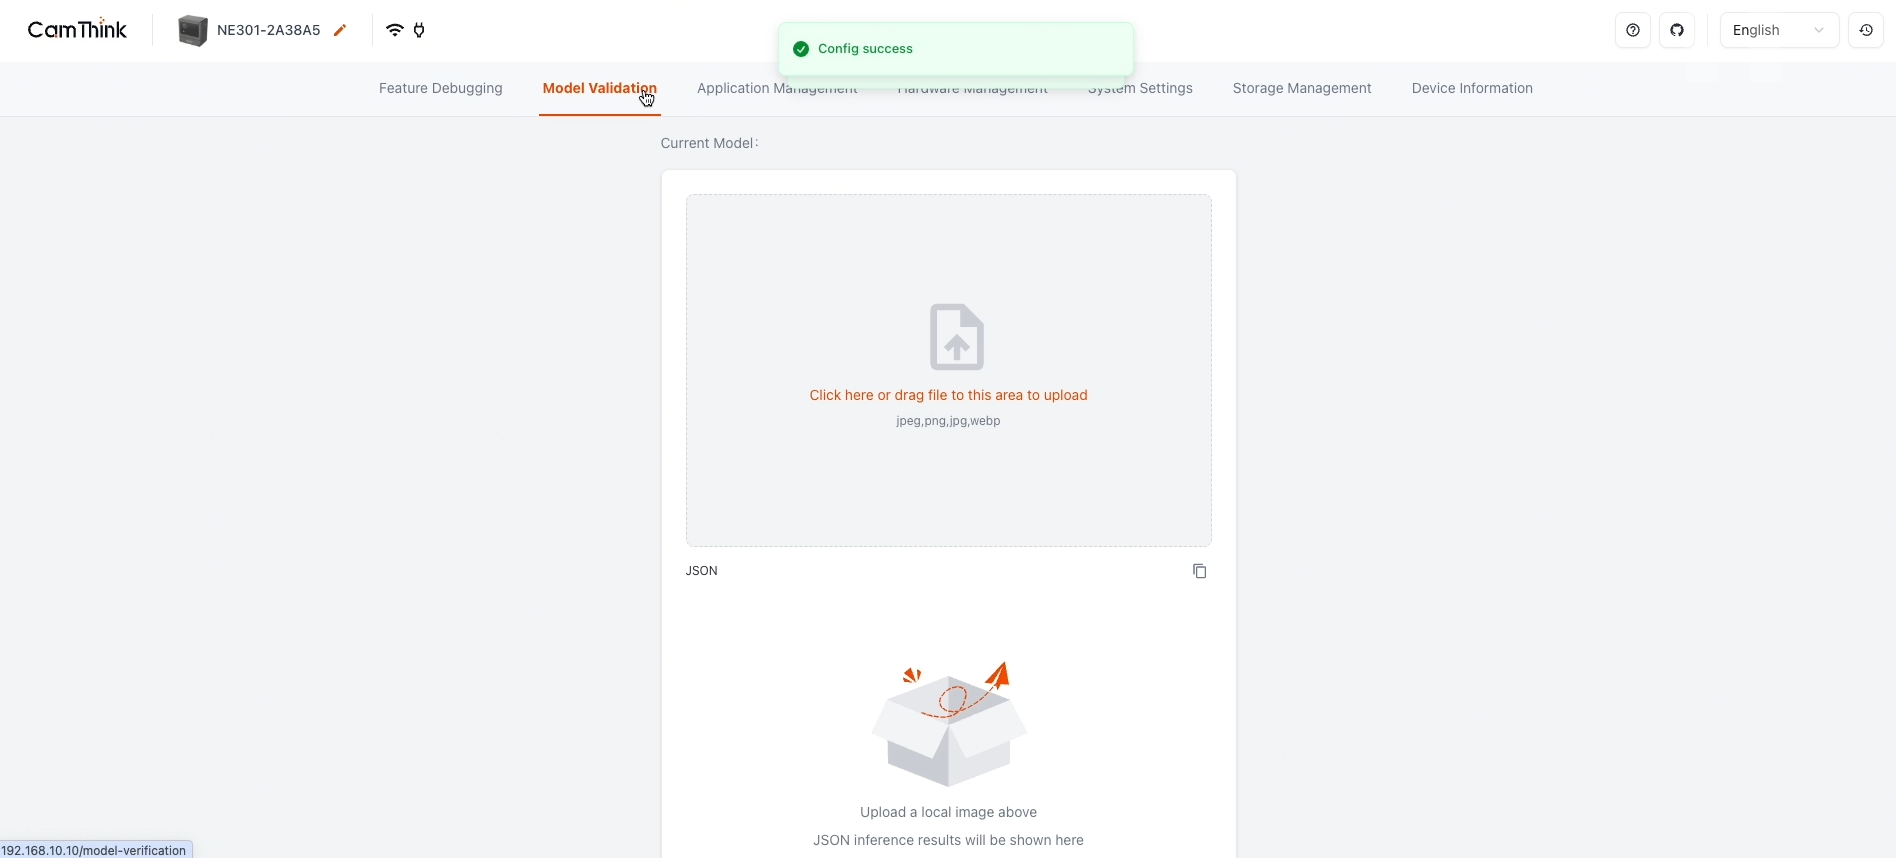
Click Upload button to install it.
When done, the chipsets on the shelf are marked correctly.
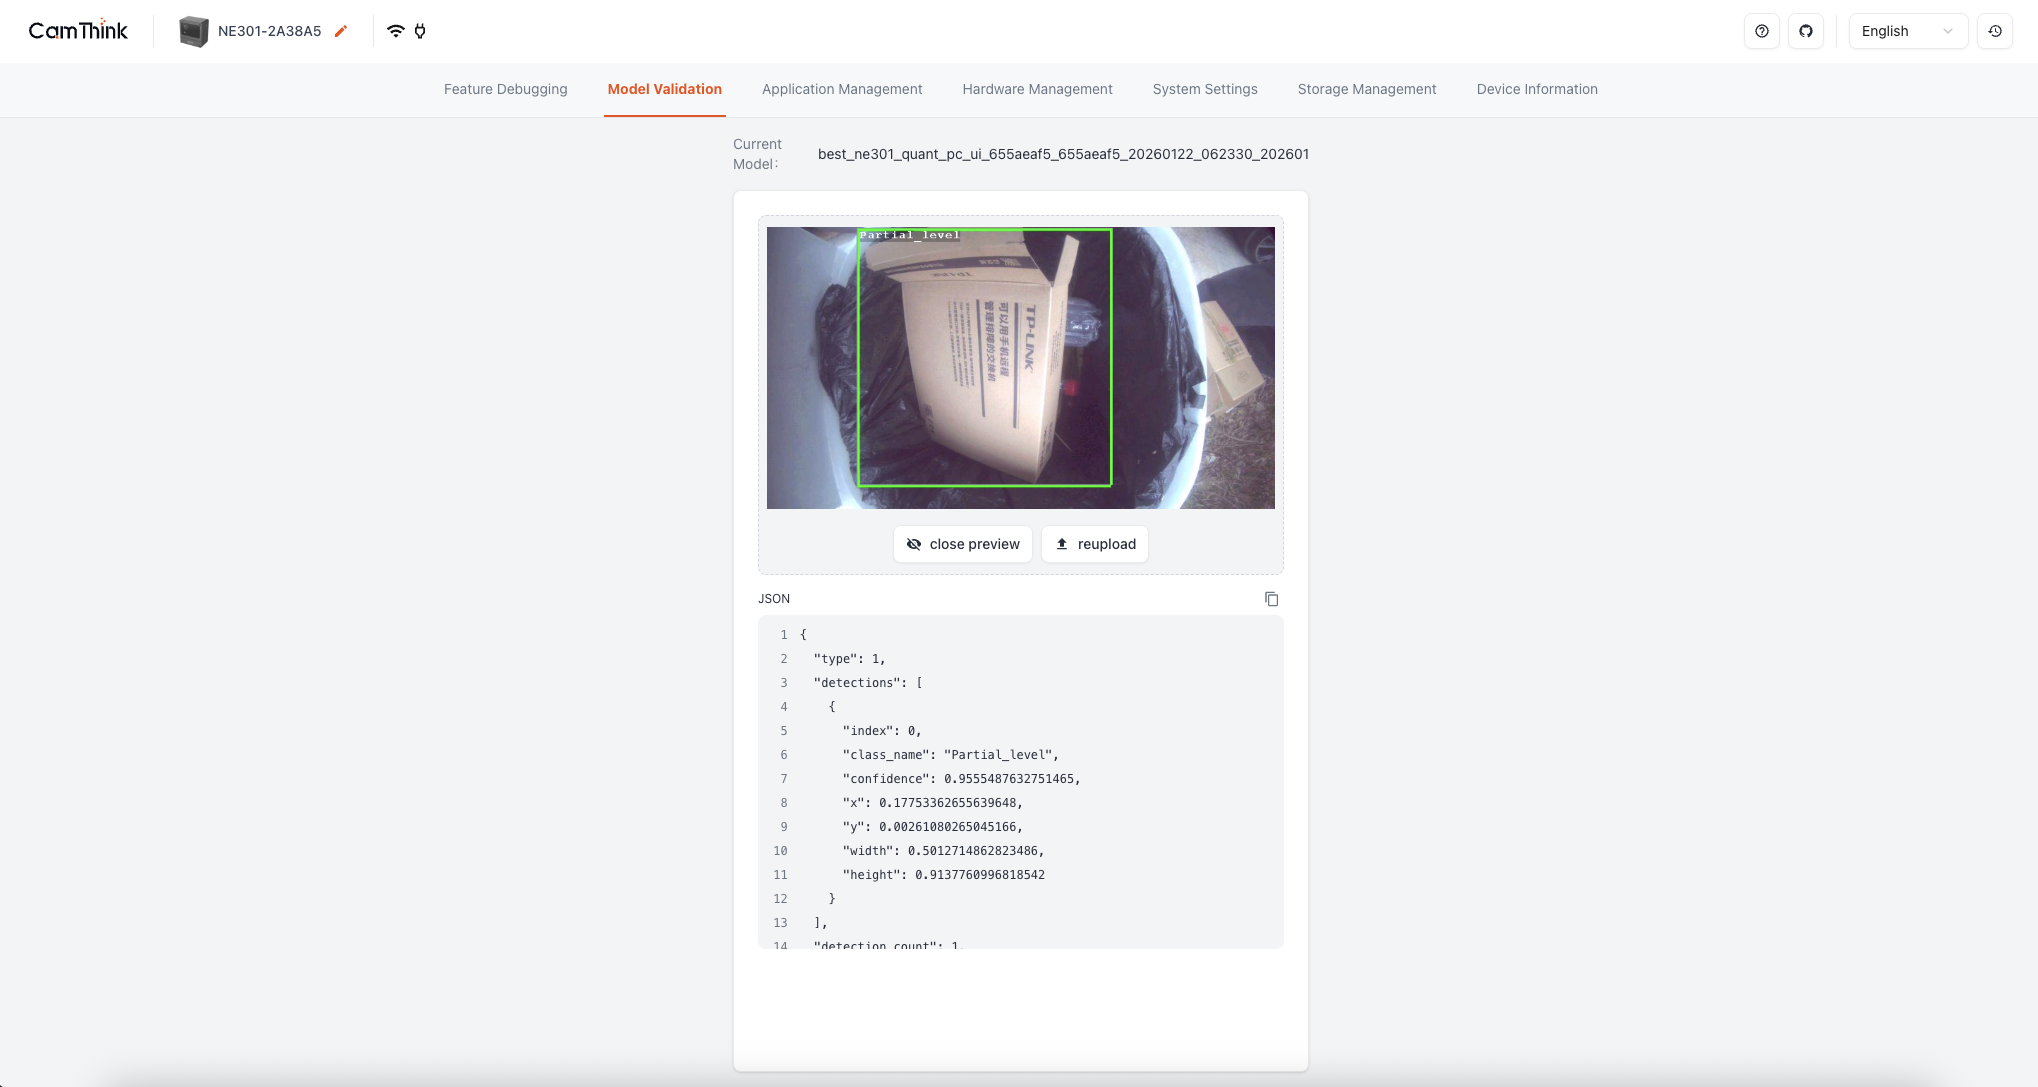
You can upload more images to verify the performance.
3.5 Configure the HomeAssistant applications.
To make the data values more valuable for customers, we choose HomeAssistant for integration and visualization. You can also connect it to other 3rd-party platforms.
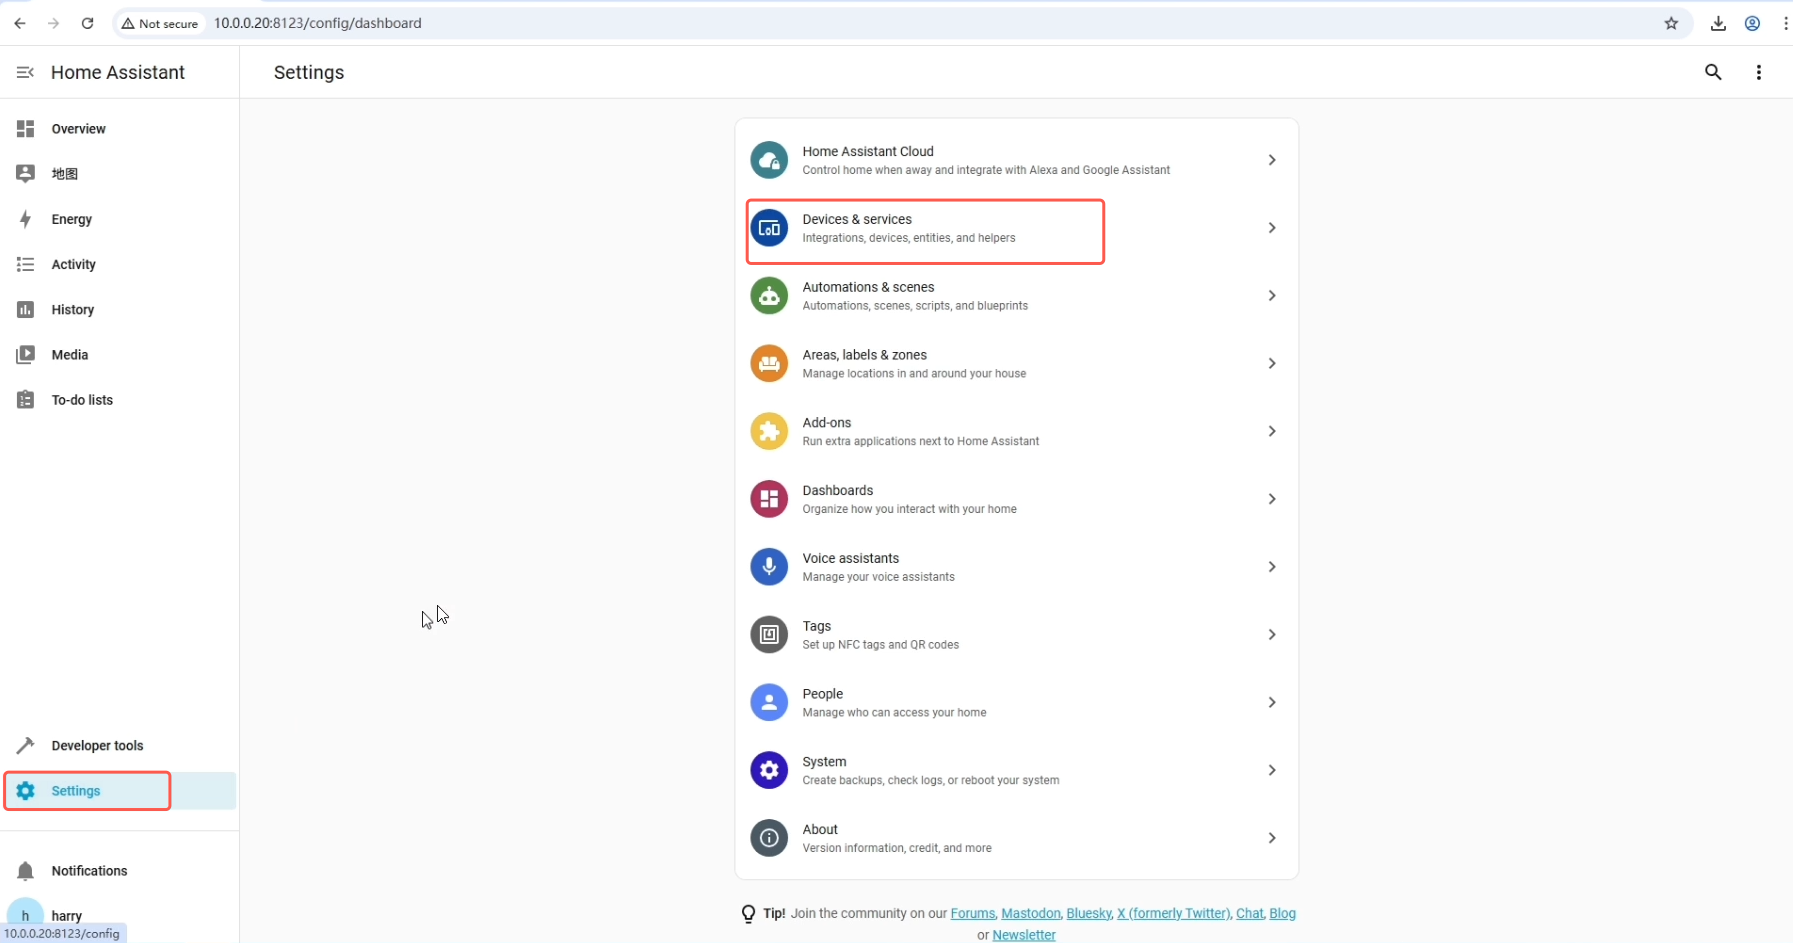
Open the 'Devices & Services' to install the MQTT integration.
Click Add Integration button to install the MQTT addon.
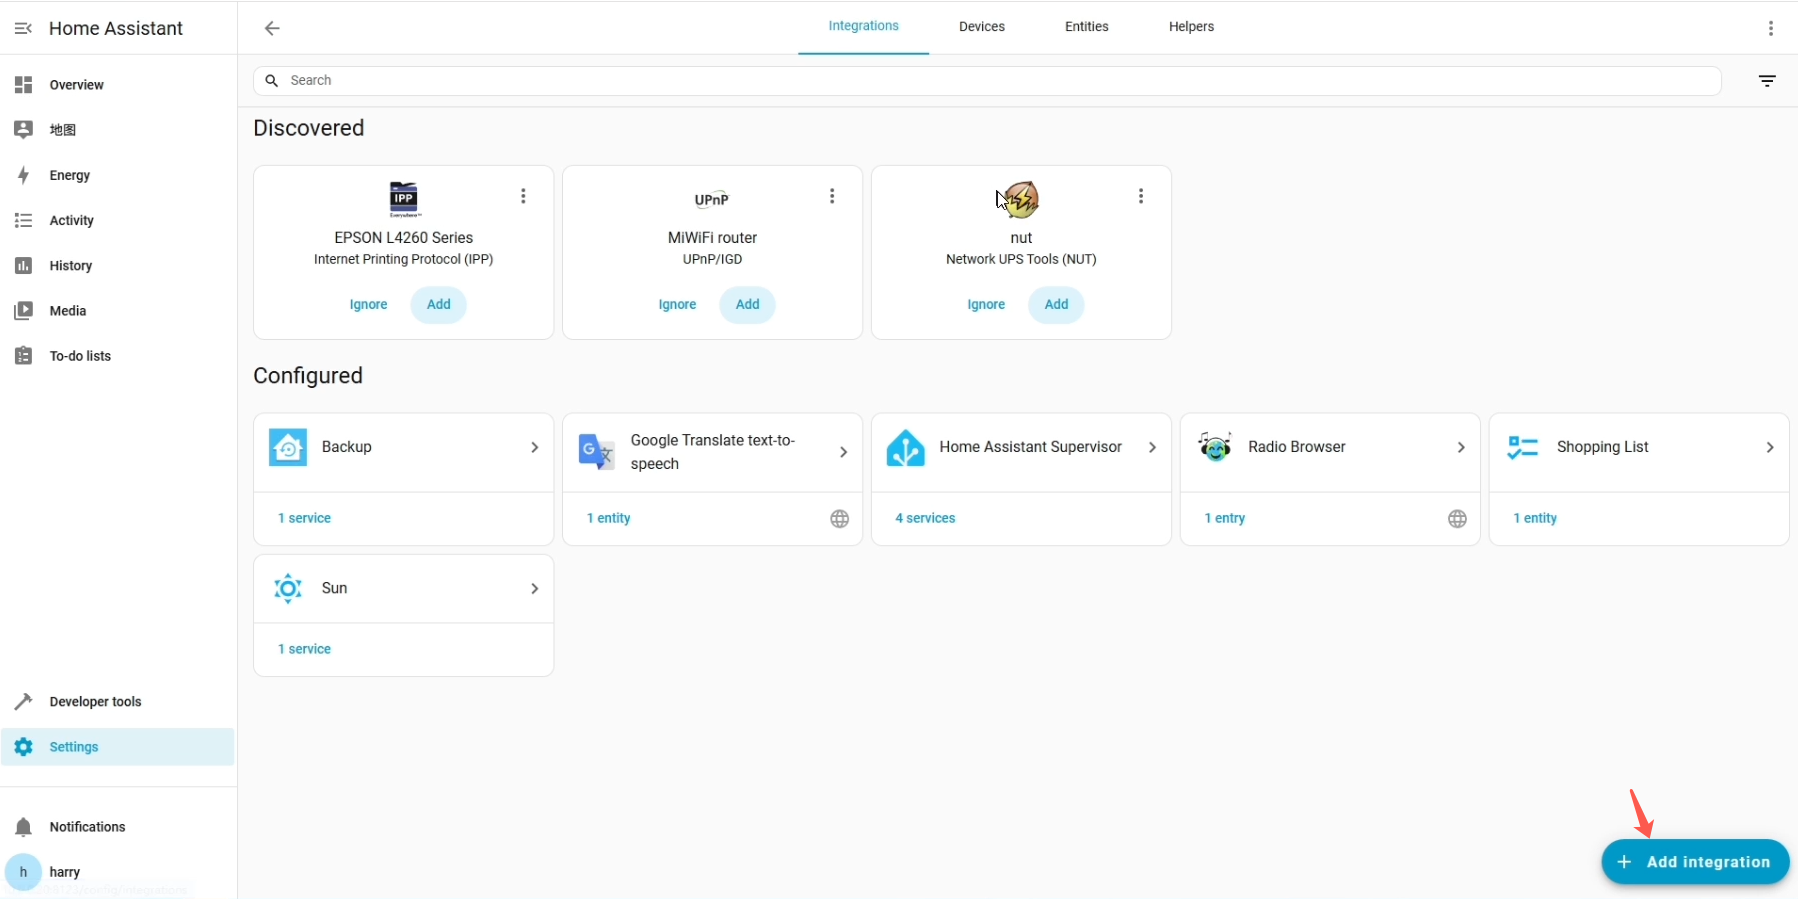
Just input MQTT to search it.
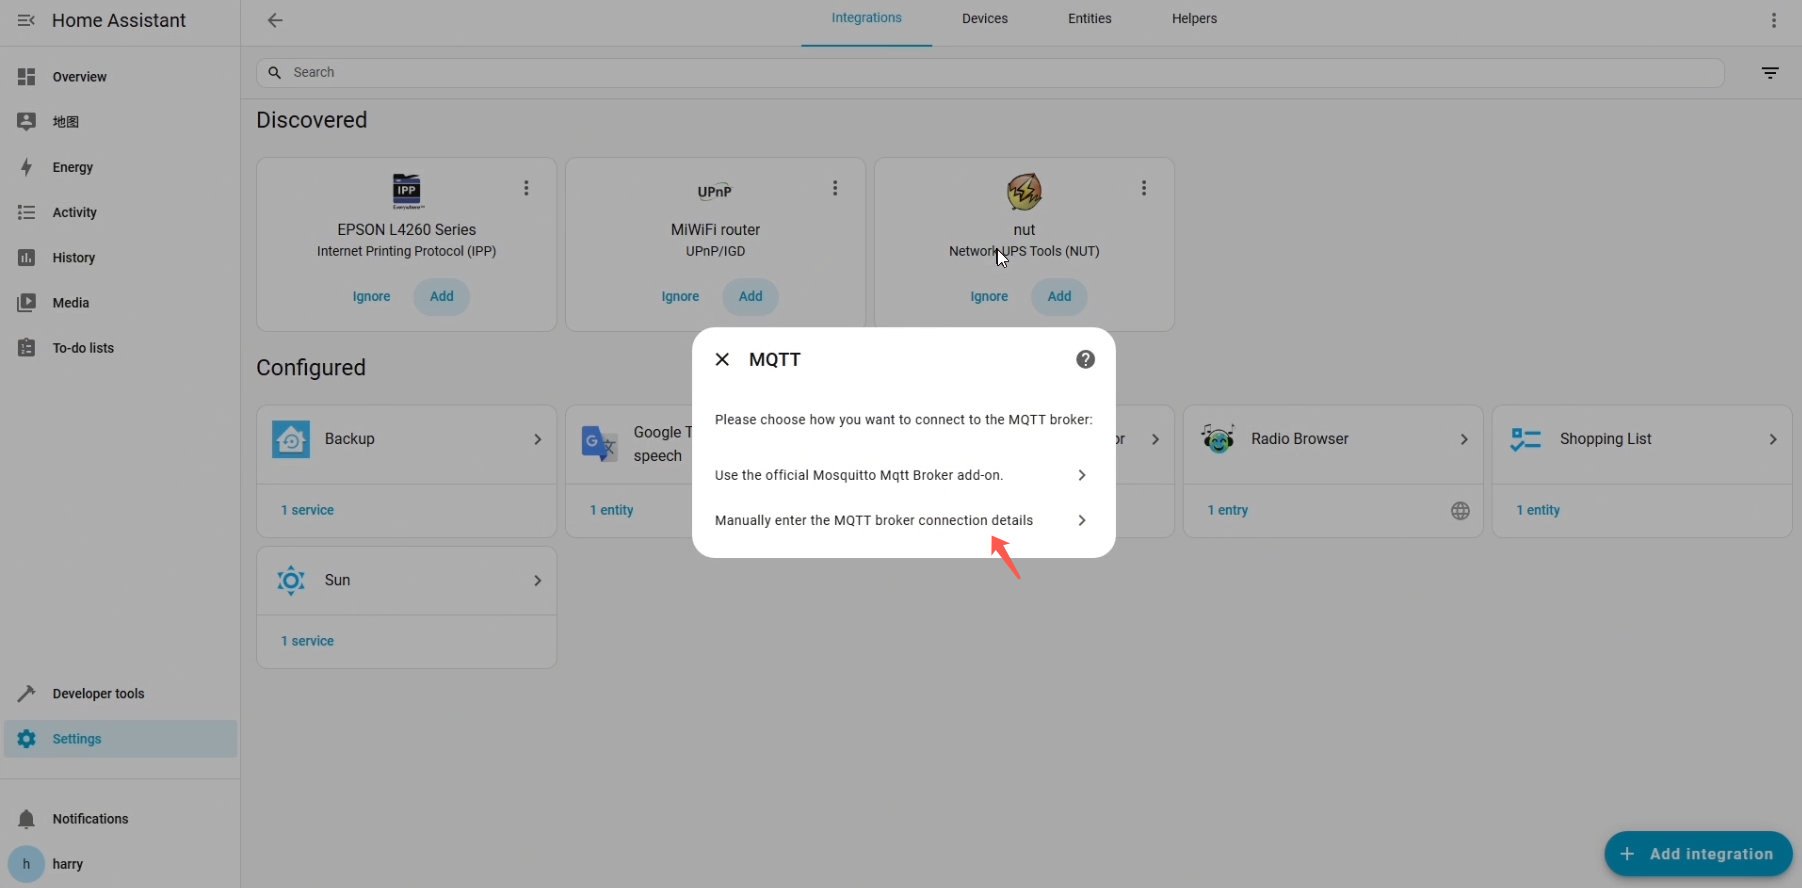
Choose the second one, and input the MQTT broker configured in NE301.
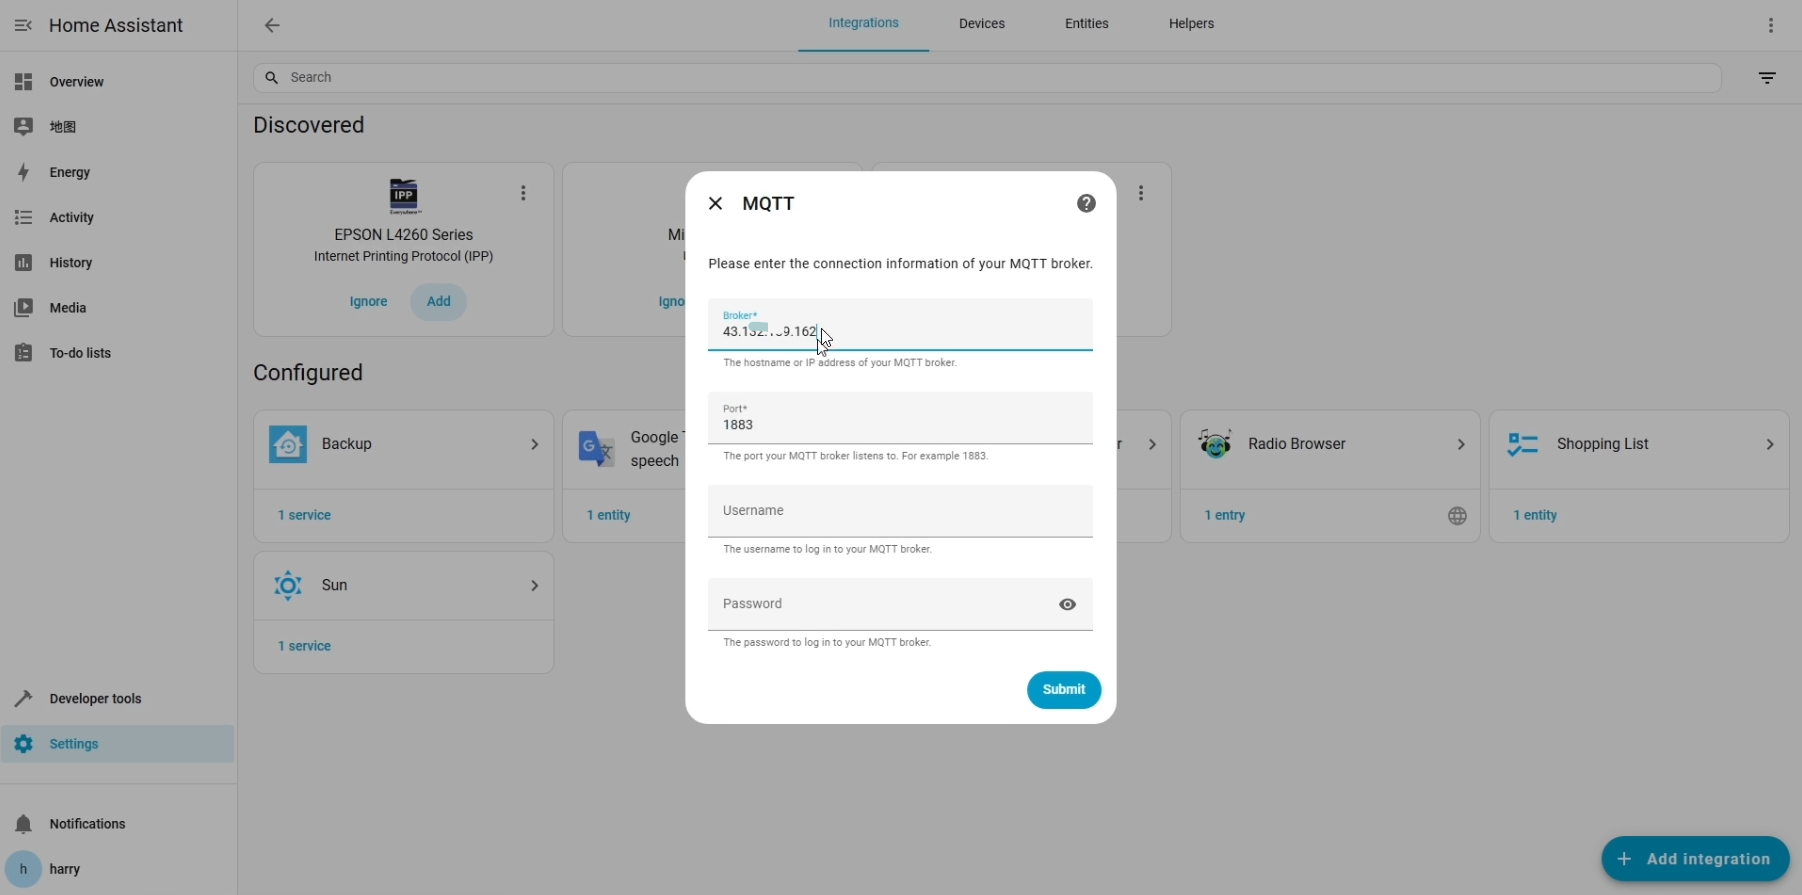
Submit to save it. The MQTT connection is ready.
In this guide, we will try a new method to create the MQTT devices by Edit the configuration file /homeassistant/configuration.yaml directly.
Here is the configuration details in this guide:
You will need to update the name, state_topic, the class value to yours.
Then apply the changes by click 'Manually configured MQTT entities' in Developer tools page directly.
You will find the Sensor is created correctly.

4. Quick Test
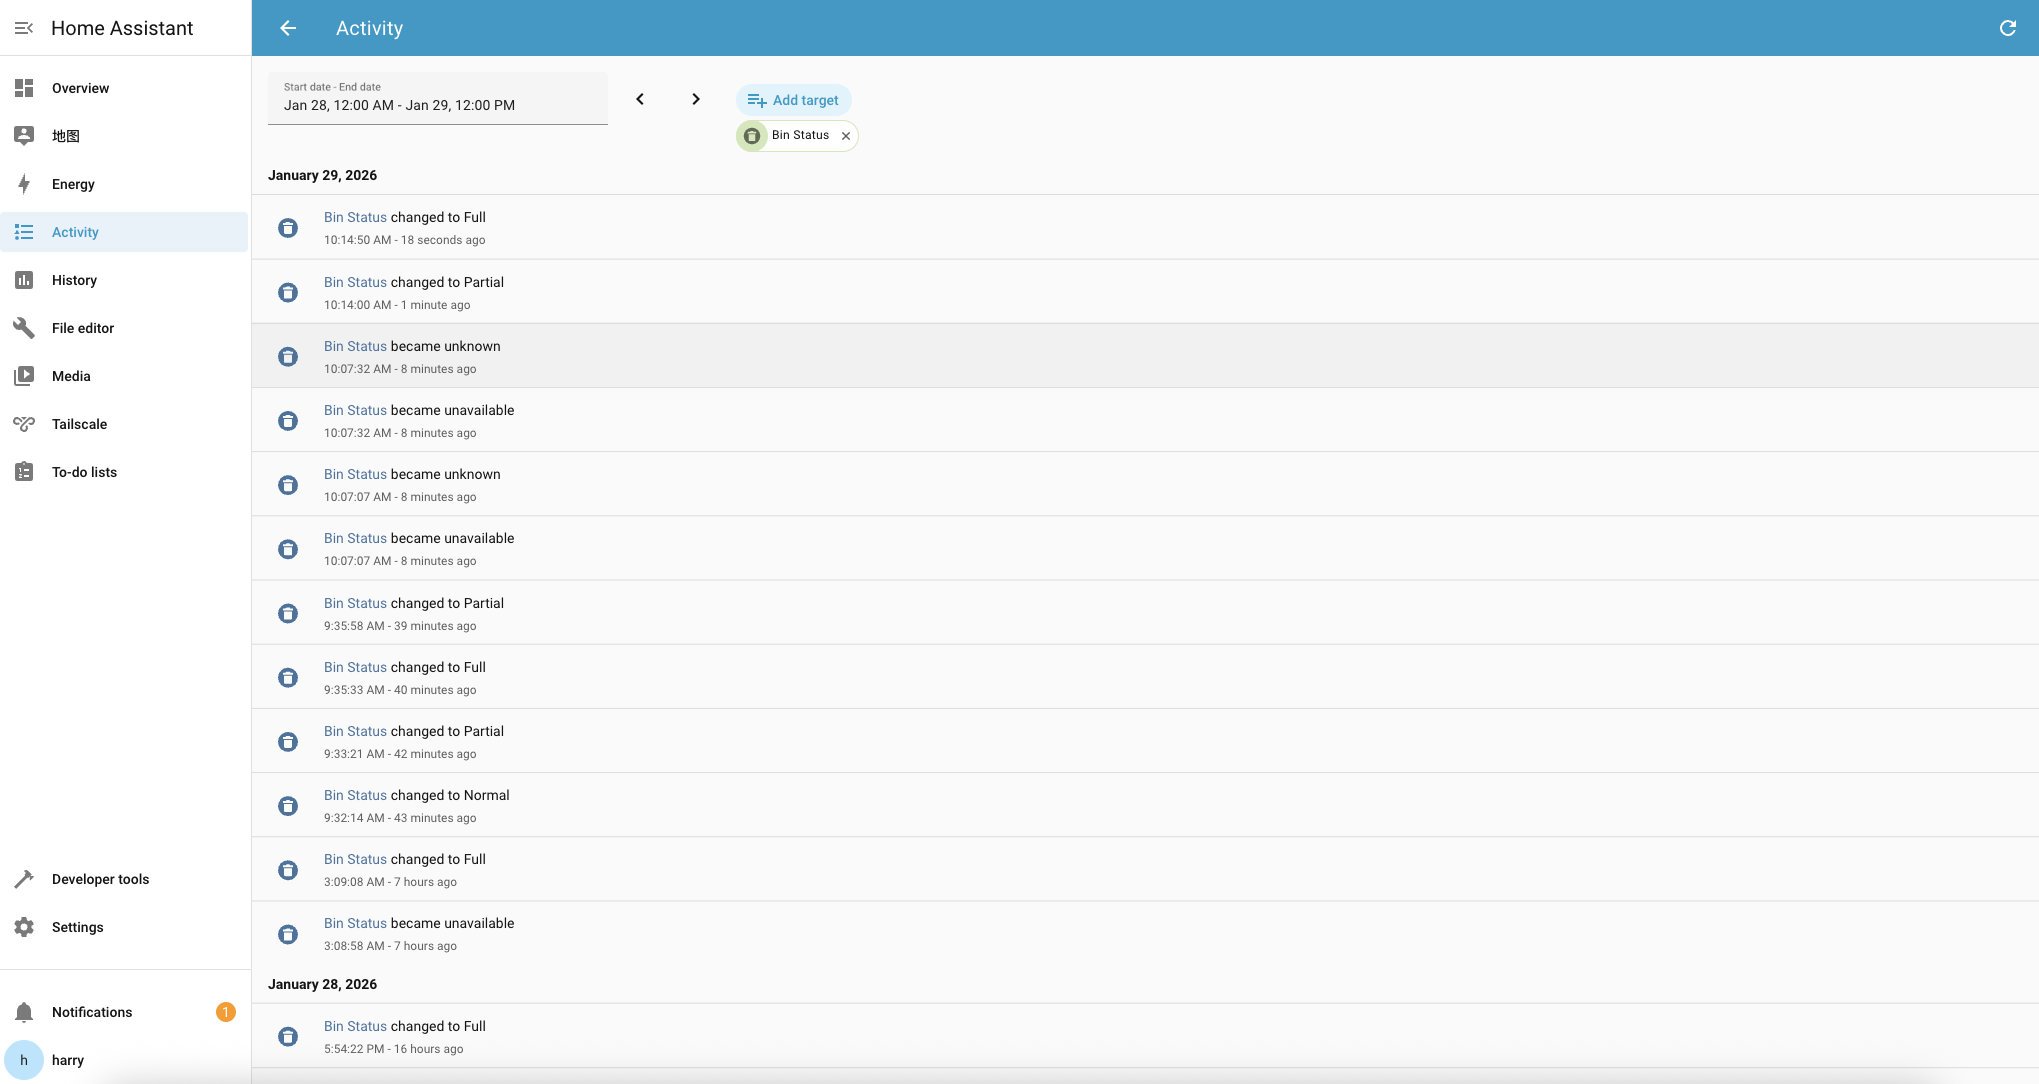
Let's start to monitor the level status of the trash bin. The status will appear with the values correctly.
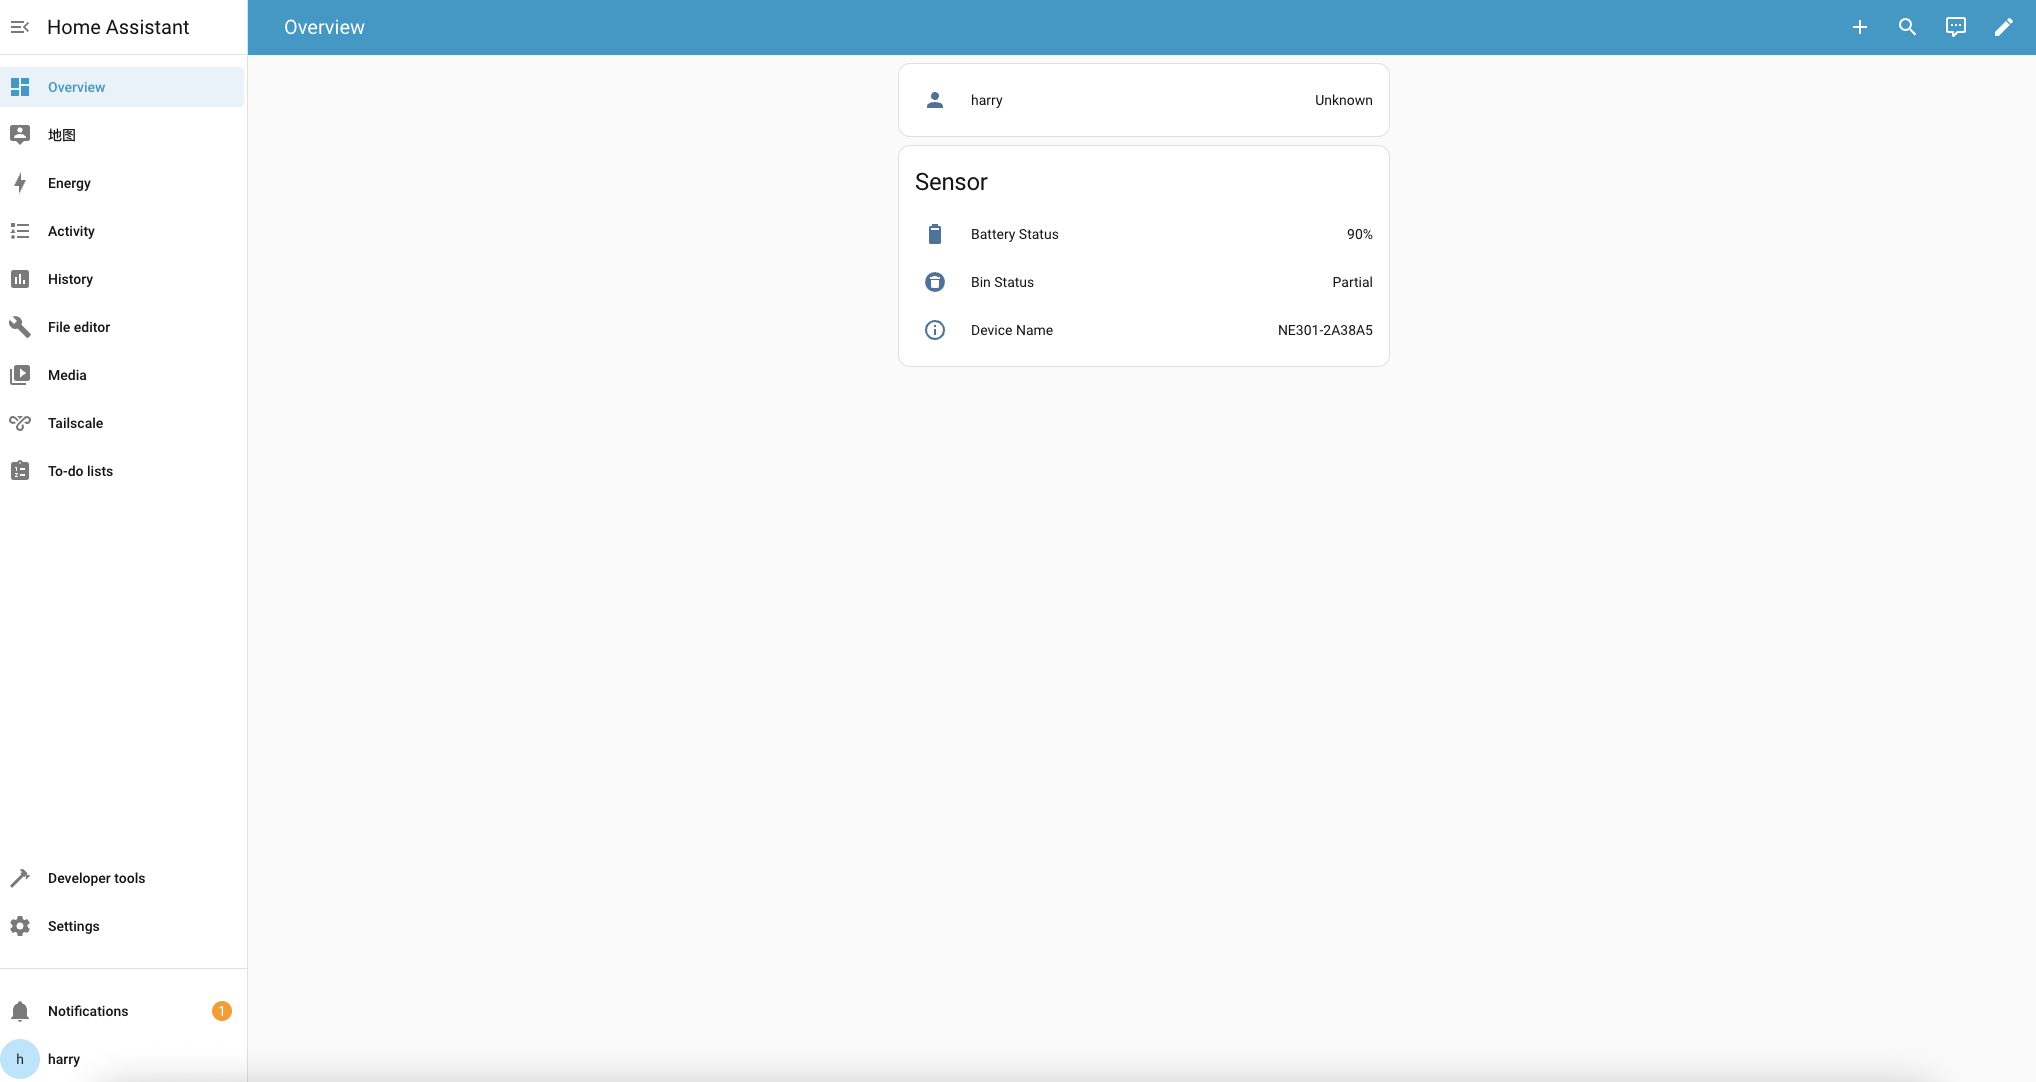
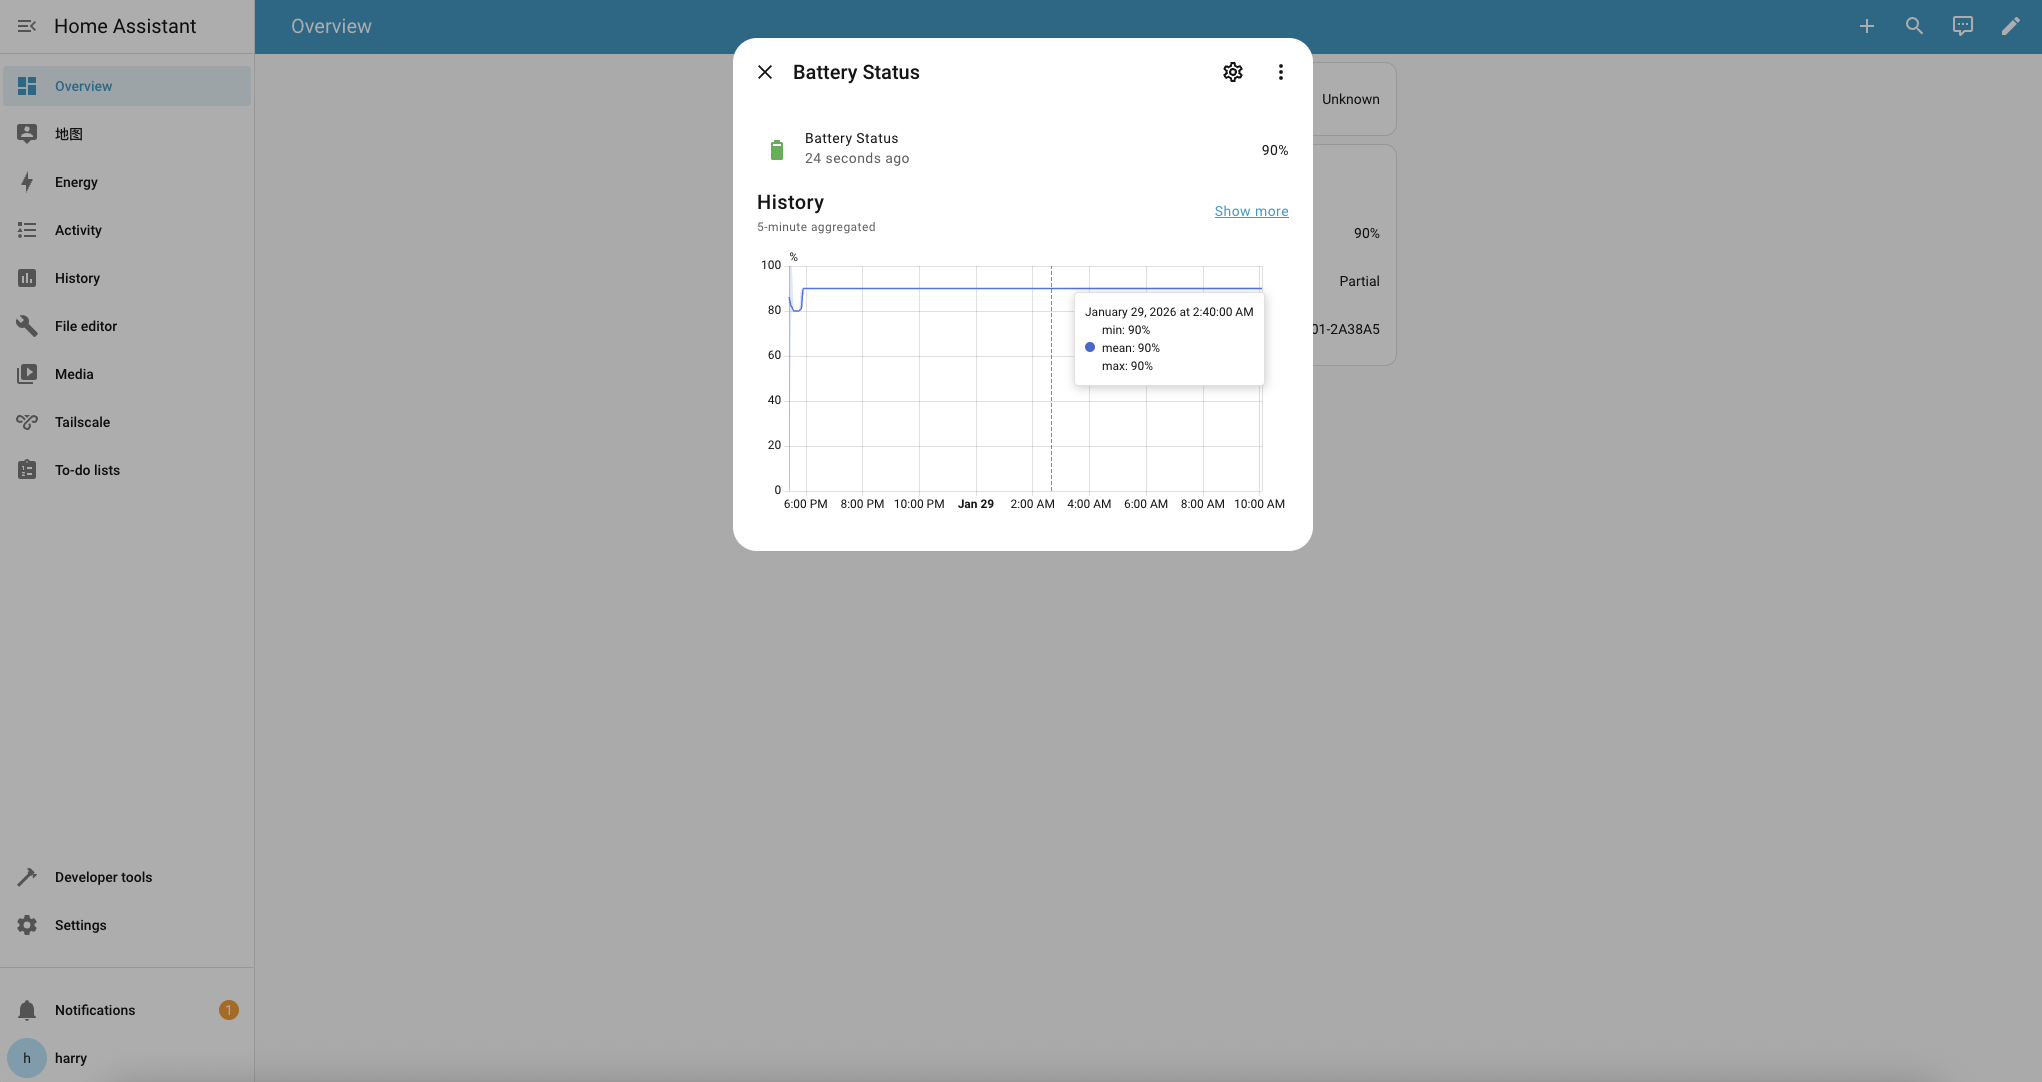
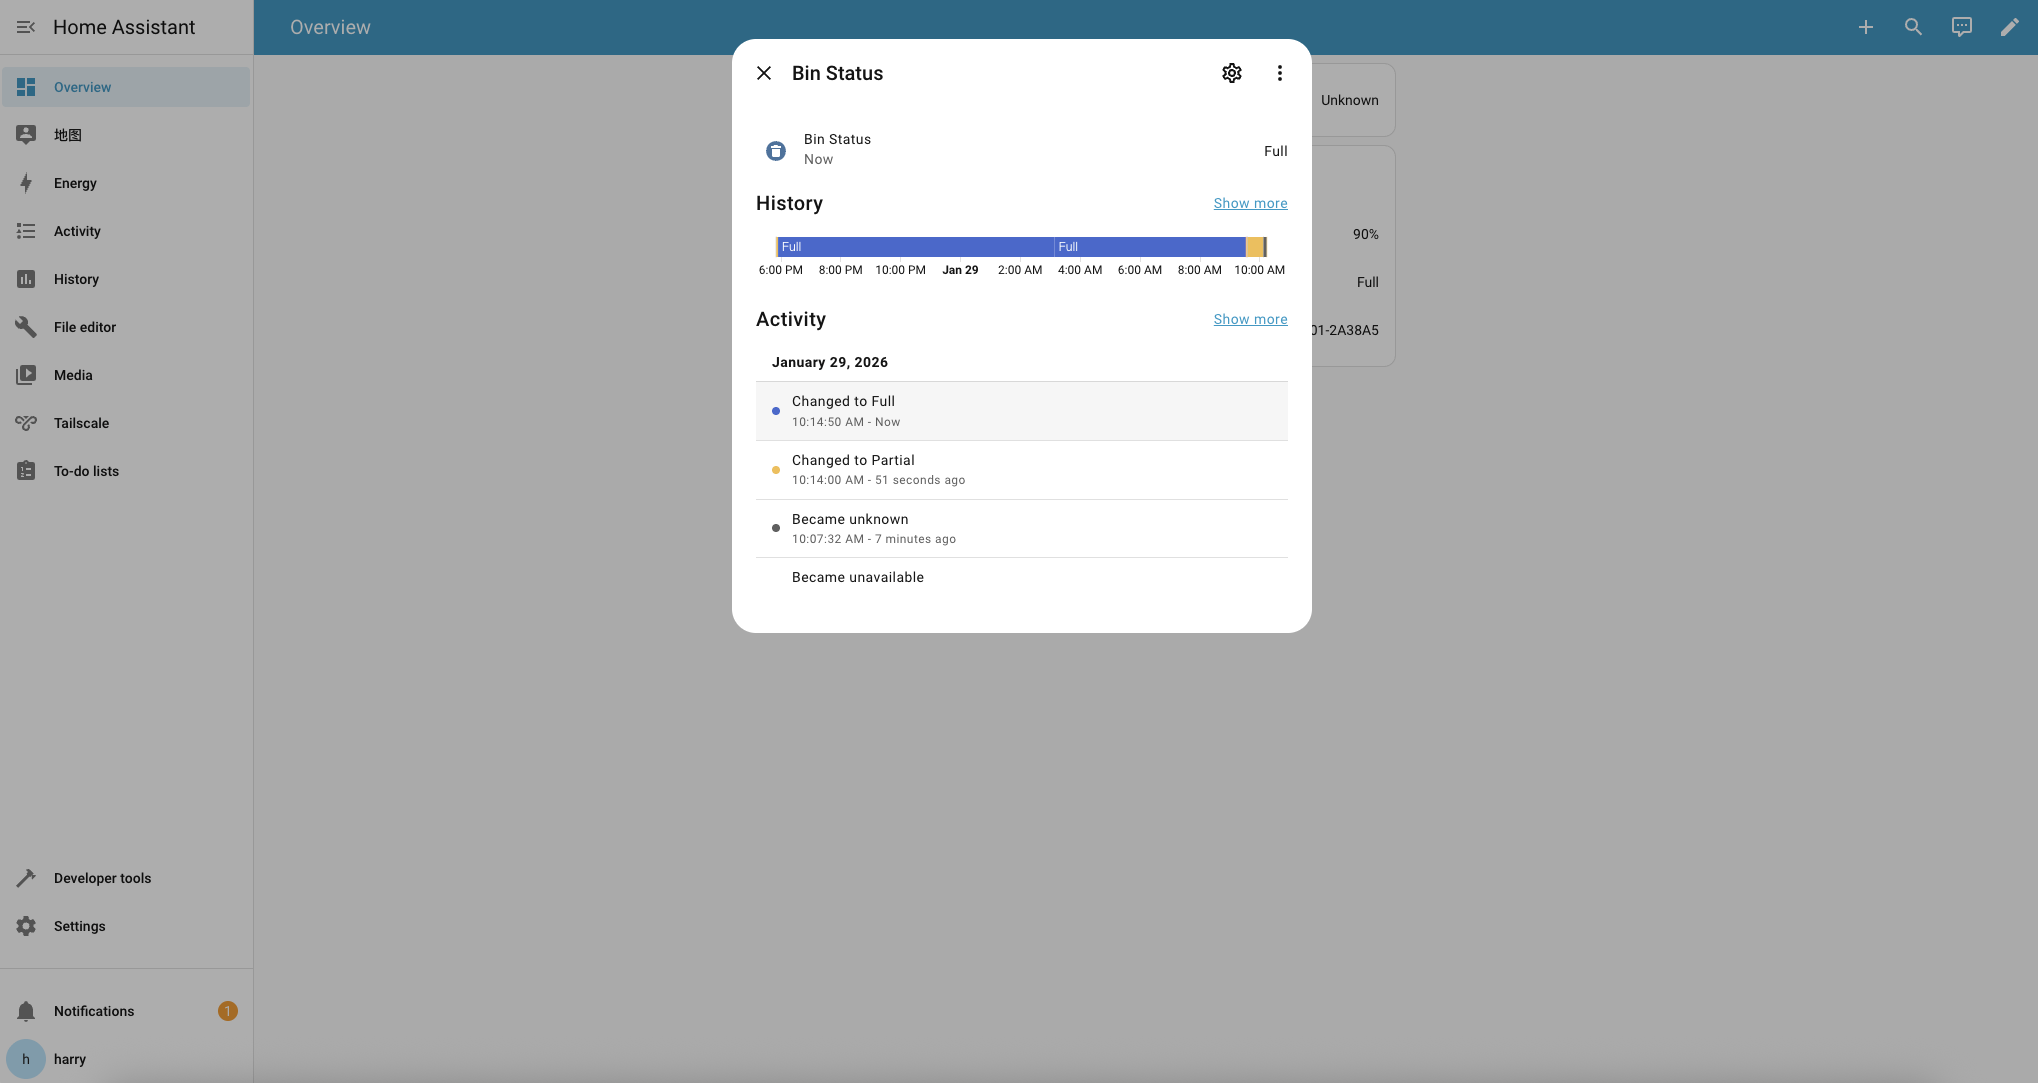
You can also check it in more details in histories.
HomeAssistant platform supports the other appplications to trigger the alert, you can configure them to achieve the full management.
5. Q&A
Q: Can I use the same MQTT broker and for Model Training and Quantilization?
A: The server in this guide is for internal use. You need to install your own AI Tool Stack on your own.
Q: Since the Chipset is smaller, how to improve the model's performance?
A: You can try the option of Input Size to be 320 during the quantize process.

Q: How to set the value template in HomeAssistant?
A: You can visit the HomeAssistant to get the details about how to use it. Here is an example of NE301's report data: