AI Model Projects & Annotation
Create Project
Create Project
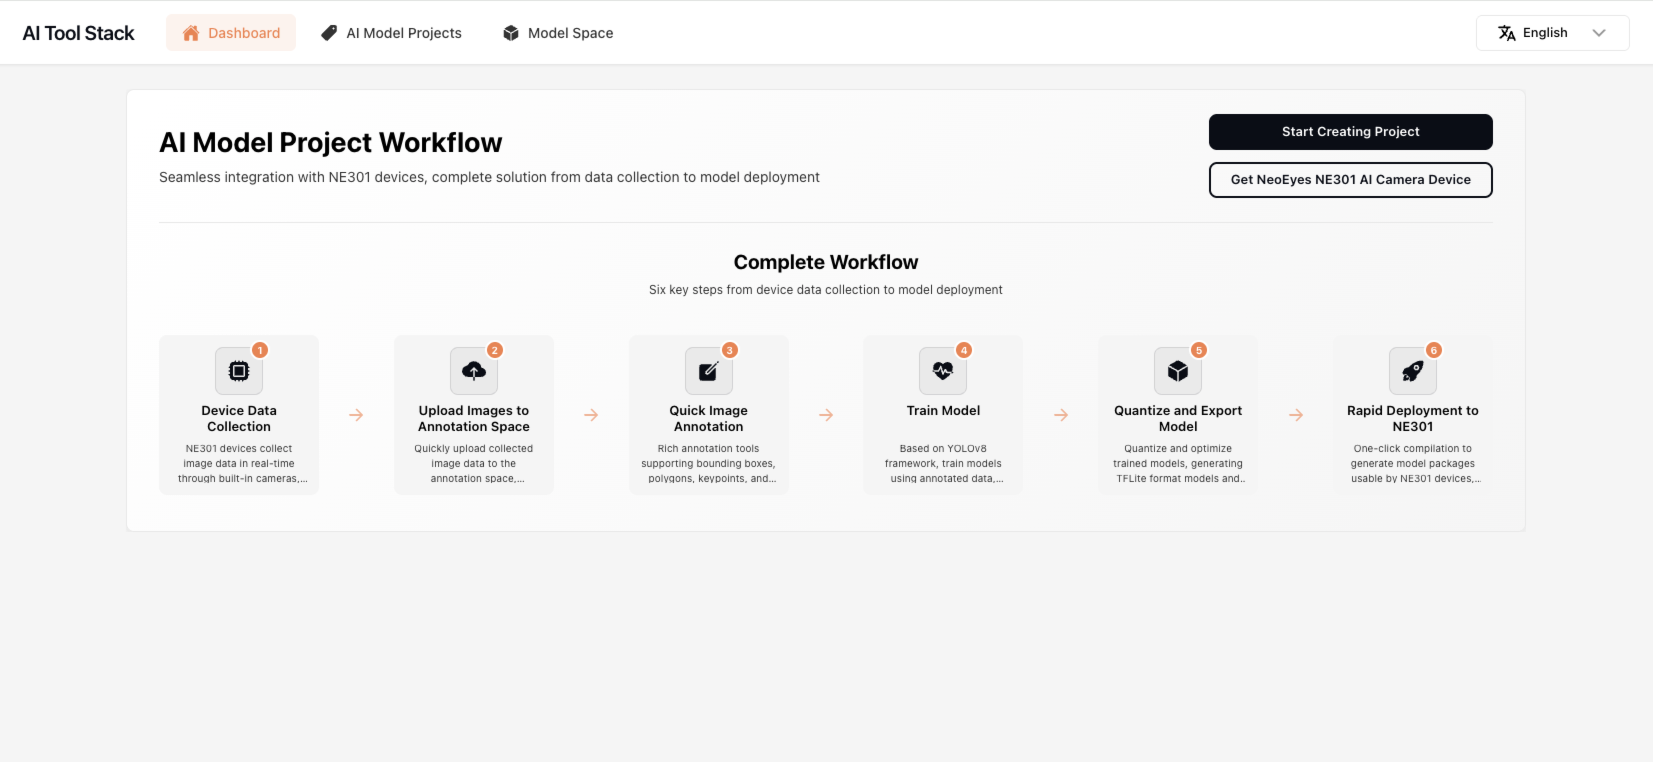
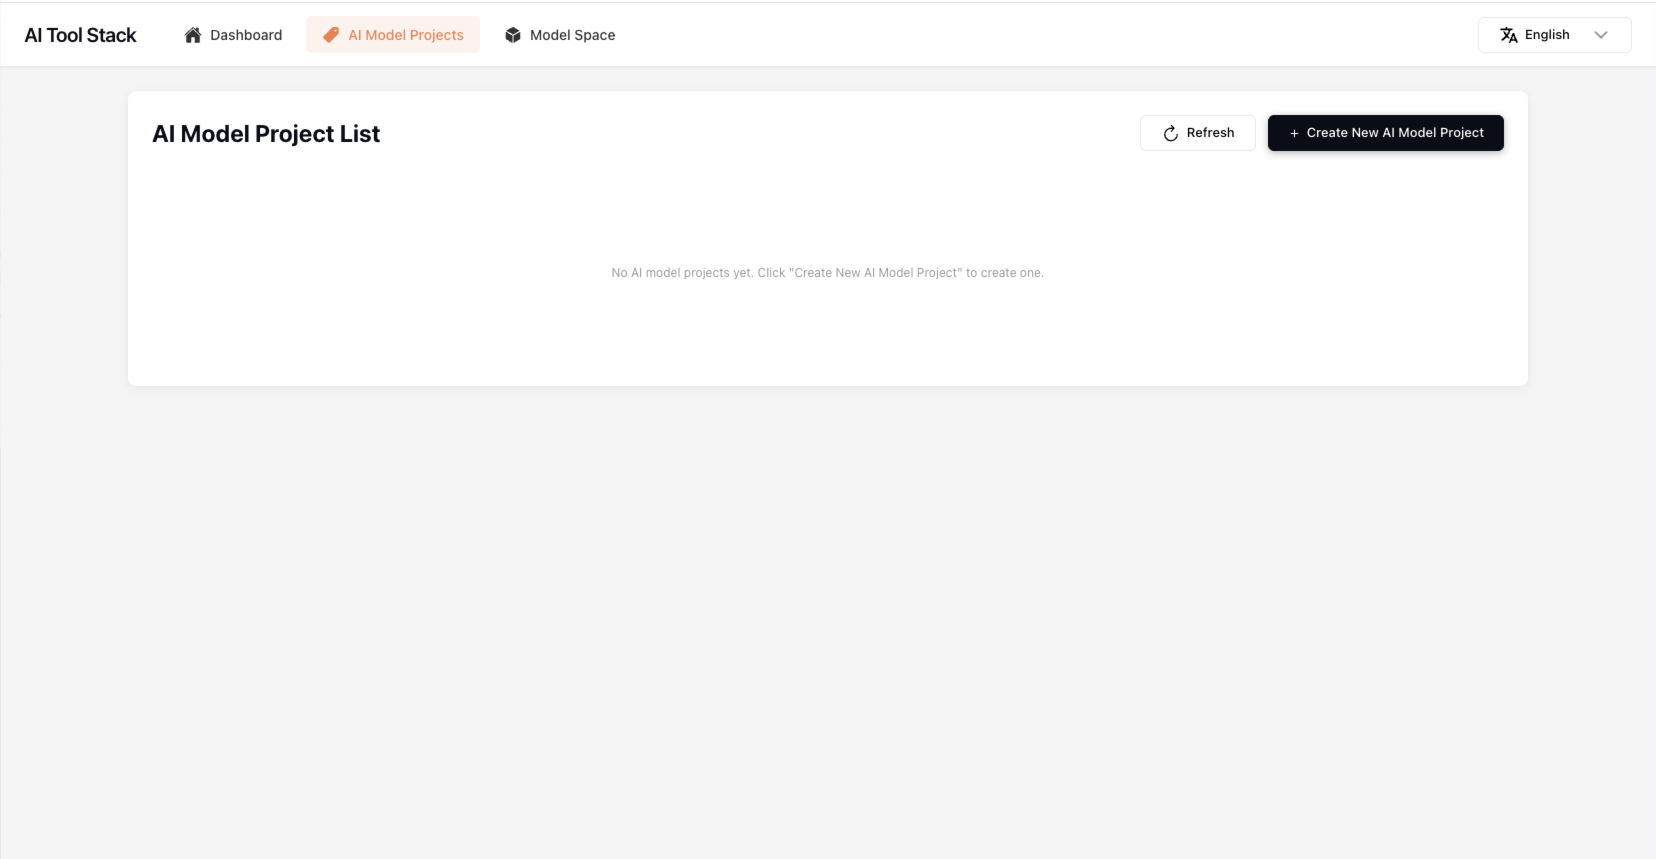
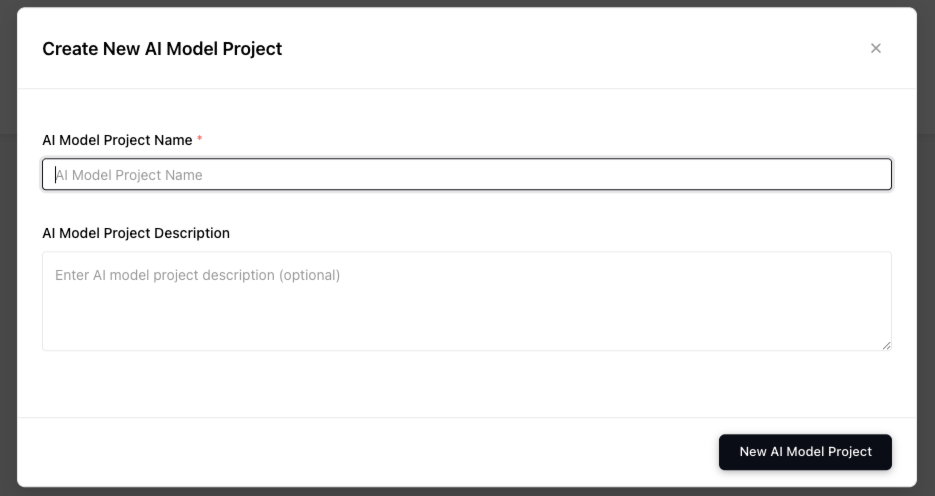
After entering the Web page, click the "Start Creating Project" button or "AI Model Projects" menu to enter the project management page. Build a project according to your needs to annotate data and train models. After entering the AI Model Projects page, click the "Create New AI Model Project" button to create a project. Enter your project name and project description, click save to create the project. After the project is successfully created, click the card to enter the project workbench.
Build Dataset
Build Dataset
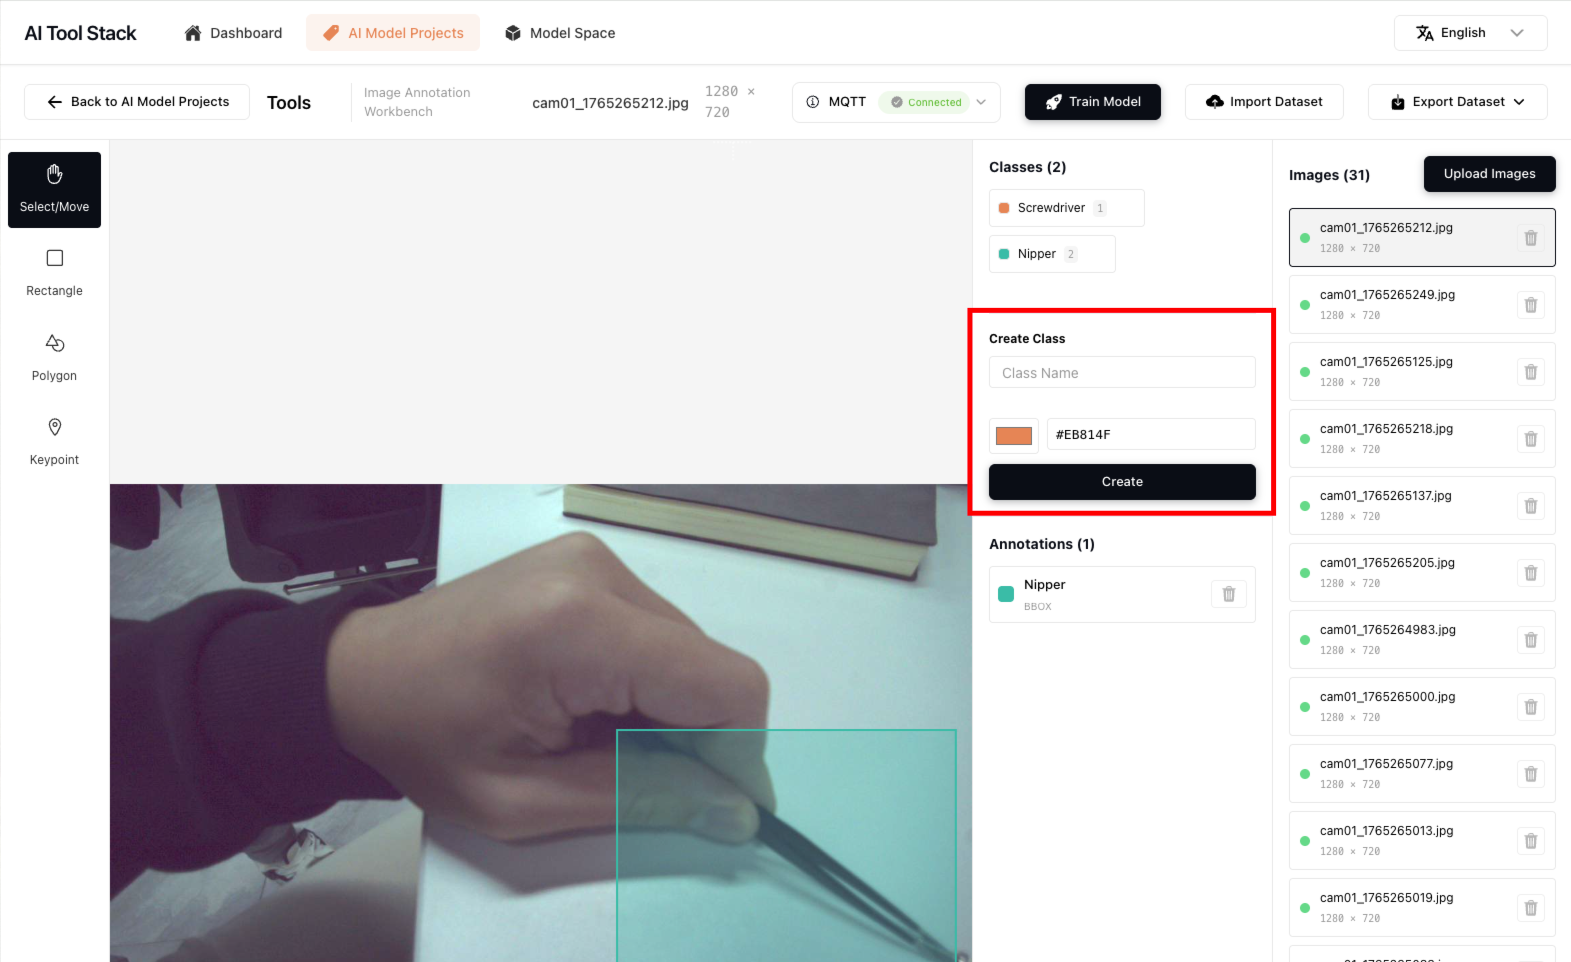
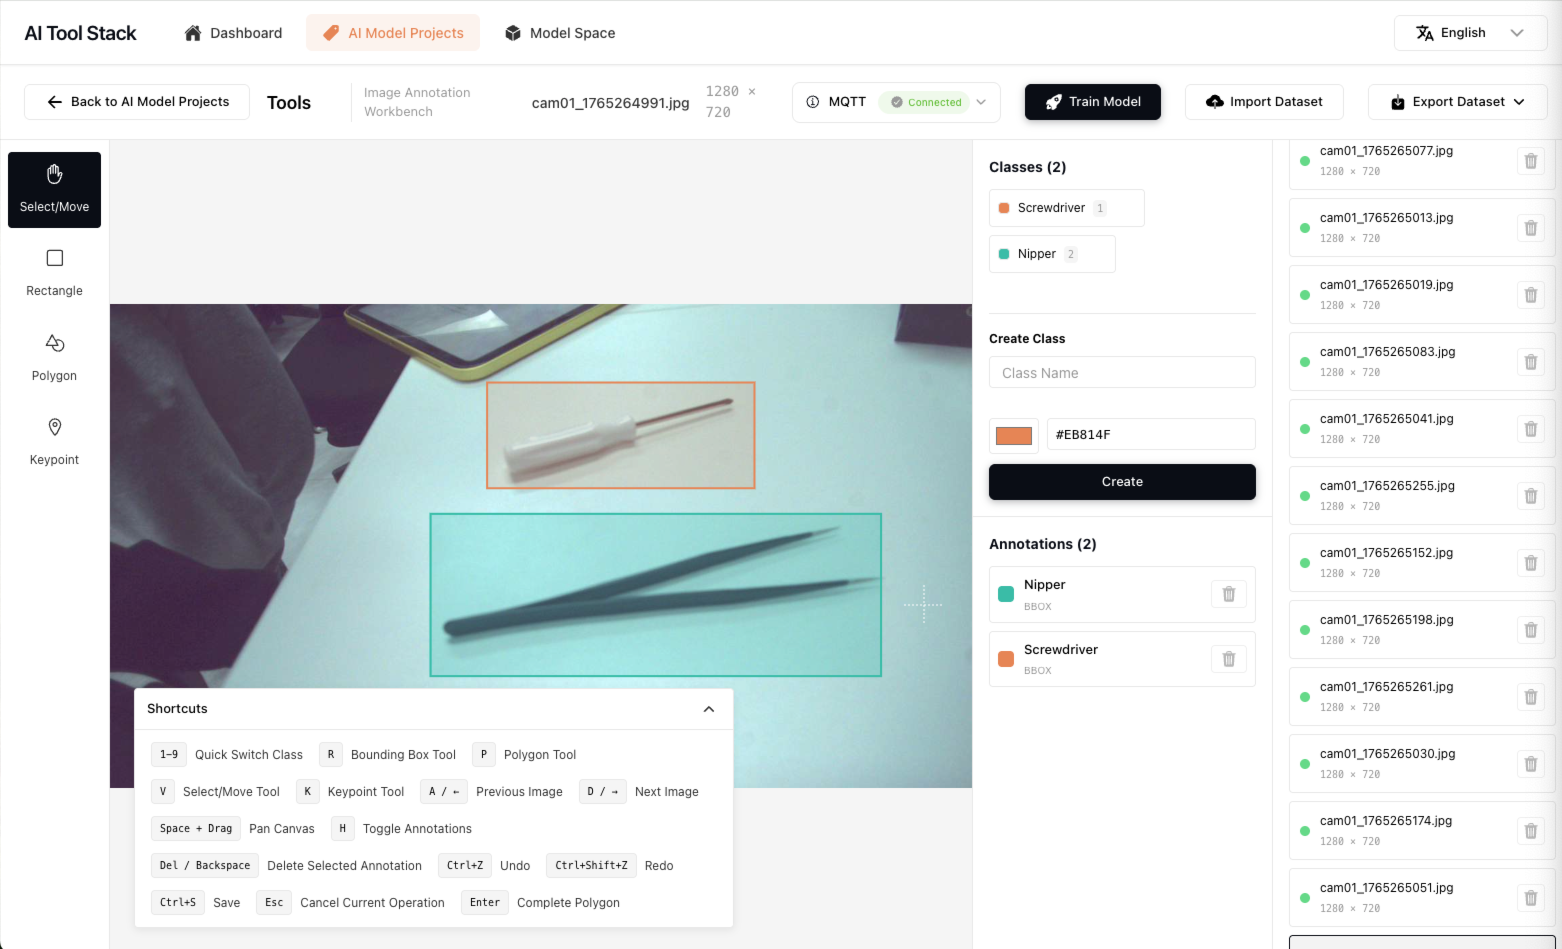
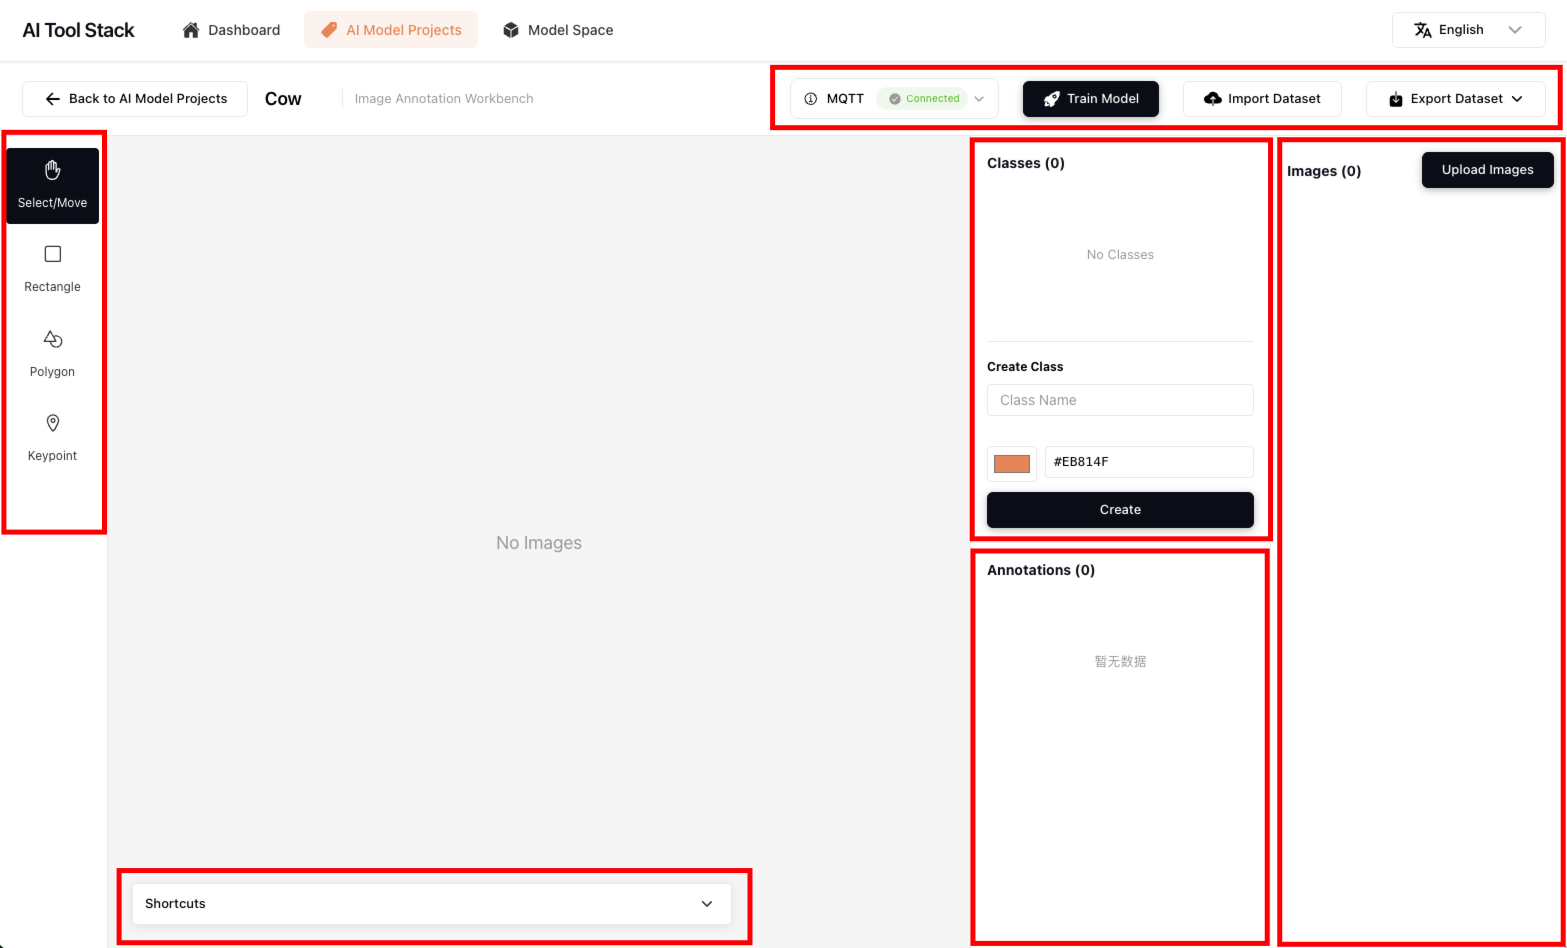
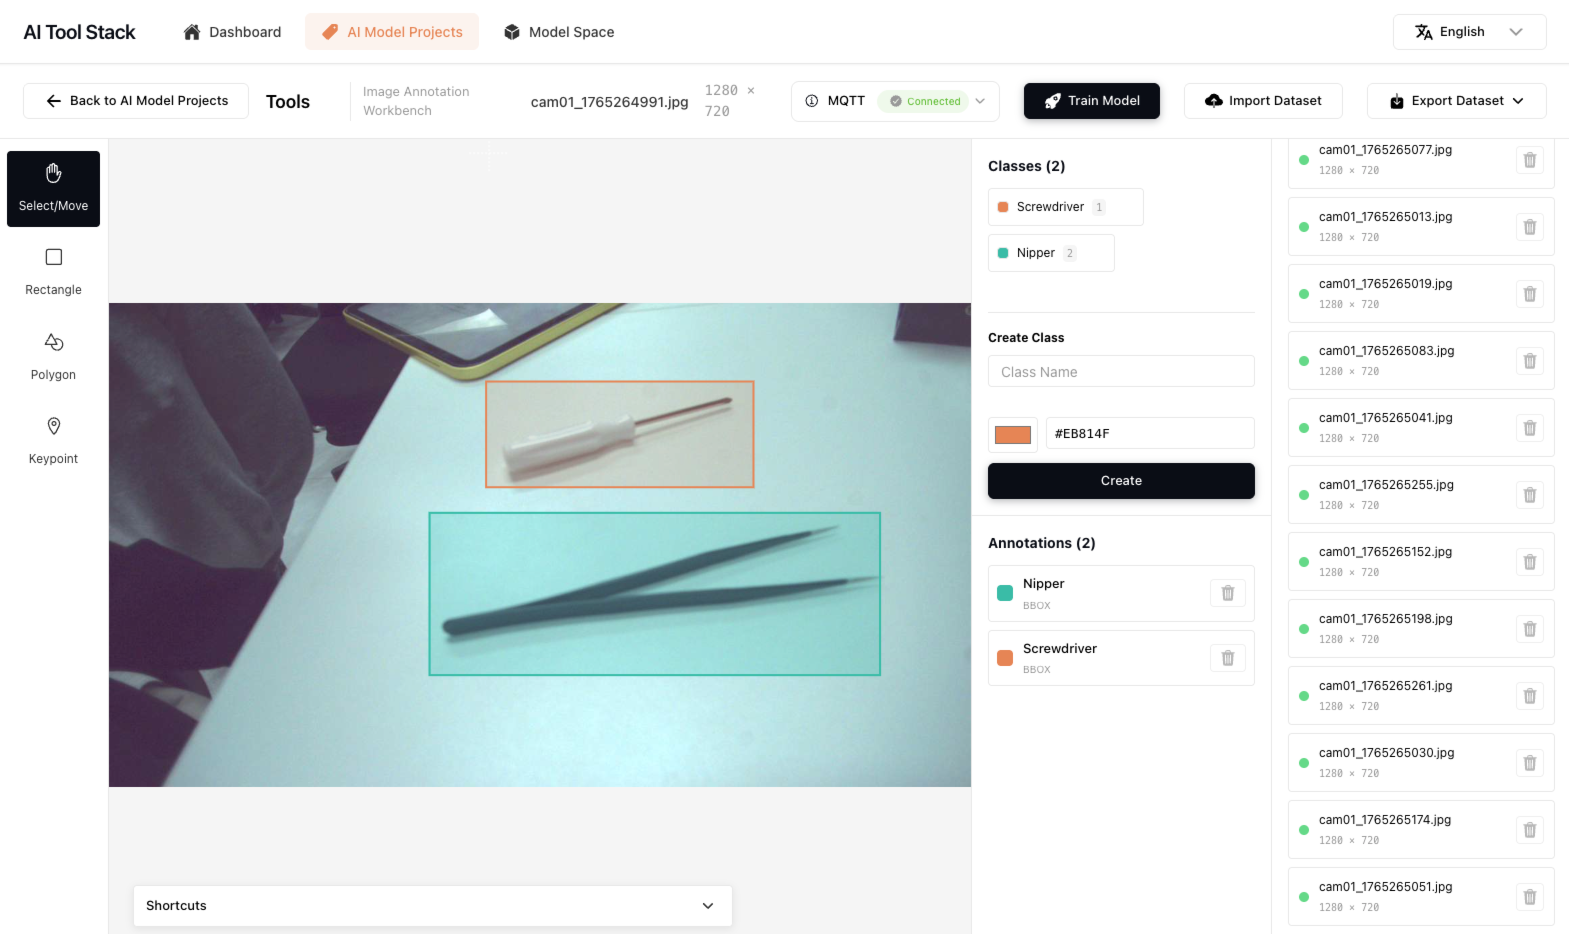
Click the project to enter the project workbench. The workbench is divided into left-side tools, bottom shortcut key hints, and right-side class management, annotated data list, and dataset image management.
1. Upload/Import Dataset
Currently supports the following methods to build image datasets for projects:
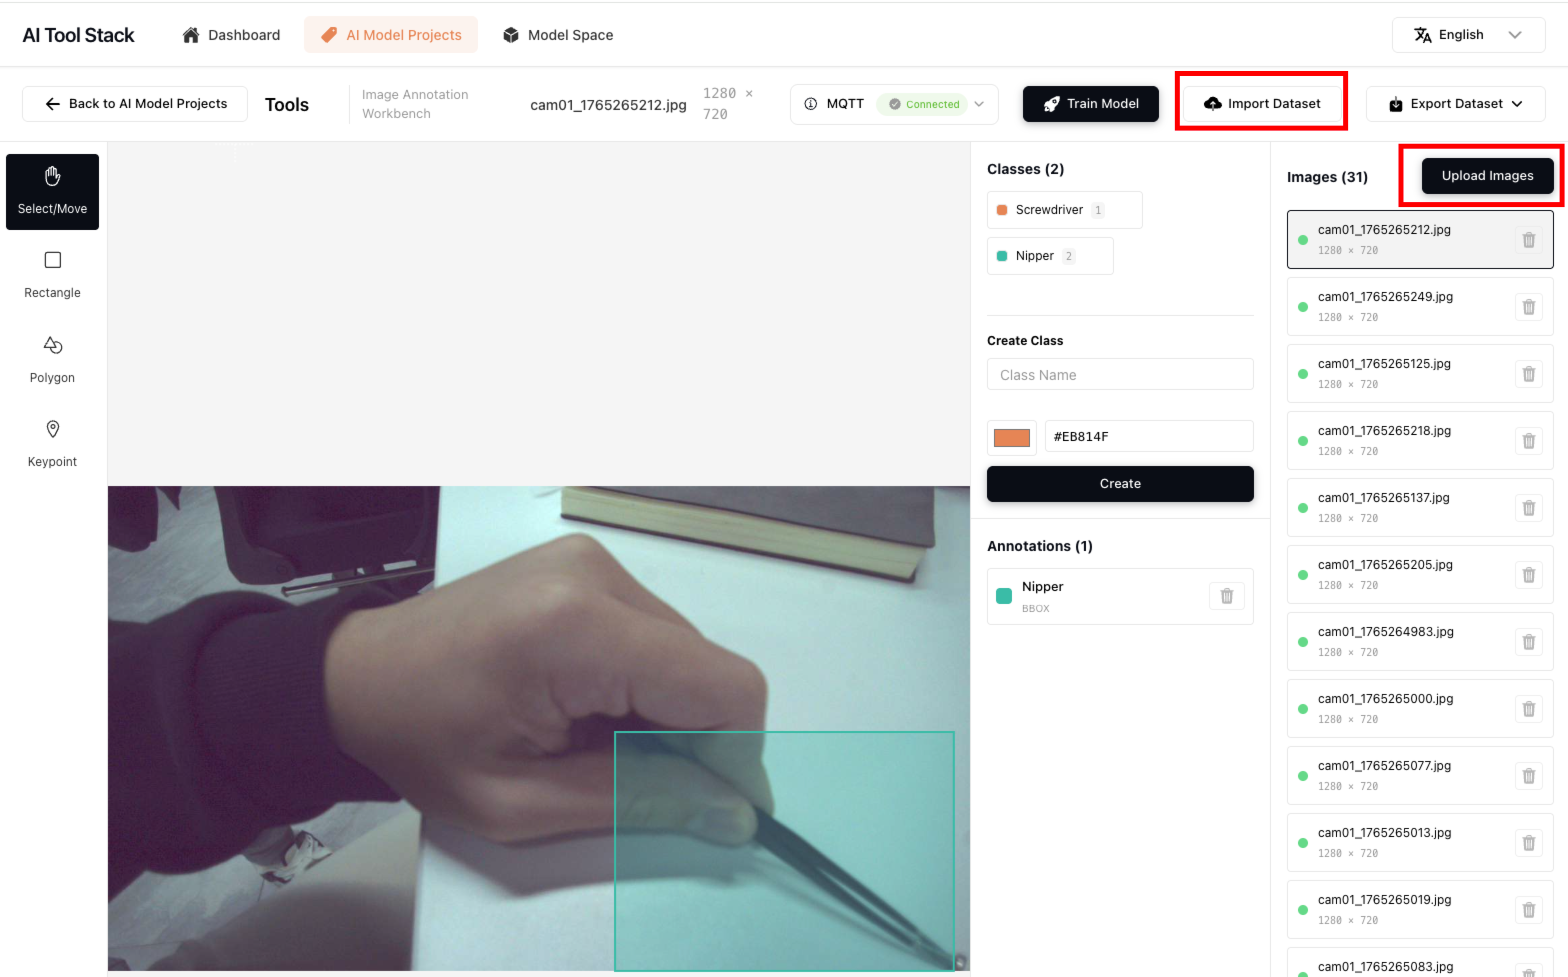
a. You can upload local files through the "Upload Images" on the right side
b. You can upload dataset files through "Import Dataset" in the upper right corner, supporting COCO dataset and Ultralytics YOLO dataset formats. If you need to understand the supported dataset formats in detail, you can export files through "Export Dataset" to view the data structure. This tool annotates source data in the following format:
├── images/
├── annotations/
│   ├── *.json
└── classes.json   # id/name/color
2. Let NE301 Collect Images
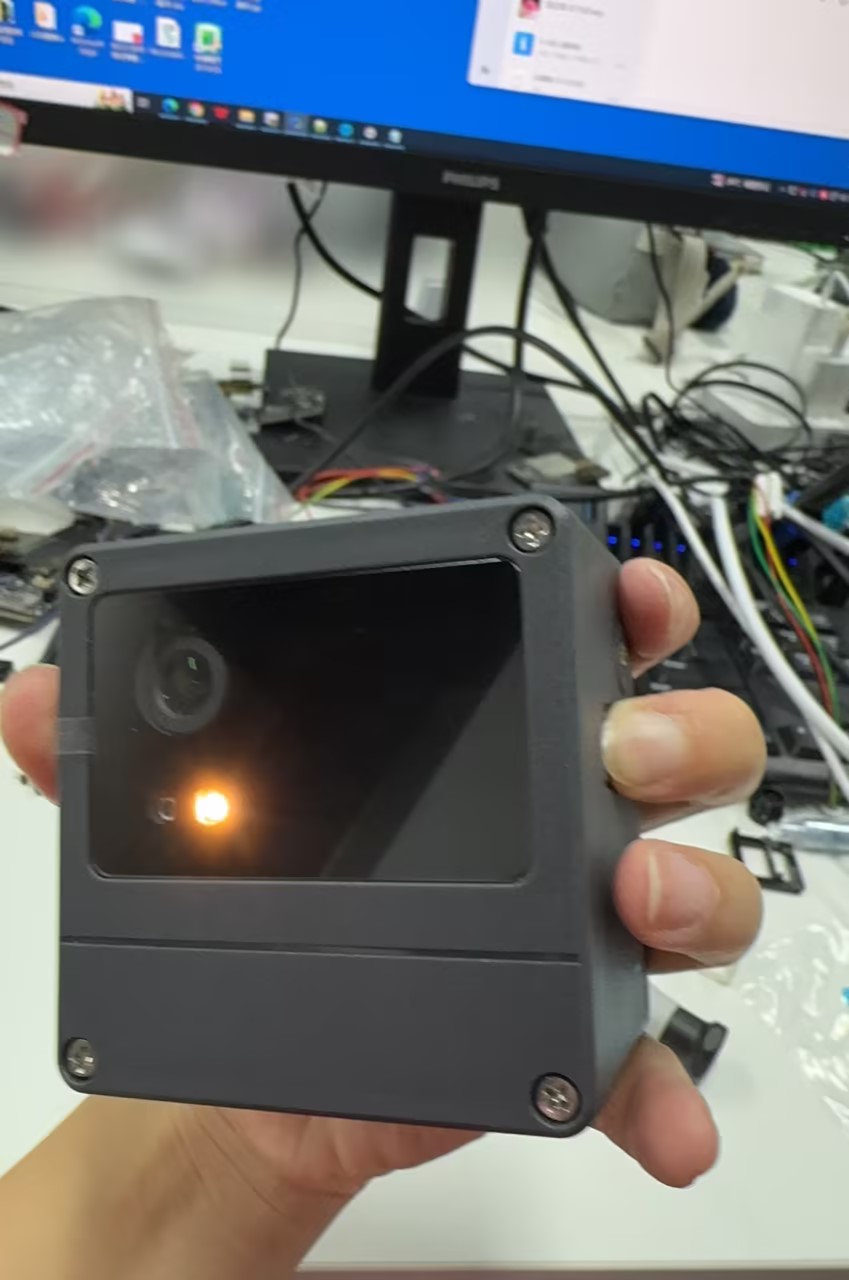
You need to have an NE301 device and configure it in the device according to the order below. For NE301 operation guide, please refer to "Quick-Start"
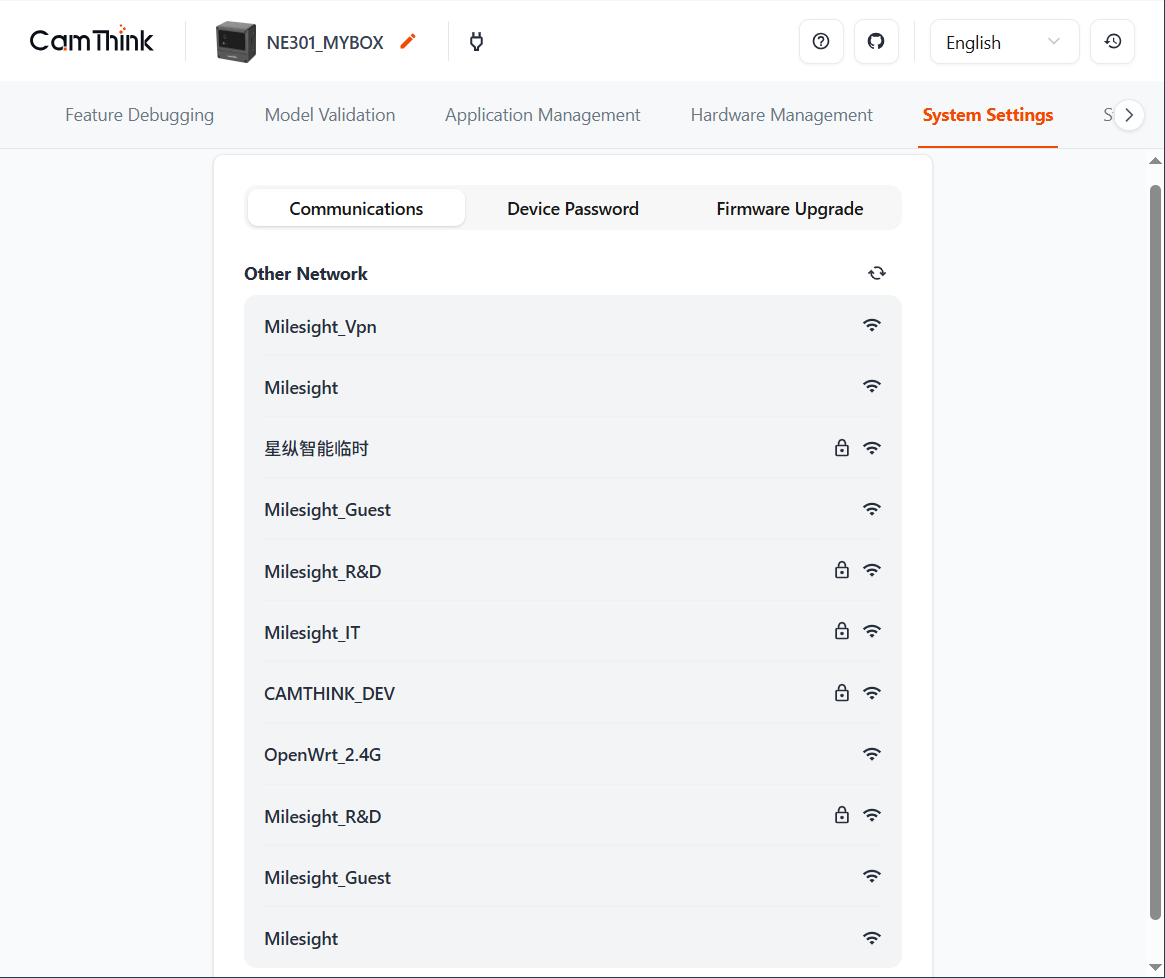
a. Power on NE301, long press the photo button for 2s to enable device WiFi AP. Use a personal computer or mobile phone to connect to NE301's WiFi AP, use 192.168.10.10 to enter the NE301 Web UI page. Enter the "System Settings" page and select the router WiFi AP that the current device can connect to in the "Communications" menu. Ensure that the NE301 device can normally access the deployed AI Tool Stack service using this WiFi, for example, the router can access external networks and connect to locally deployed AI Tool Stack services through IP.
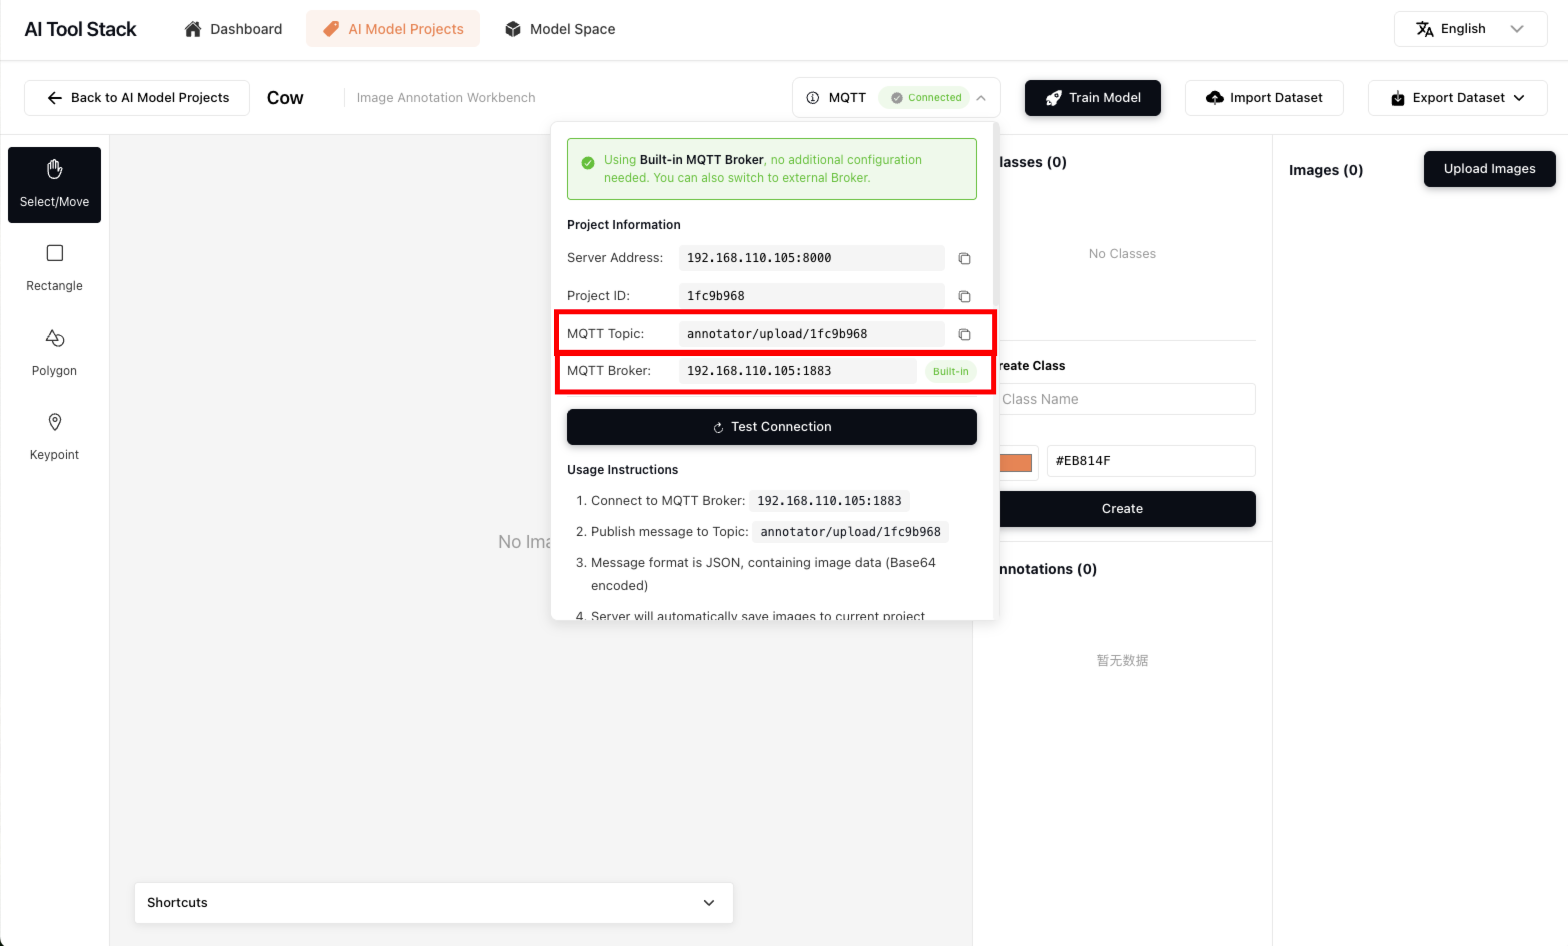
b. Configure NE301's MQTT service to enable NE301 to report currently collected image data to AI Tool Stack projects through MQTT. Enter NE301's "Application Management" menu, enter Data Reporting Topic and Server Address information to connect with AI Tool Stack's built-in MQTT service. AI Tool Stack can be obtained in the MQTT at the top of the project workbench, as shown in the figure below. After confirming the information is correct, you can click "connect" to connect NE301 to AI Tool Stack's specified model training project.
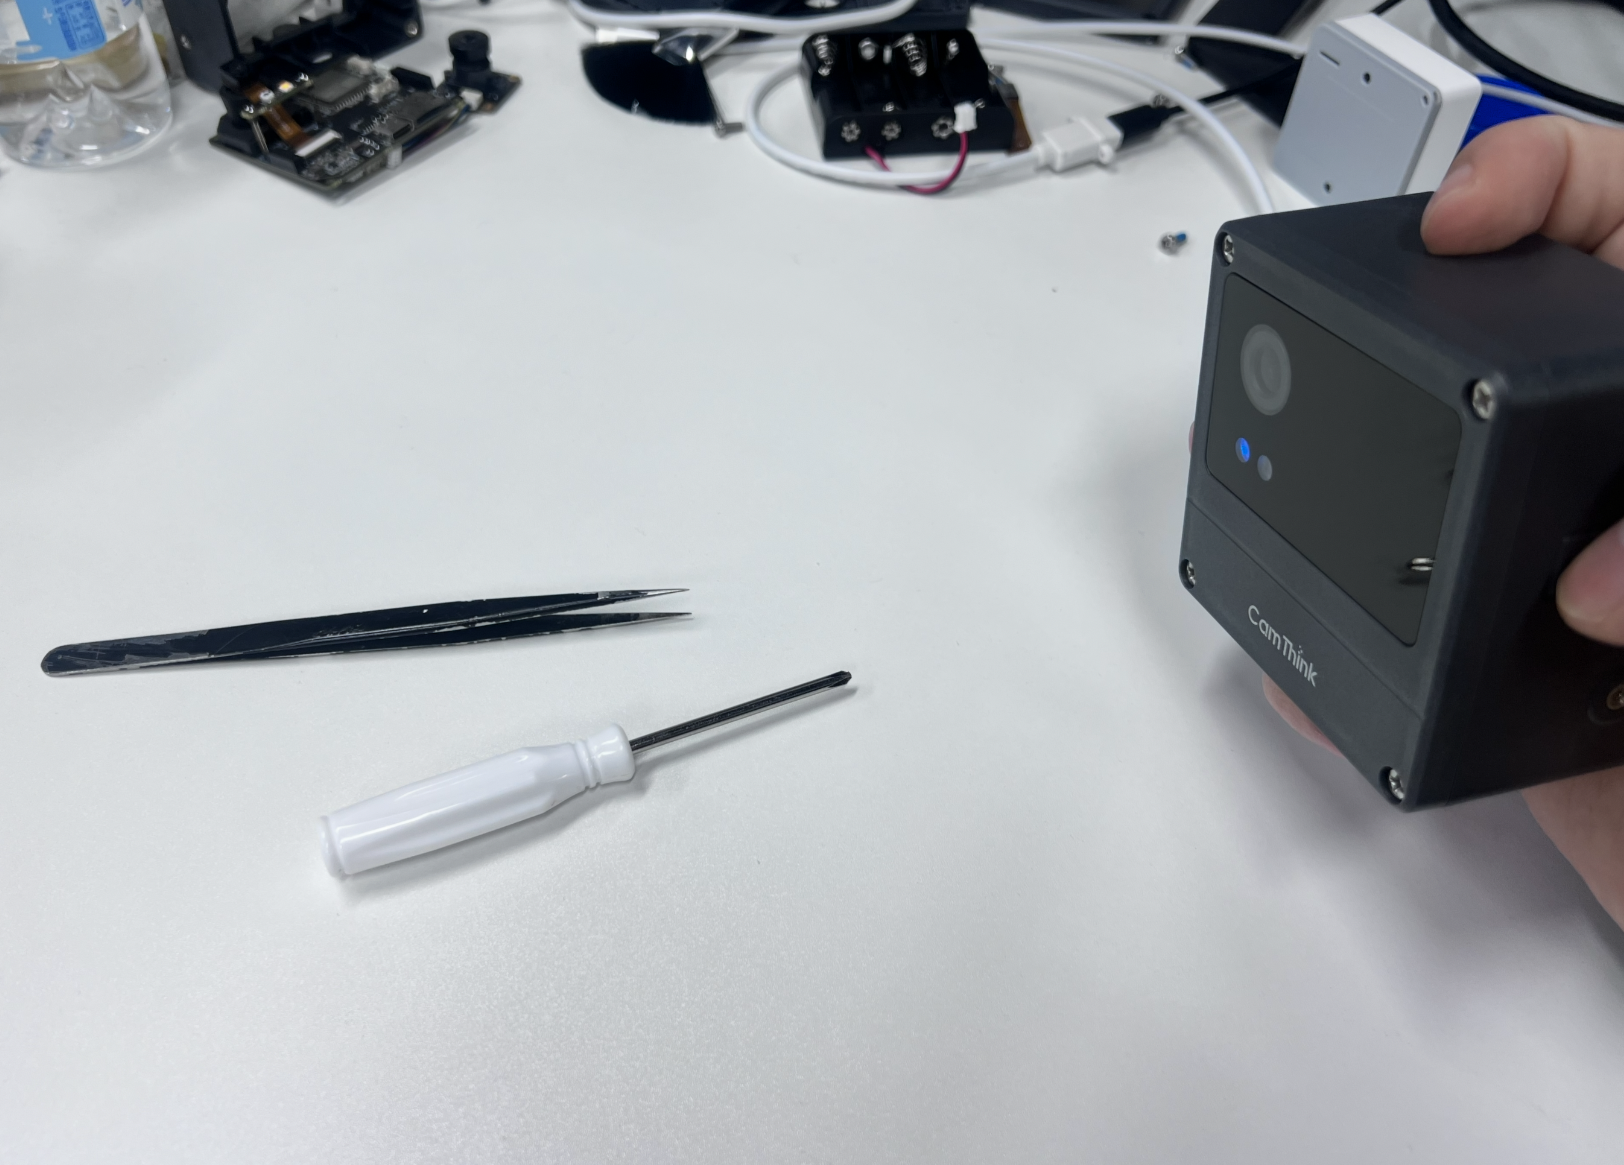
c. Now you only need to manually operate the shooting button on the side of NE301 to capture images. After capture, the images will automatically upload to the project space. You can manually hold NE301 to collect data within the network range, or fix NE301 for data collection. After collecting images, you can proceed with the next step of annotation work on the images.
Data Annotation
Data Annotation
Currently, NE301 mainly adapts to object detection models. We recommend building datasets with object detection datasets first.
Before starting to annotate data, you need to add the annotation class text you need in the class input box on the right side, select the annotation box color for this class, and click save to create the annotation class. The annotation shortcuts are the same as conventional annotation tools. For details, please refer to the shortcut key hints in the annotation workbench. Click "Shortcuts" at the bottom to expand the instructions. Other functions such as deleting classes, deleting annotation data, deleting images, changing functions, etc. can be operated according to the interface instructions.