Face Recognition Solution
1. Overview
The Face Recognition plugin for NeoMind detects faces and identifies individuals from images captured by connected devices. Results are displayed in real-time on the dashboard and can also be queried using AI Chat via natural language.
Typical Application Scenarios:
| Scenario | Description |
|---|---|
| Access Control | Identify personnel entering and leaving, enabling smart access management |
| Attendance Tracking | Automatically recognize employees' facial features and log attendance |
| Visitor Registration | Compare visitors against registered personnel to distinguish known from unknown individuals |
| Security Monitoring | Detect and identify individuals in surveillance footage in real-time |
Data Flow:
NE101/NE301 Image Capture → NeoMind Platform → Face Recognition Plugin (Detection + Identification) → Dashboard Display + AI Chat Query
2. Bill of Materials (BOM)
| Item | Model/Spec | Qty | Purpose | Required |
|---|---|---|---|---|
| Smart Camera | NE101 or NE301 | 1+ | Image capture | ✅ |
| NeoMind Platform | v0.6.10+ | 1 | Edge AI management | Download ✅ |
| Local LLM | Ollama | 1 | AI Chat backend | Optional |
3. Prerequisites
3.1 NeoMind Installation and Configuration
Complete the NeoMind installation, registration, and basic configuration first. For detailed steps, refer to NeoMind Quick Start.
3.2 Device Registration
Register your NE101 or NE301 with the NeoMind platform. For detailed steps, refer to NeoMind Quick Start - Device Management.
4. Install the Face Recognition Plugin
Step 1: Go to the Extensions management page and find the Face Recognition plugin
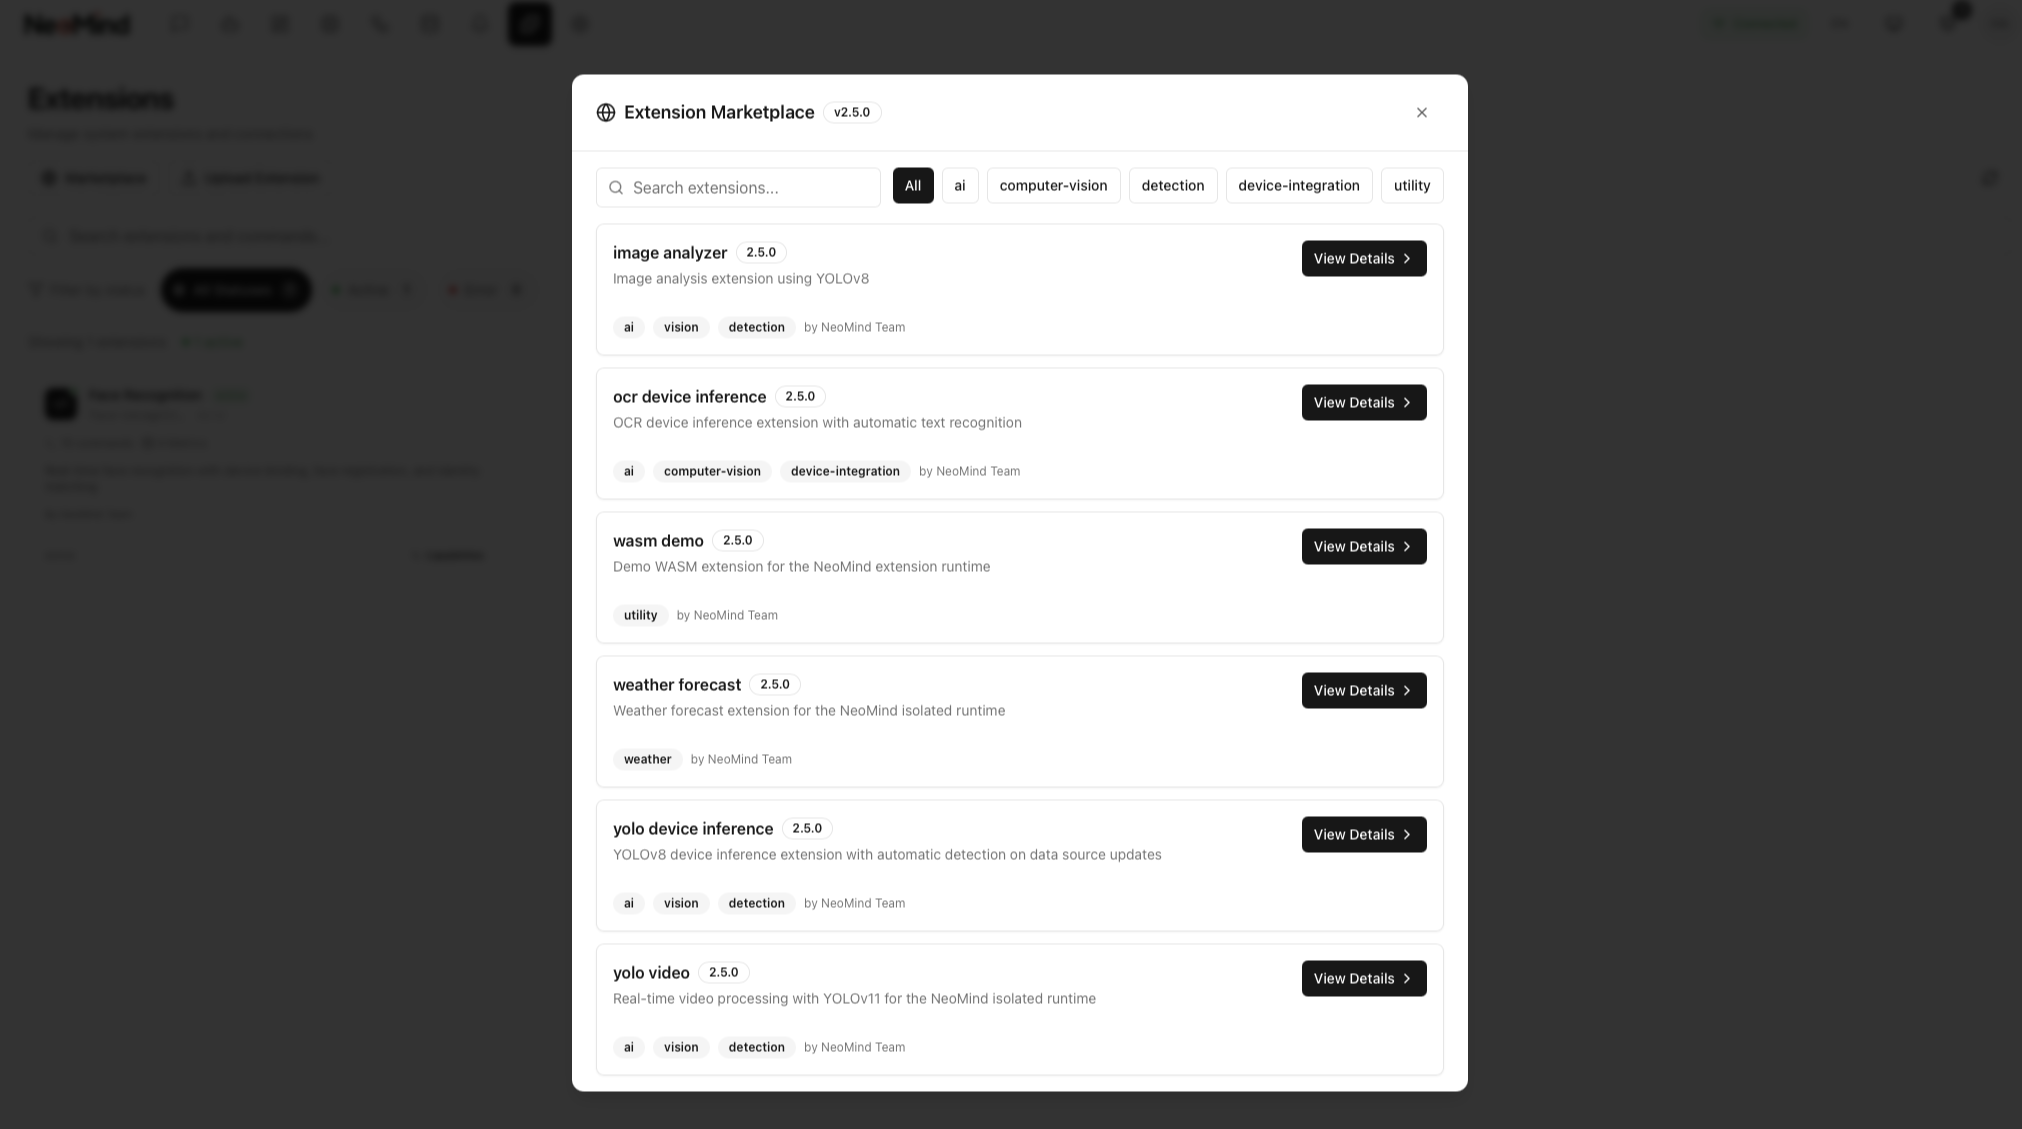
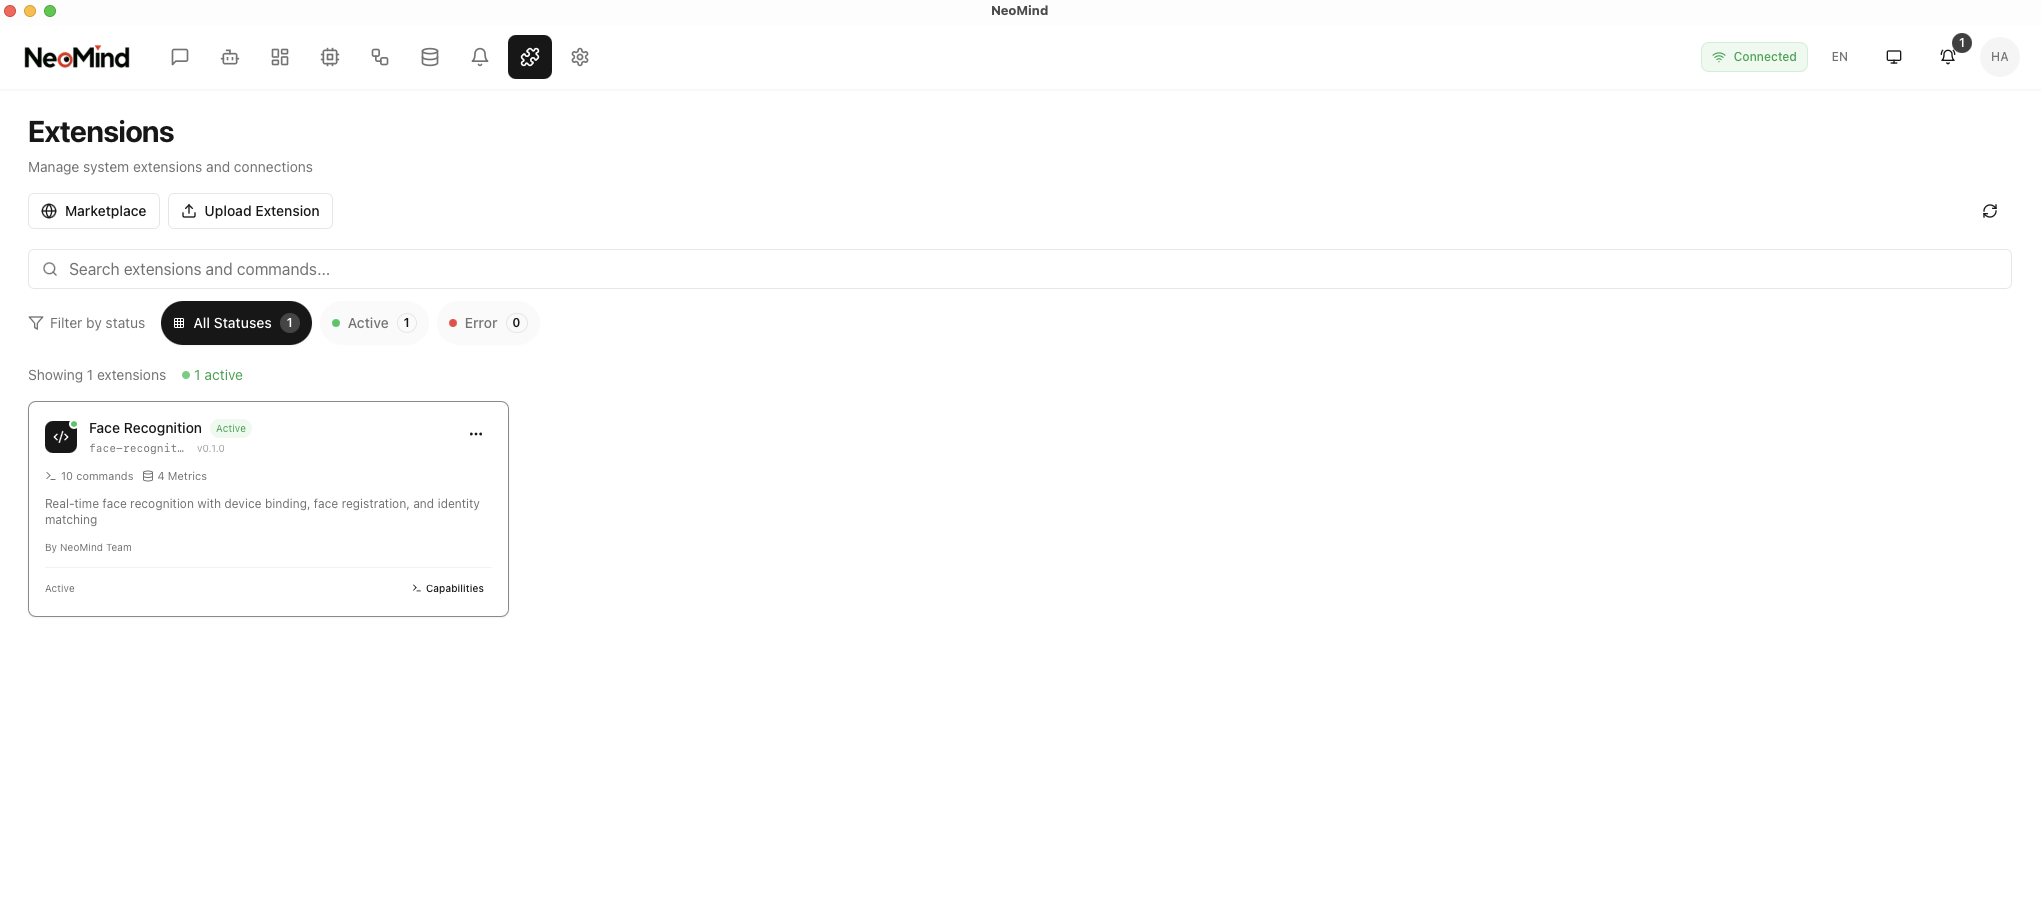
Step 2: Click to view the plugin details, review the description, then click Install. After installation, confirm the plugin status is Enabled
5. Dashboard Configuration and Usage
5.1 Create Dashboard and Add Face Recognition Component
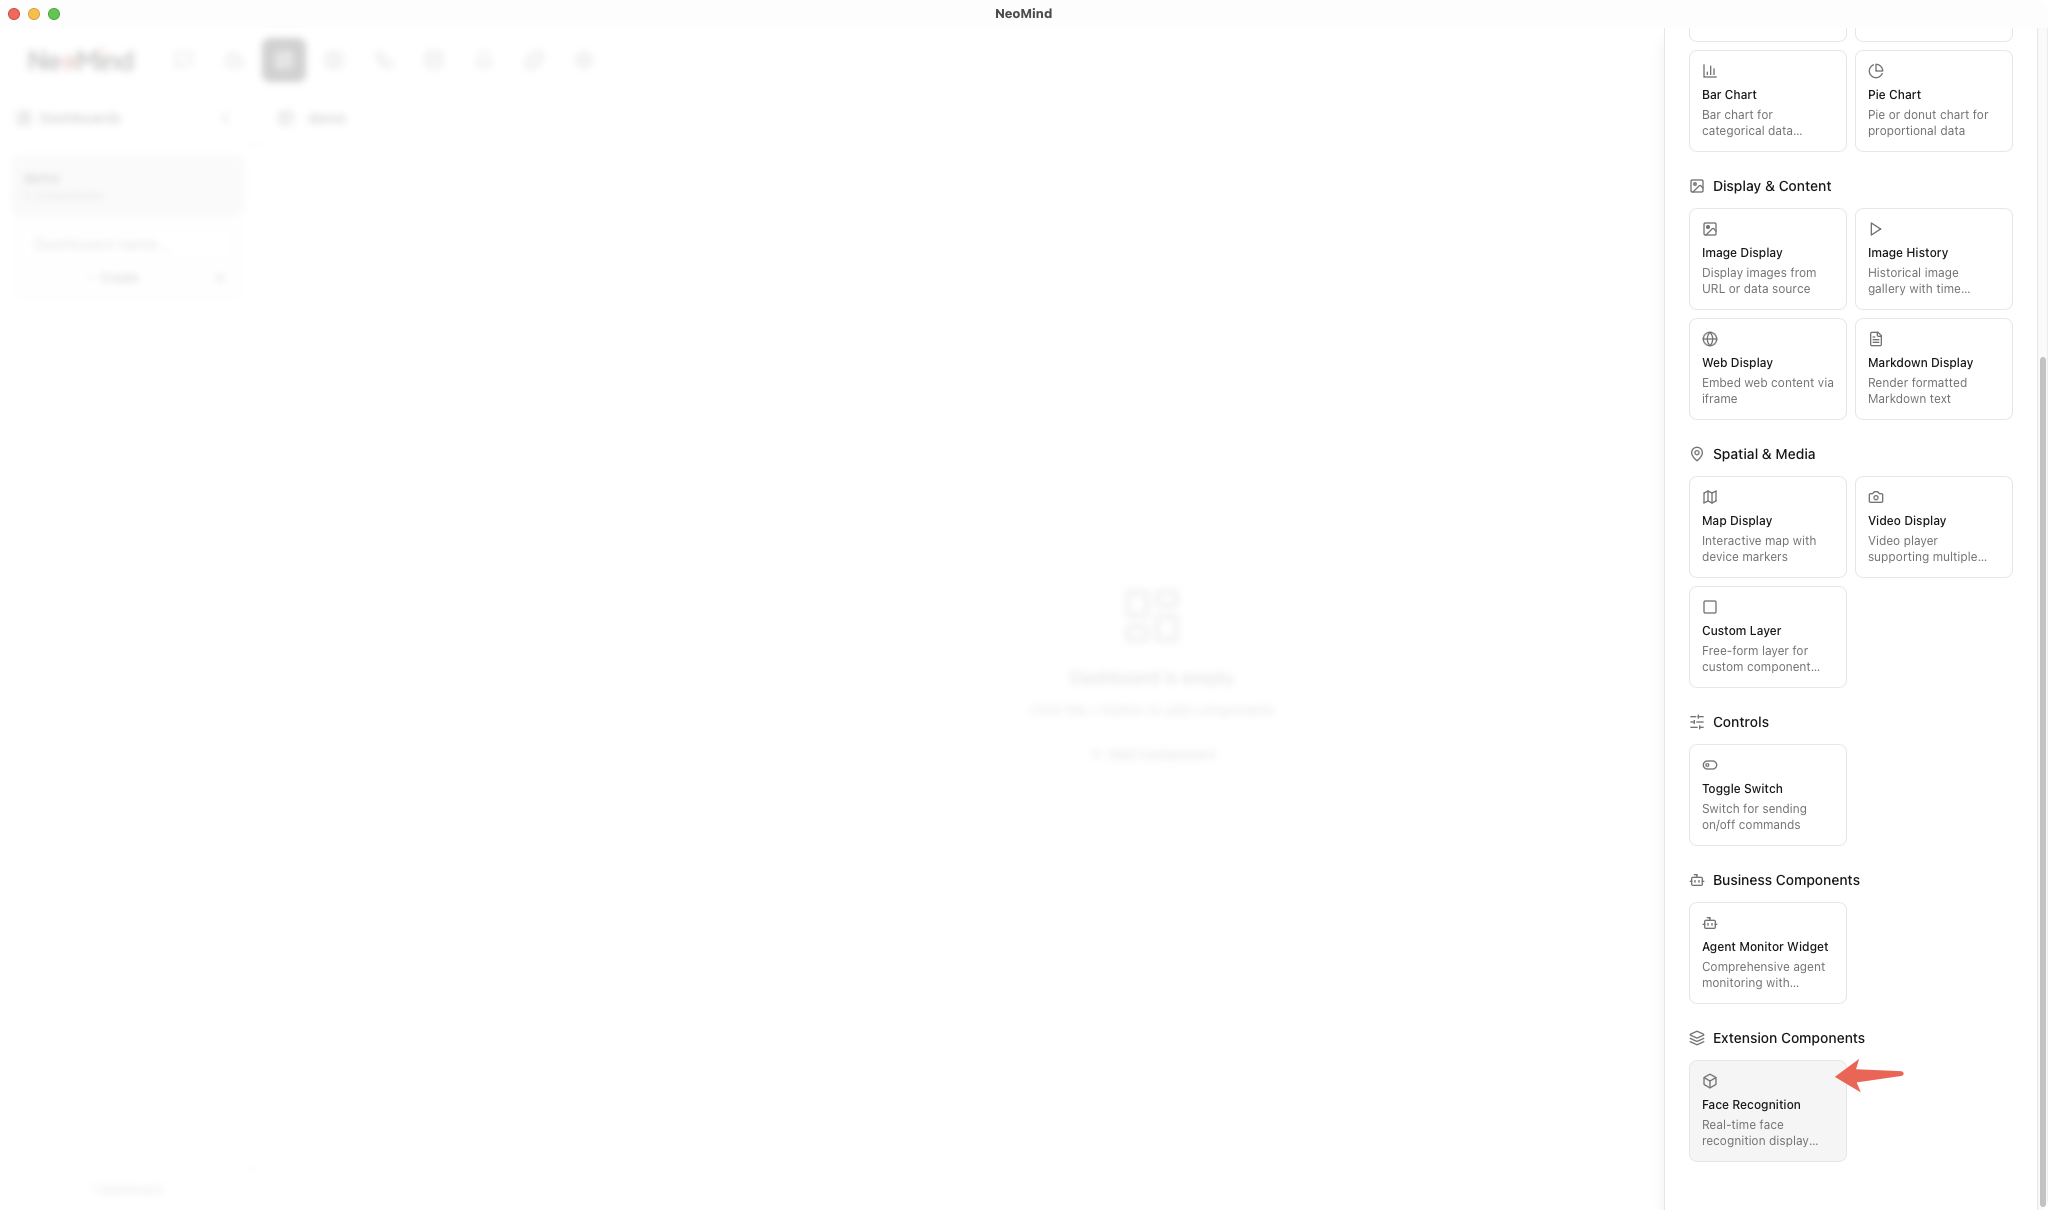
Go to the Dashboard management page, click Create Dashboard, then add a Face Recognition component:
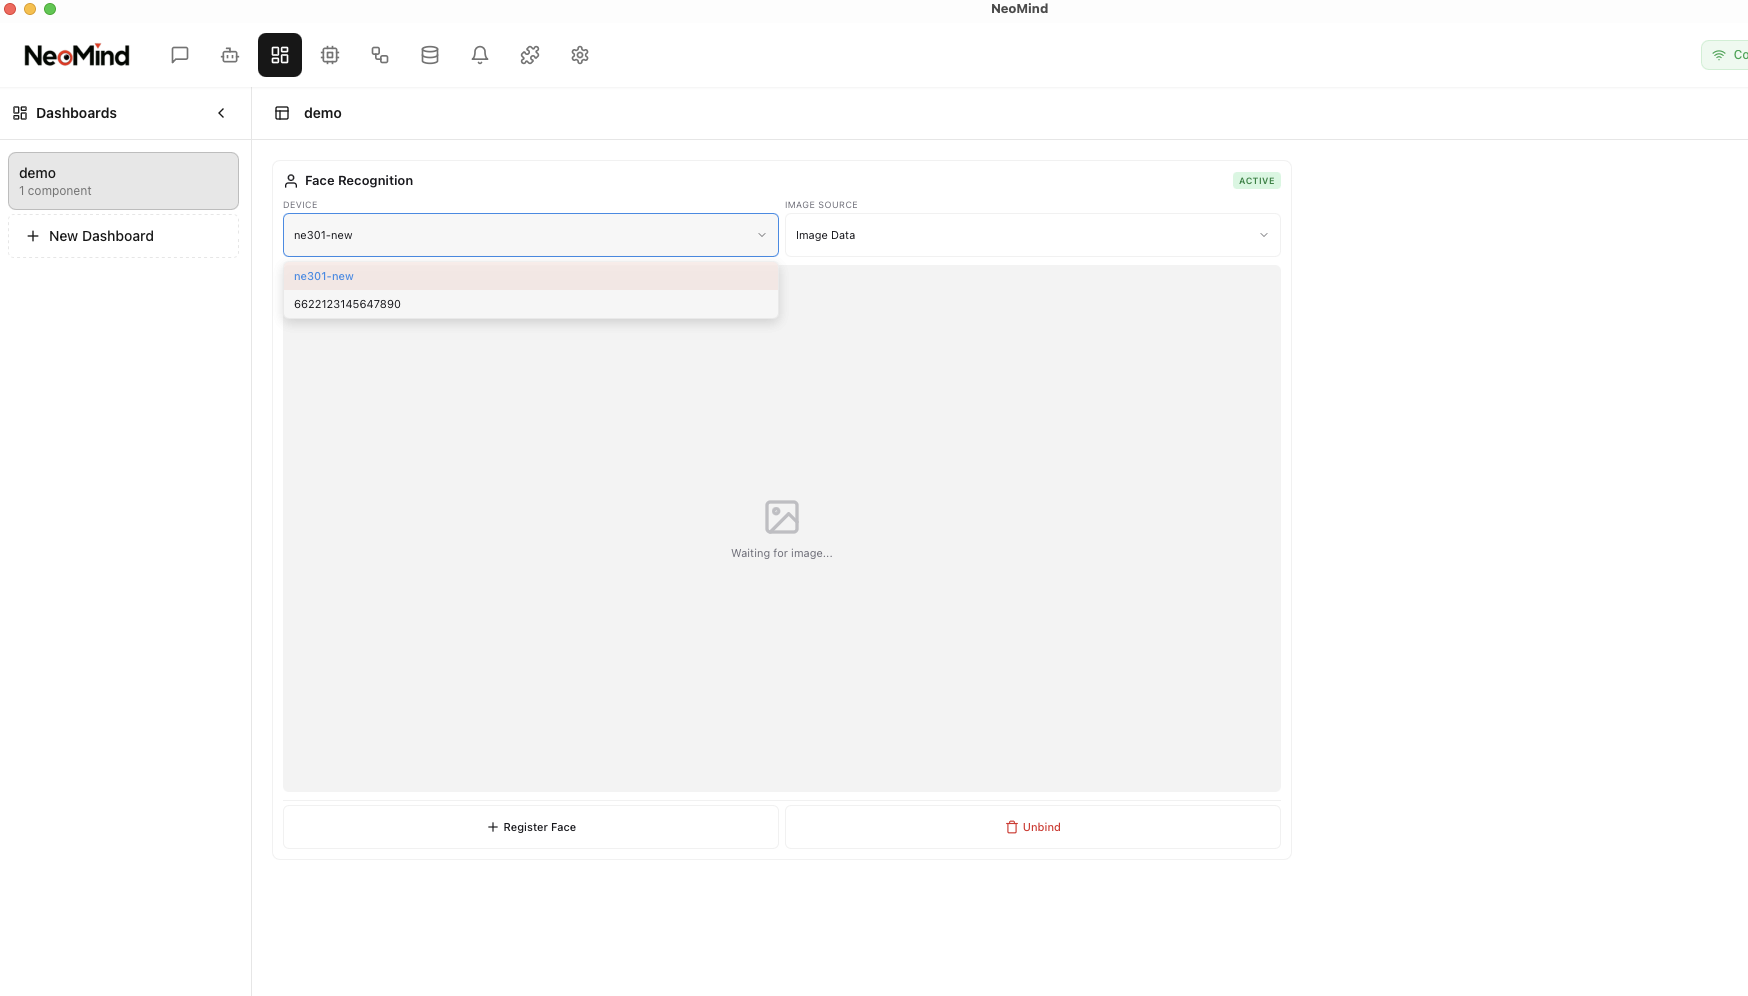
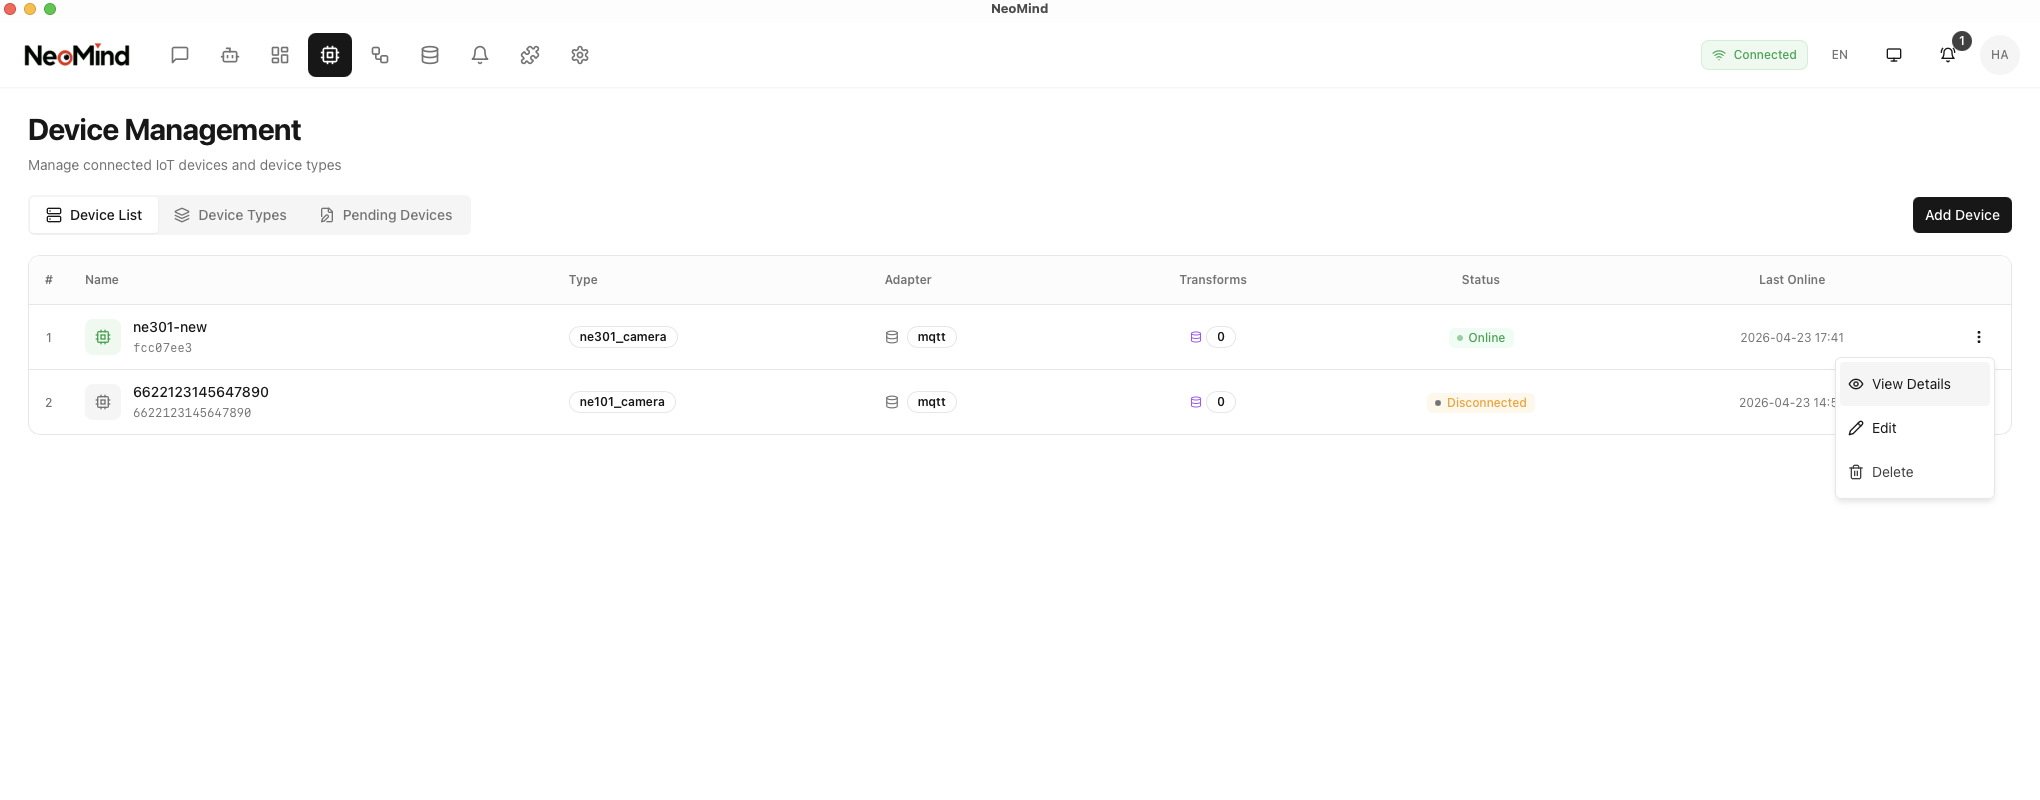
5.2 Bind Device
Bind a target device (NE101 or NE301) to the Face Recognition component. Once bound, the component will automatically receive and process images captured by the device:
5.3 Register Faces
Before using the identification feature, you need to register faces to the face library. In the Face Recognition component, click Register Face, upload a clear frontal photo and fill in the corresponding identity information:
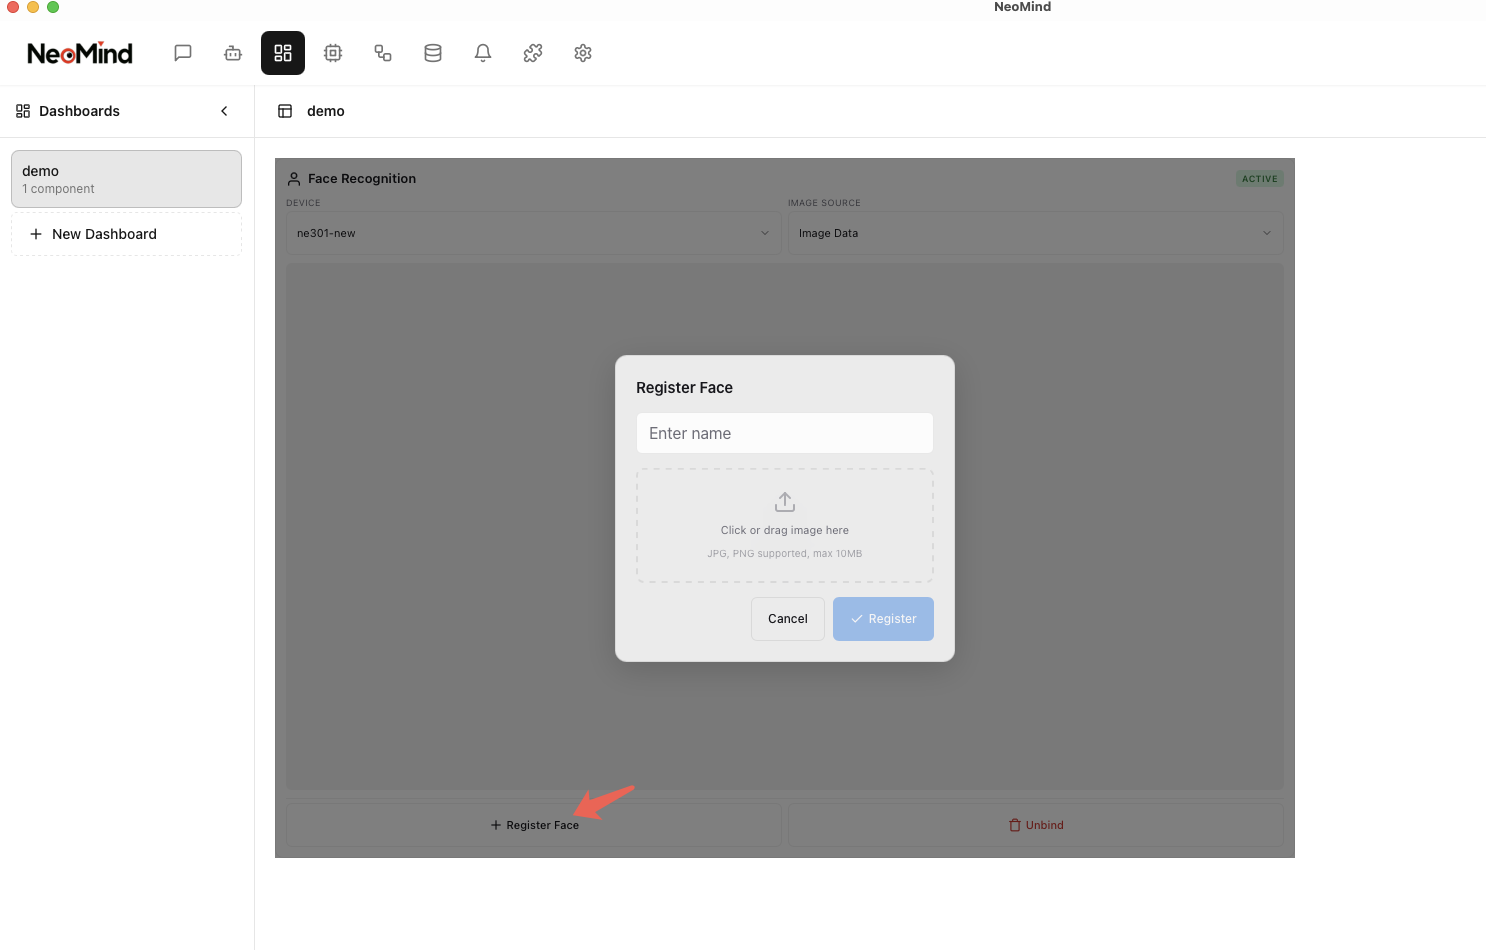
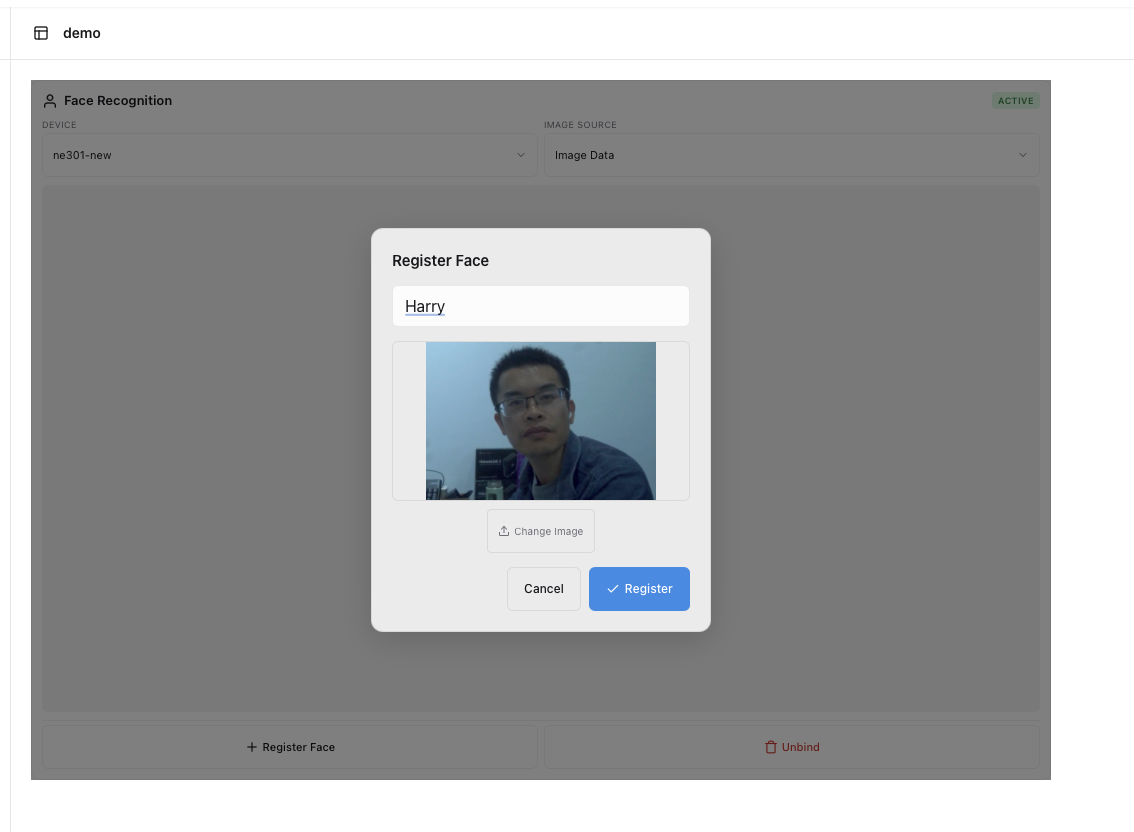
For best recognition accuracy, use clear, well-lit frontal photos for face registration.
5.4 Test Recognition
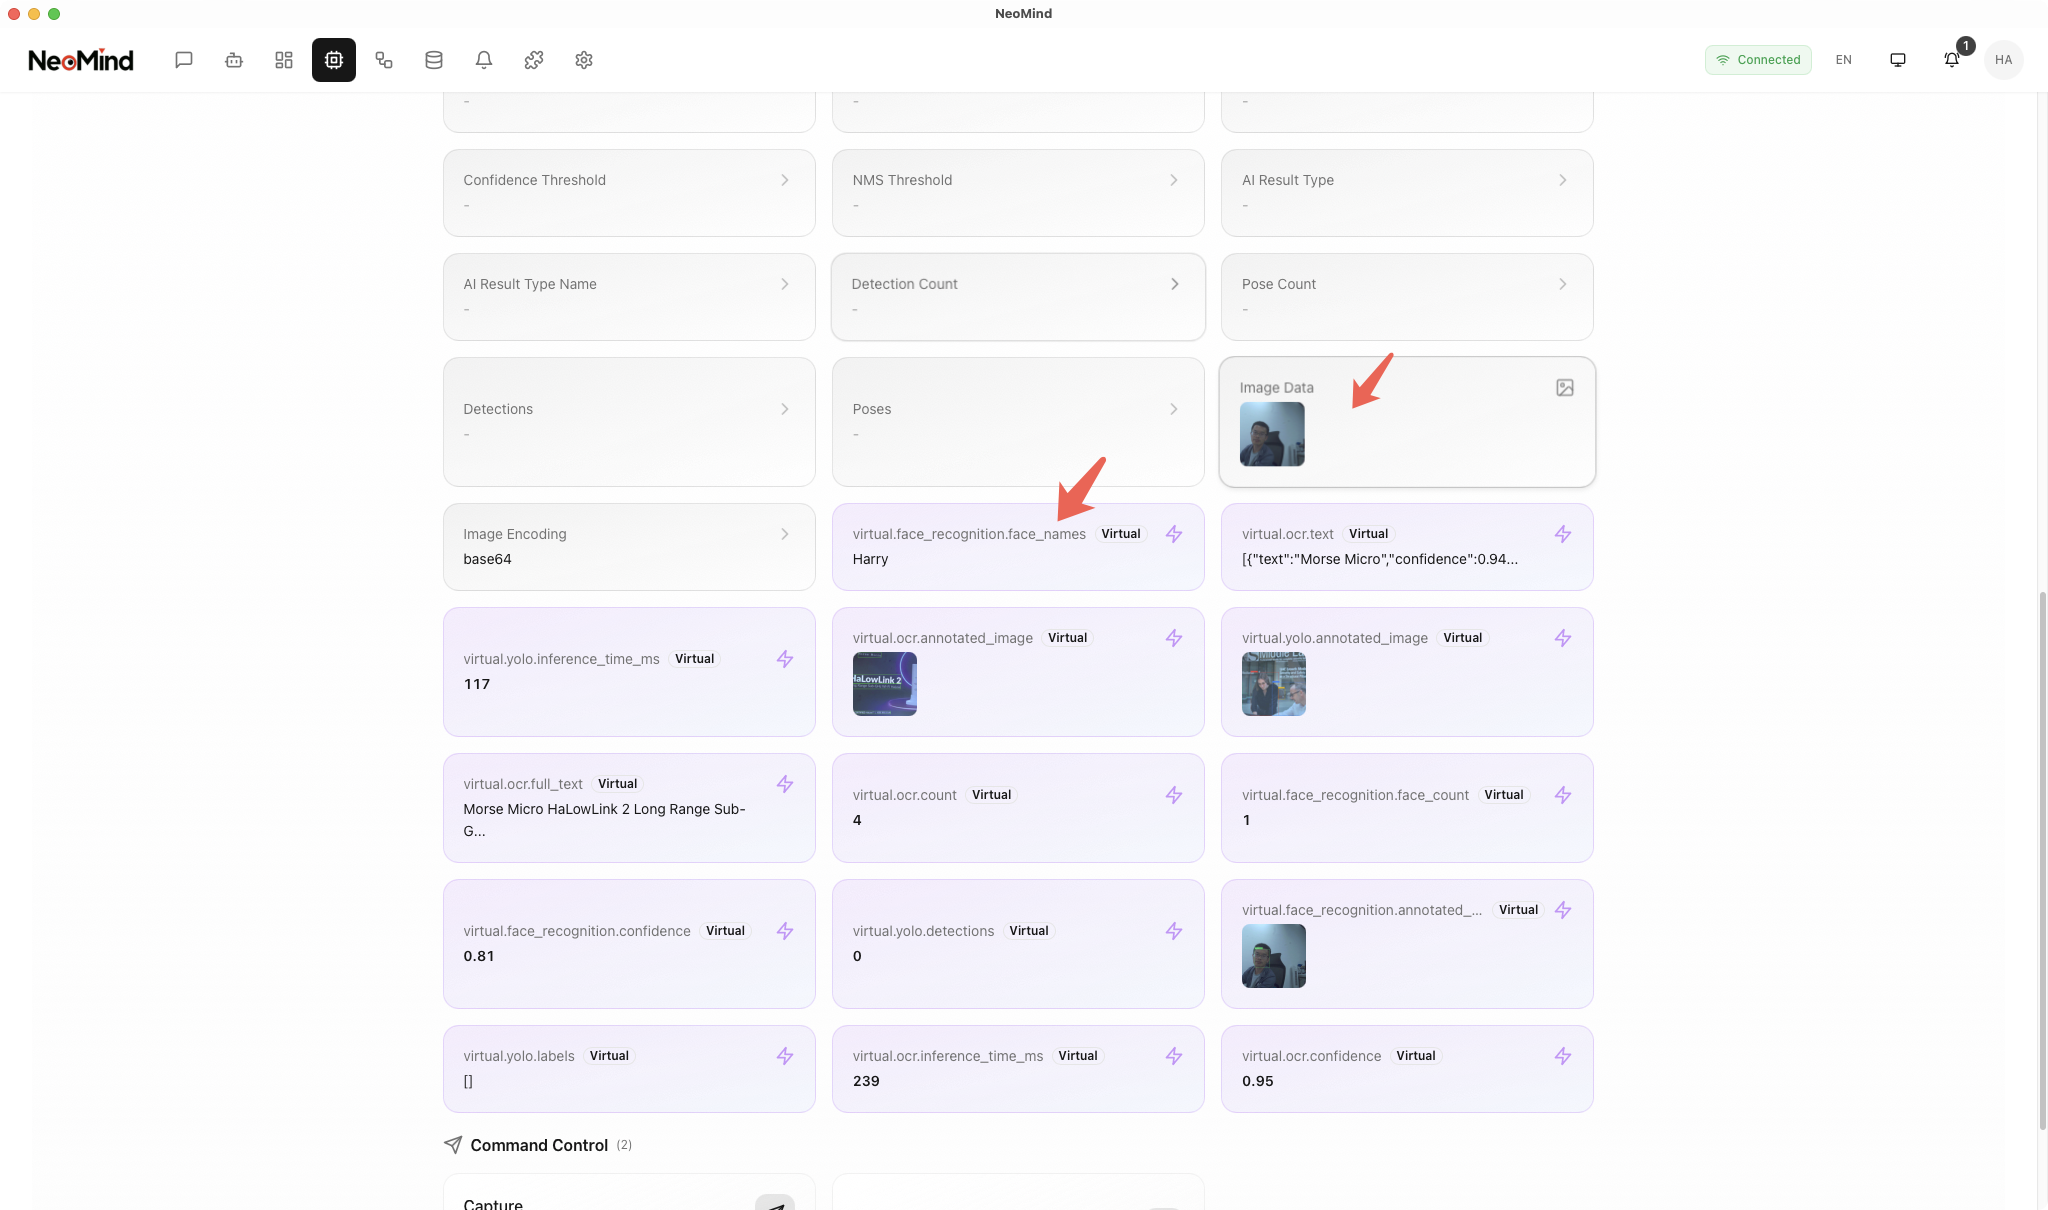
Once faces are registered, the plugin will automatically detect and identify faces when the device captures images. View real-time recognition results on the dashboard:
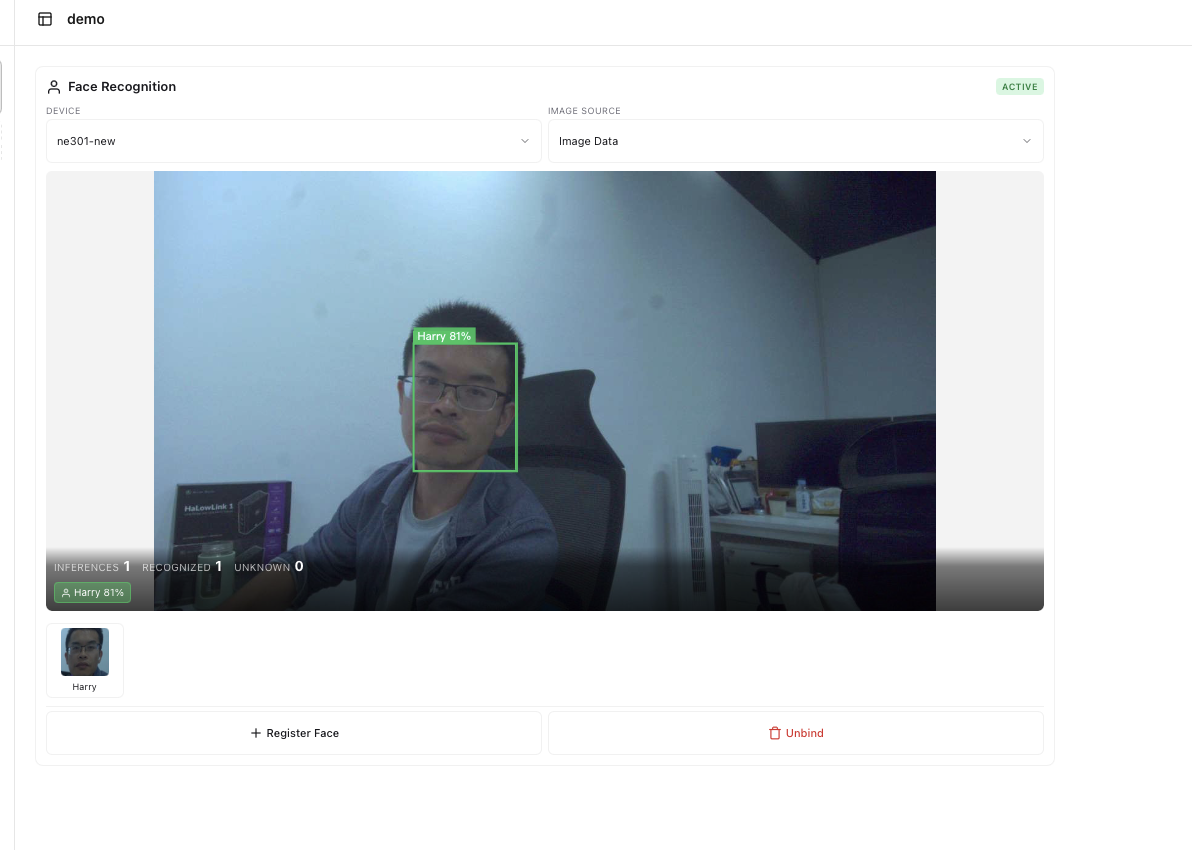
Recognition results include:
| Field | Description |
|---|---|
| Face Bounding Box | Marks the detected face location in the image |
| Identity Label | Shows the identified person's identity information |
| Confidence Score | The confidence score of the recognition result |
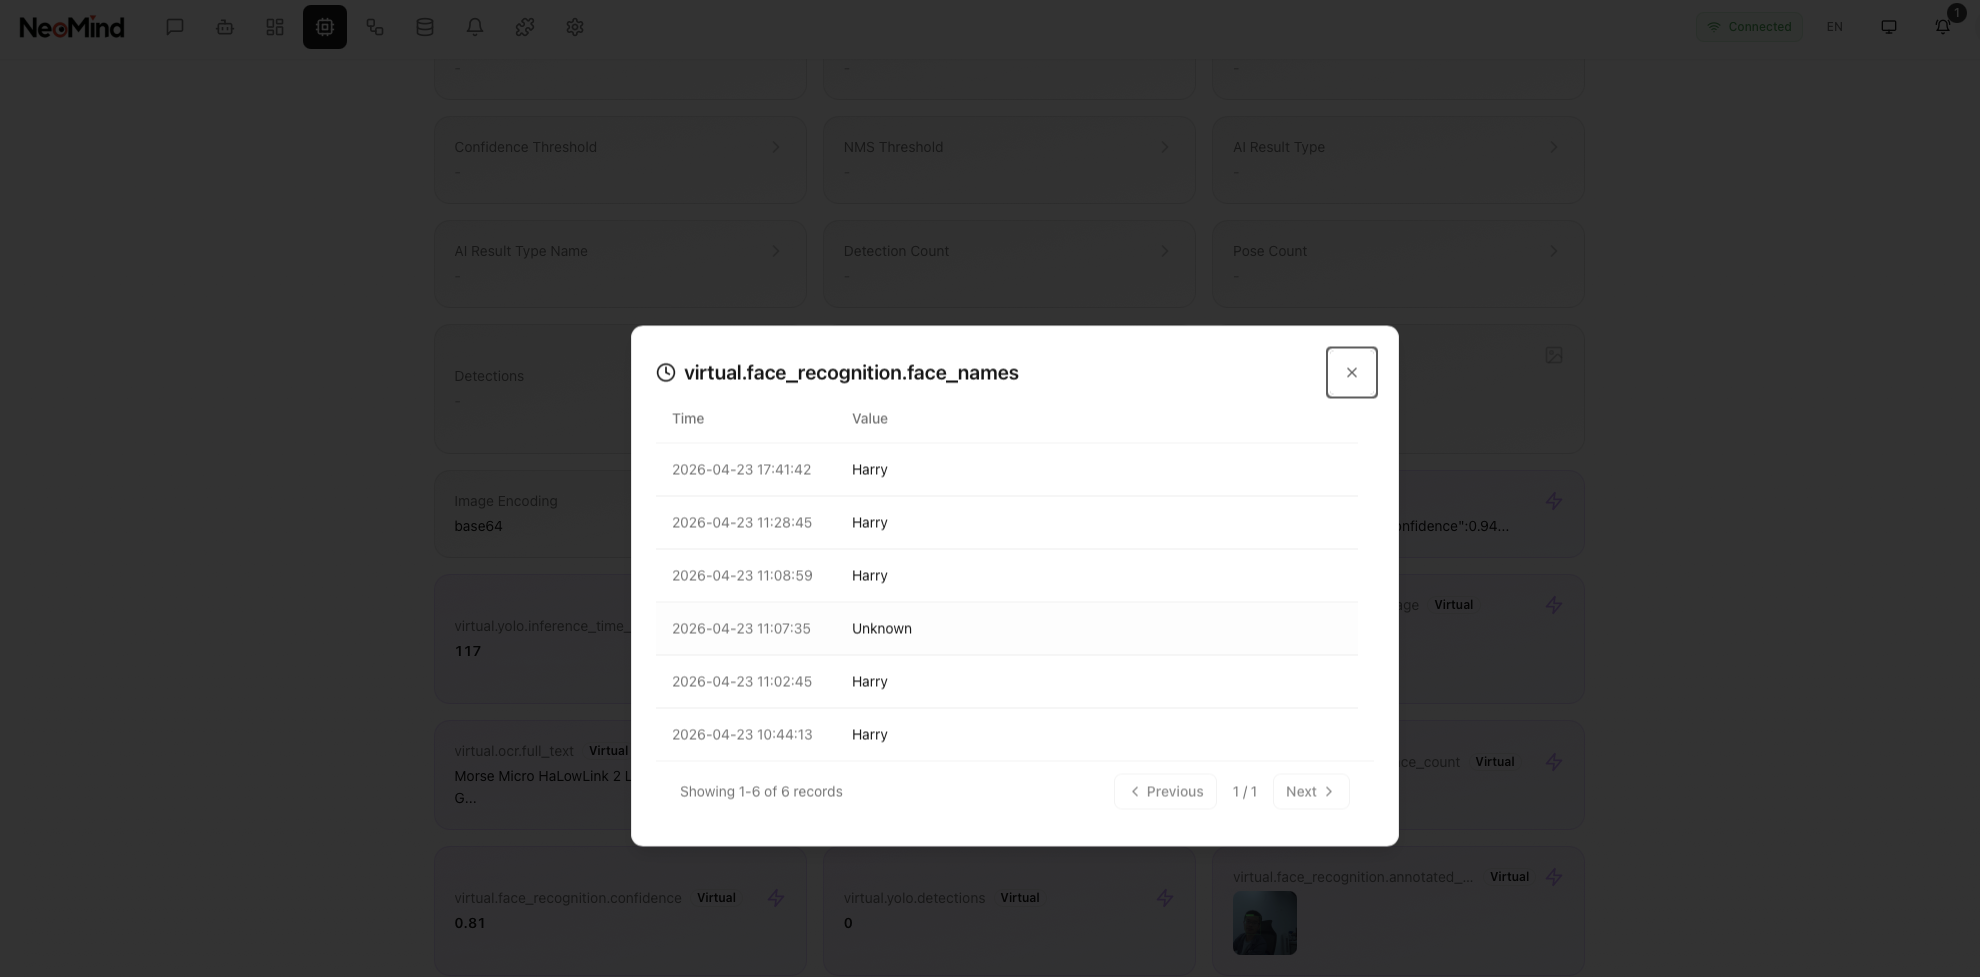
5.5 View History
View all historical face recognition records in the device details, including the original image and recognition result for each entry:
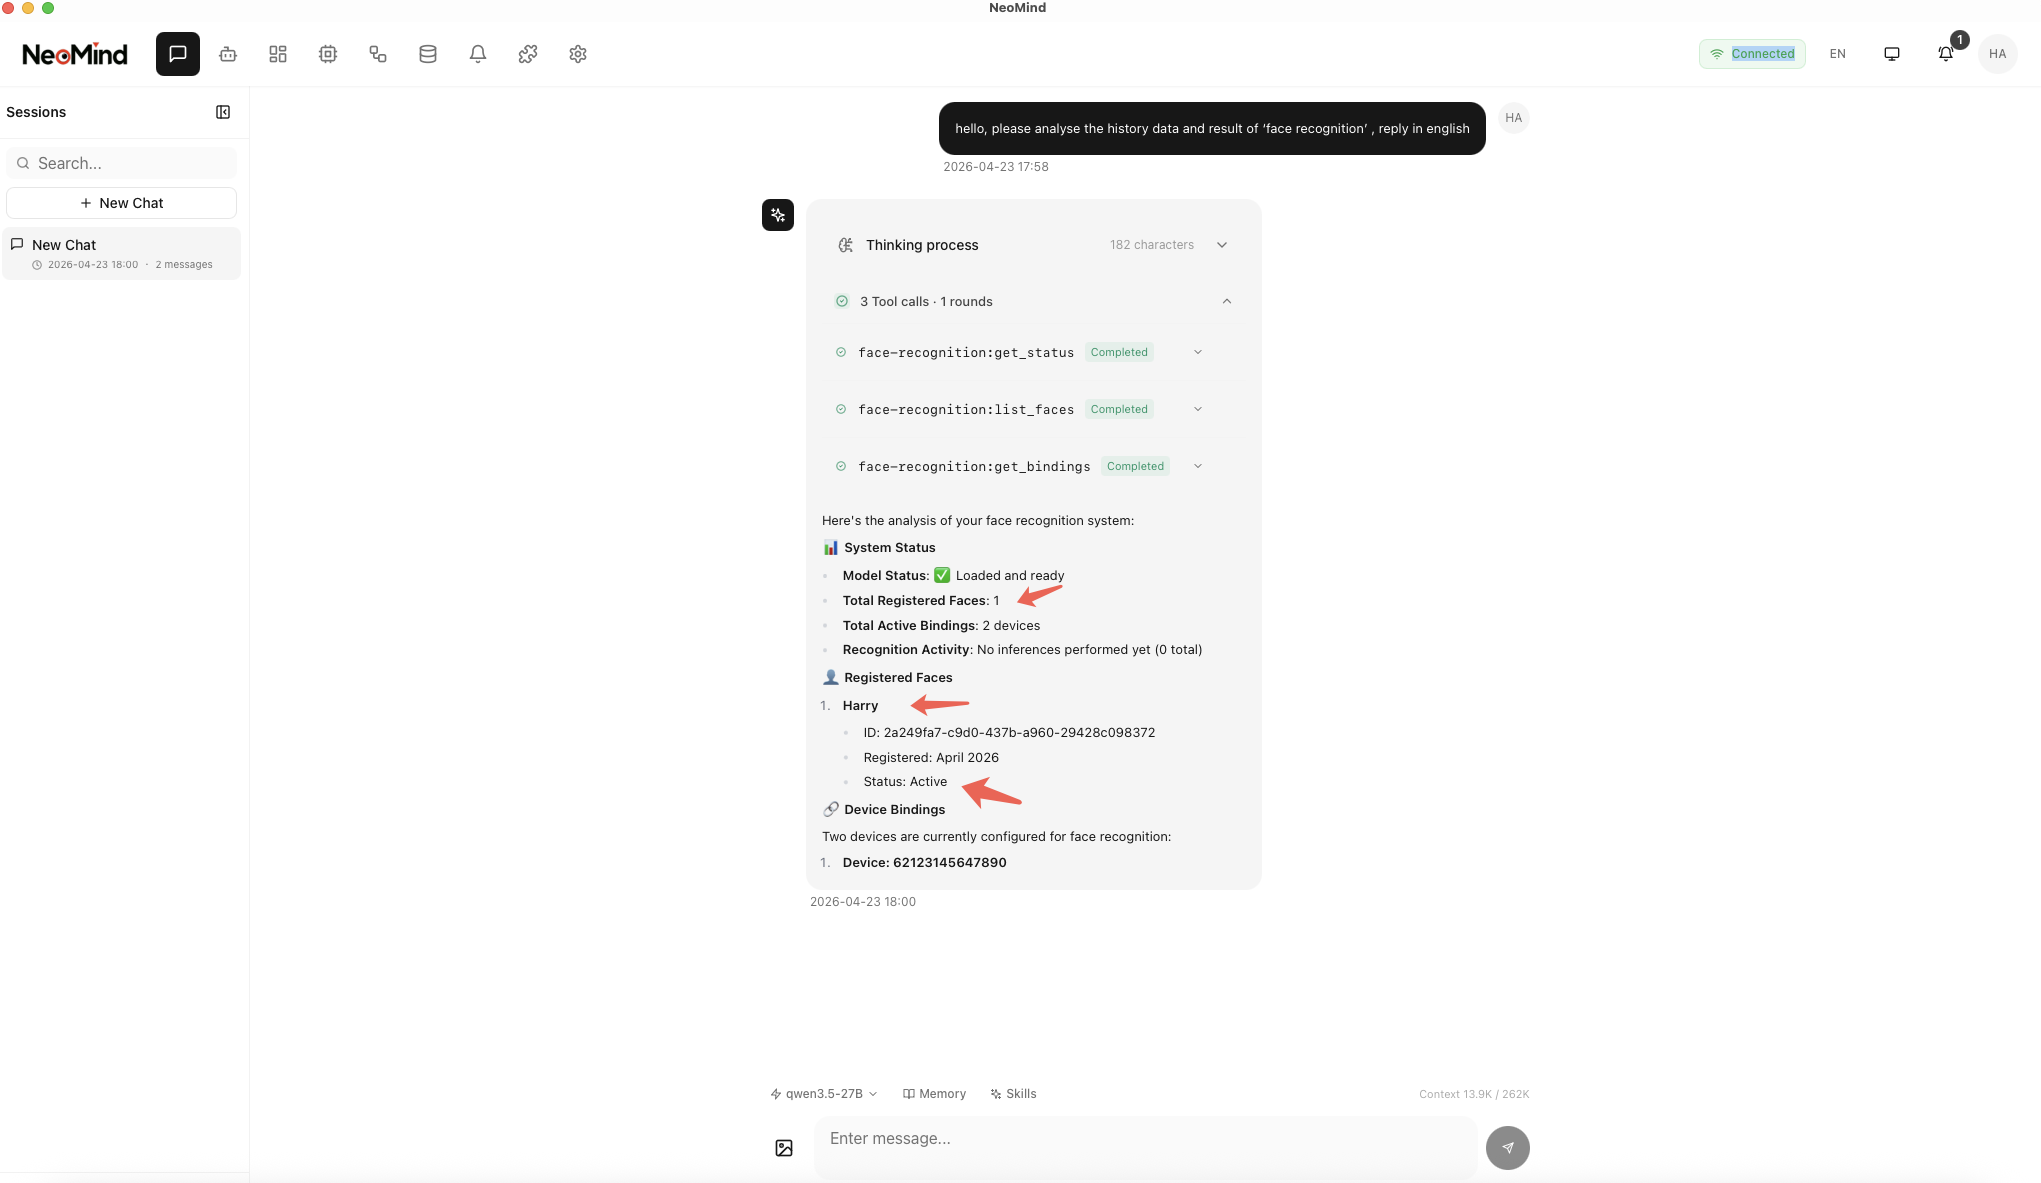
6. AI Chat Query
Once recognition results are stored, you can query face data using AI Chat with natural language. For example:
hello, please analyse the history data and result of 'face recognition', reply in english
7. Appendix
Related Documentation
Last updated: 2026-04-23