Engineering Implementation
This page is for implementation and integration engineers, covering the complete engineering process of the automated water meter reading solution — from selection and deployment to business integration.
1. Solution Scenarios
Field sites typically include meter rooms, sewers, pump rooms and stairwell meter boxes — damp, dark, off-grid with degraded signal; selection and deployment are organized around these conditions.

Typical Environments
| Environment | Characteristics | NE101 response |
|---|---|---|
| Meter room / pump room | Damp, normally dark, some with mains power | Fill light for darkness; protective housing against condensation; higher capture rate where mains power exists |
| Stairwell meter box | Relatively benign, usually powered | Simplest installation; watch for space and tamper protection |
| Sewer / meter pit | Damp, completely dark, no mains, heavy signal attenuation | IP67 protection; battery life first; Cat.1 / HaLow backhaul |
| Outdoor meter position | Open air, wide temperature swings, possible flooding | IP67 protection; fill light for night; sun and freeze protection |
Communication Options
NE101 supports three communication modules; choose by site signal and power conditions (battery life figures are official theoretical values, default 5 captures/day):
| Option | Battery life (default / optimized) | Best for |
|---|---|---|
| Wi-Fi | 2.39 yr / 6.20 yr | Meter within router coverage; short-to-medium range (recommended starting point) |
| Wi-Fi HaLow | 1.46 yr / 4.30 yr | Long-range backhaul for remote or obstructed sites |
| Cat.1 | 0.83 yr / 2.08 yr | Direct cellular where no LAN exists; external power advised for high-frequency capture |
Capture Frequency
- Frequency is driven by the billing / business cycle: 1–4 captures/day for daily settlement, lower for monthly
- Battery life scales linearly with frequency (1 capture/day ≈ 5× the life of 5 captures/day)
- Images upload with each capture — no extra configuration
High-Frequency Capture (Custom)
For minute-level or continuous capture, battery power no longer applies — contact CamThink for a custom Type-C powered NE101 (battery removed, powered directly over Type-C) for sustained high-frequency operation. For custom requirements, reach the technical support team via Contact Us; see also Technical Support.
2. Meter Types & Selection
Lens Selection
- NE101 is a fixed-focus module with two FOV lenses: 60° (nominal working distance 15cm) and 120° (nominal working distance 8cm)
- The lens must face the digit wheel squarely; keep the distance within the bracket's nominal range
- For older meters with small digit wheels, watch the framing ratio (digit area ≥ 1/3 of the frame)
Mounting Distance (60° / 120° FOV)
Both lenses are factory fixed-focus; the nominal working distance is the focus reference. The actual mounting distance need not match it exactly — small deviations are fine as long as the digits stay sharp in a test snapshot. Aim the lens at the digit wheel via the bracket so the digit area occupies ≥ 1/3 of the frame (1/2 recommended):
| Lens | Nominal working distance | Frame coverage width | Best for |
|---|---|---|---|
| 60° FOV | 15cm | ≈17cm | Standard residential / industrial meters, single-meter close-up (recommended) |
| 120° FOV | 8cm | ≈28cm | Large dials, multi-meter overview |

Principle: coverage width ≈ 2 × nominal working distance × tan(FOV/2). At 15cm the 60° lens covers ≈17cm; at 8cm the 120° lens covers ≈28cm. The higher the digit share of the frame, the denser the OCR pixels.
Mounting verification: take a manual snapshot before tightening the bracket — confirm sharp digits, no glare, proper framing — then lock the screws; if the distance deviates from nominal, fine-tune based on the snapshot.
Bracket Selection
- Use the official water meter bracket: it fixes the lens-to-dial distance, angle and view in one shot — the prerequisite for stable recognition
- No drilling; about 10 minutes per meter; re-installation after a battery swap never drifts
3. Bill of Materials (BOM)
| Thumbnail | # | Item | Model / spec | Qty | Purpose |
|---|---|---|---|---|---|
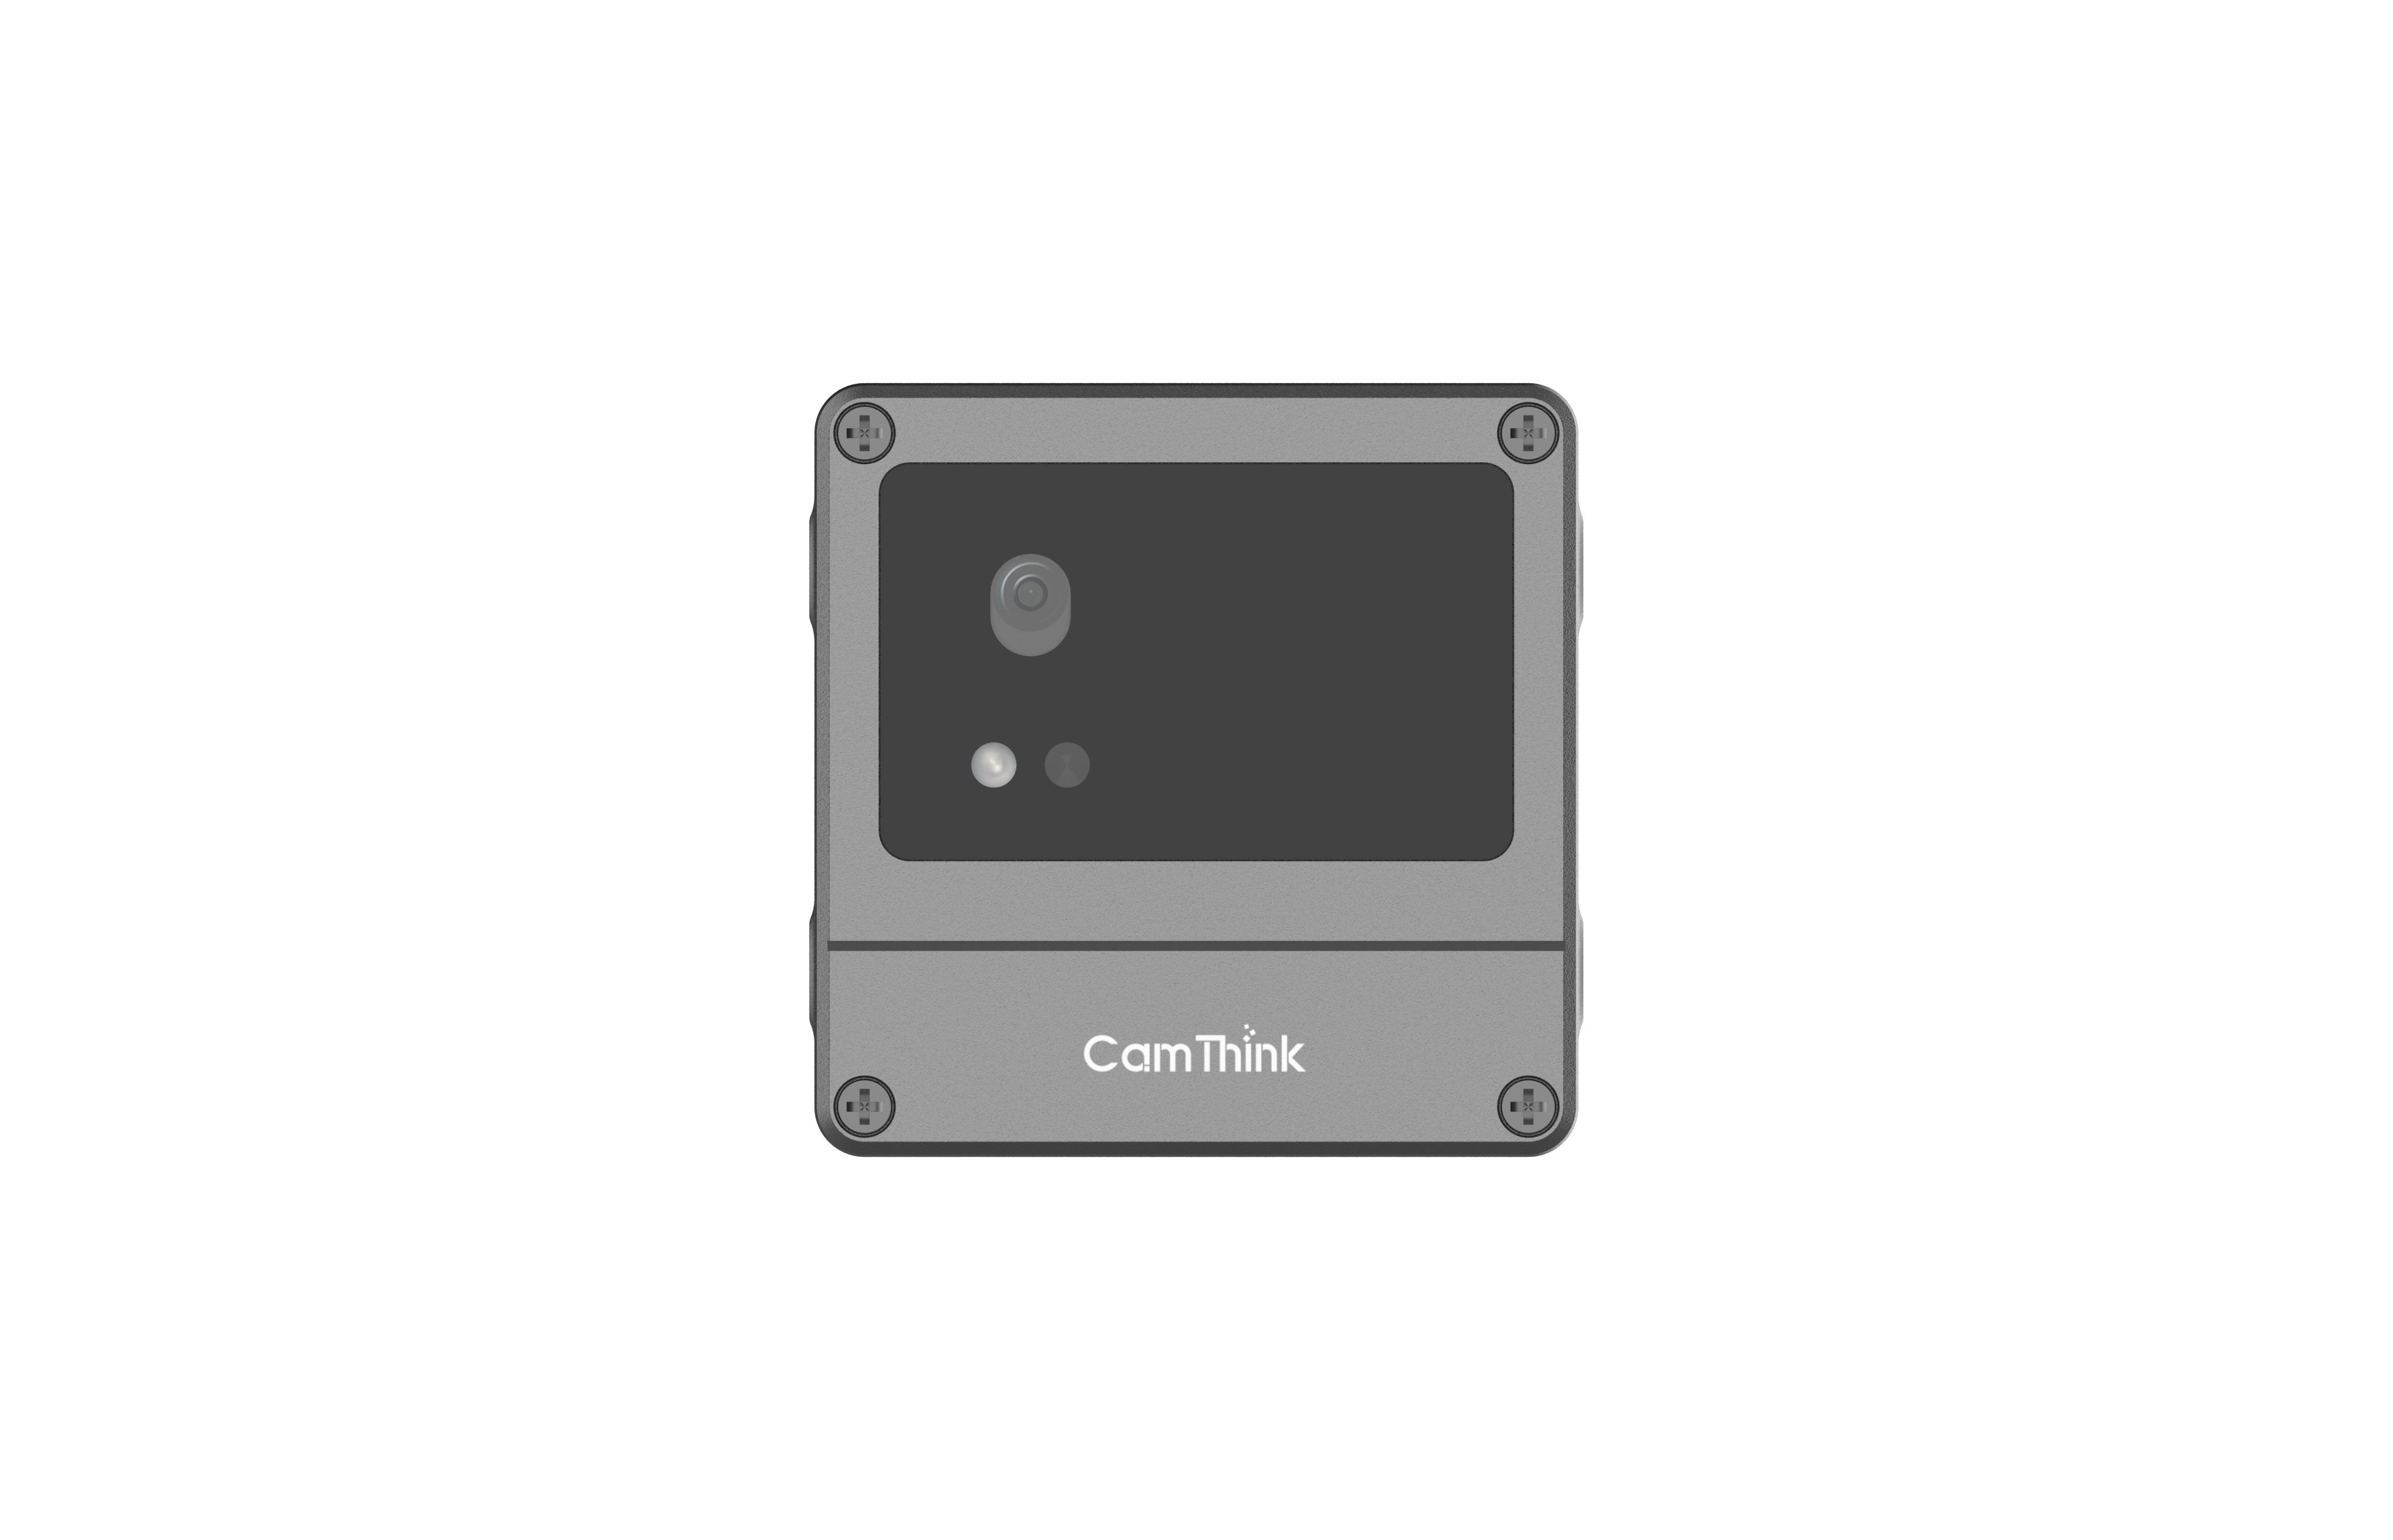 | 1 | NE101 AI Camera | Battery powered (4× AA) · scheduled capture · Wi-Fi/Cat.1/HaLow selectable | 1 per meter | Dial capture |
 | 2 | Water meter bracket | Official NE101 accessory | 1 set per meter | Fixes the lens-to-dial relative position |
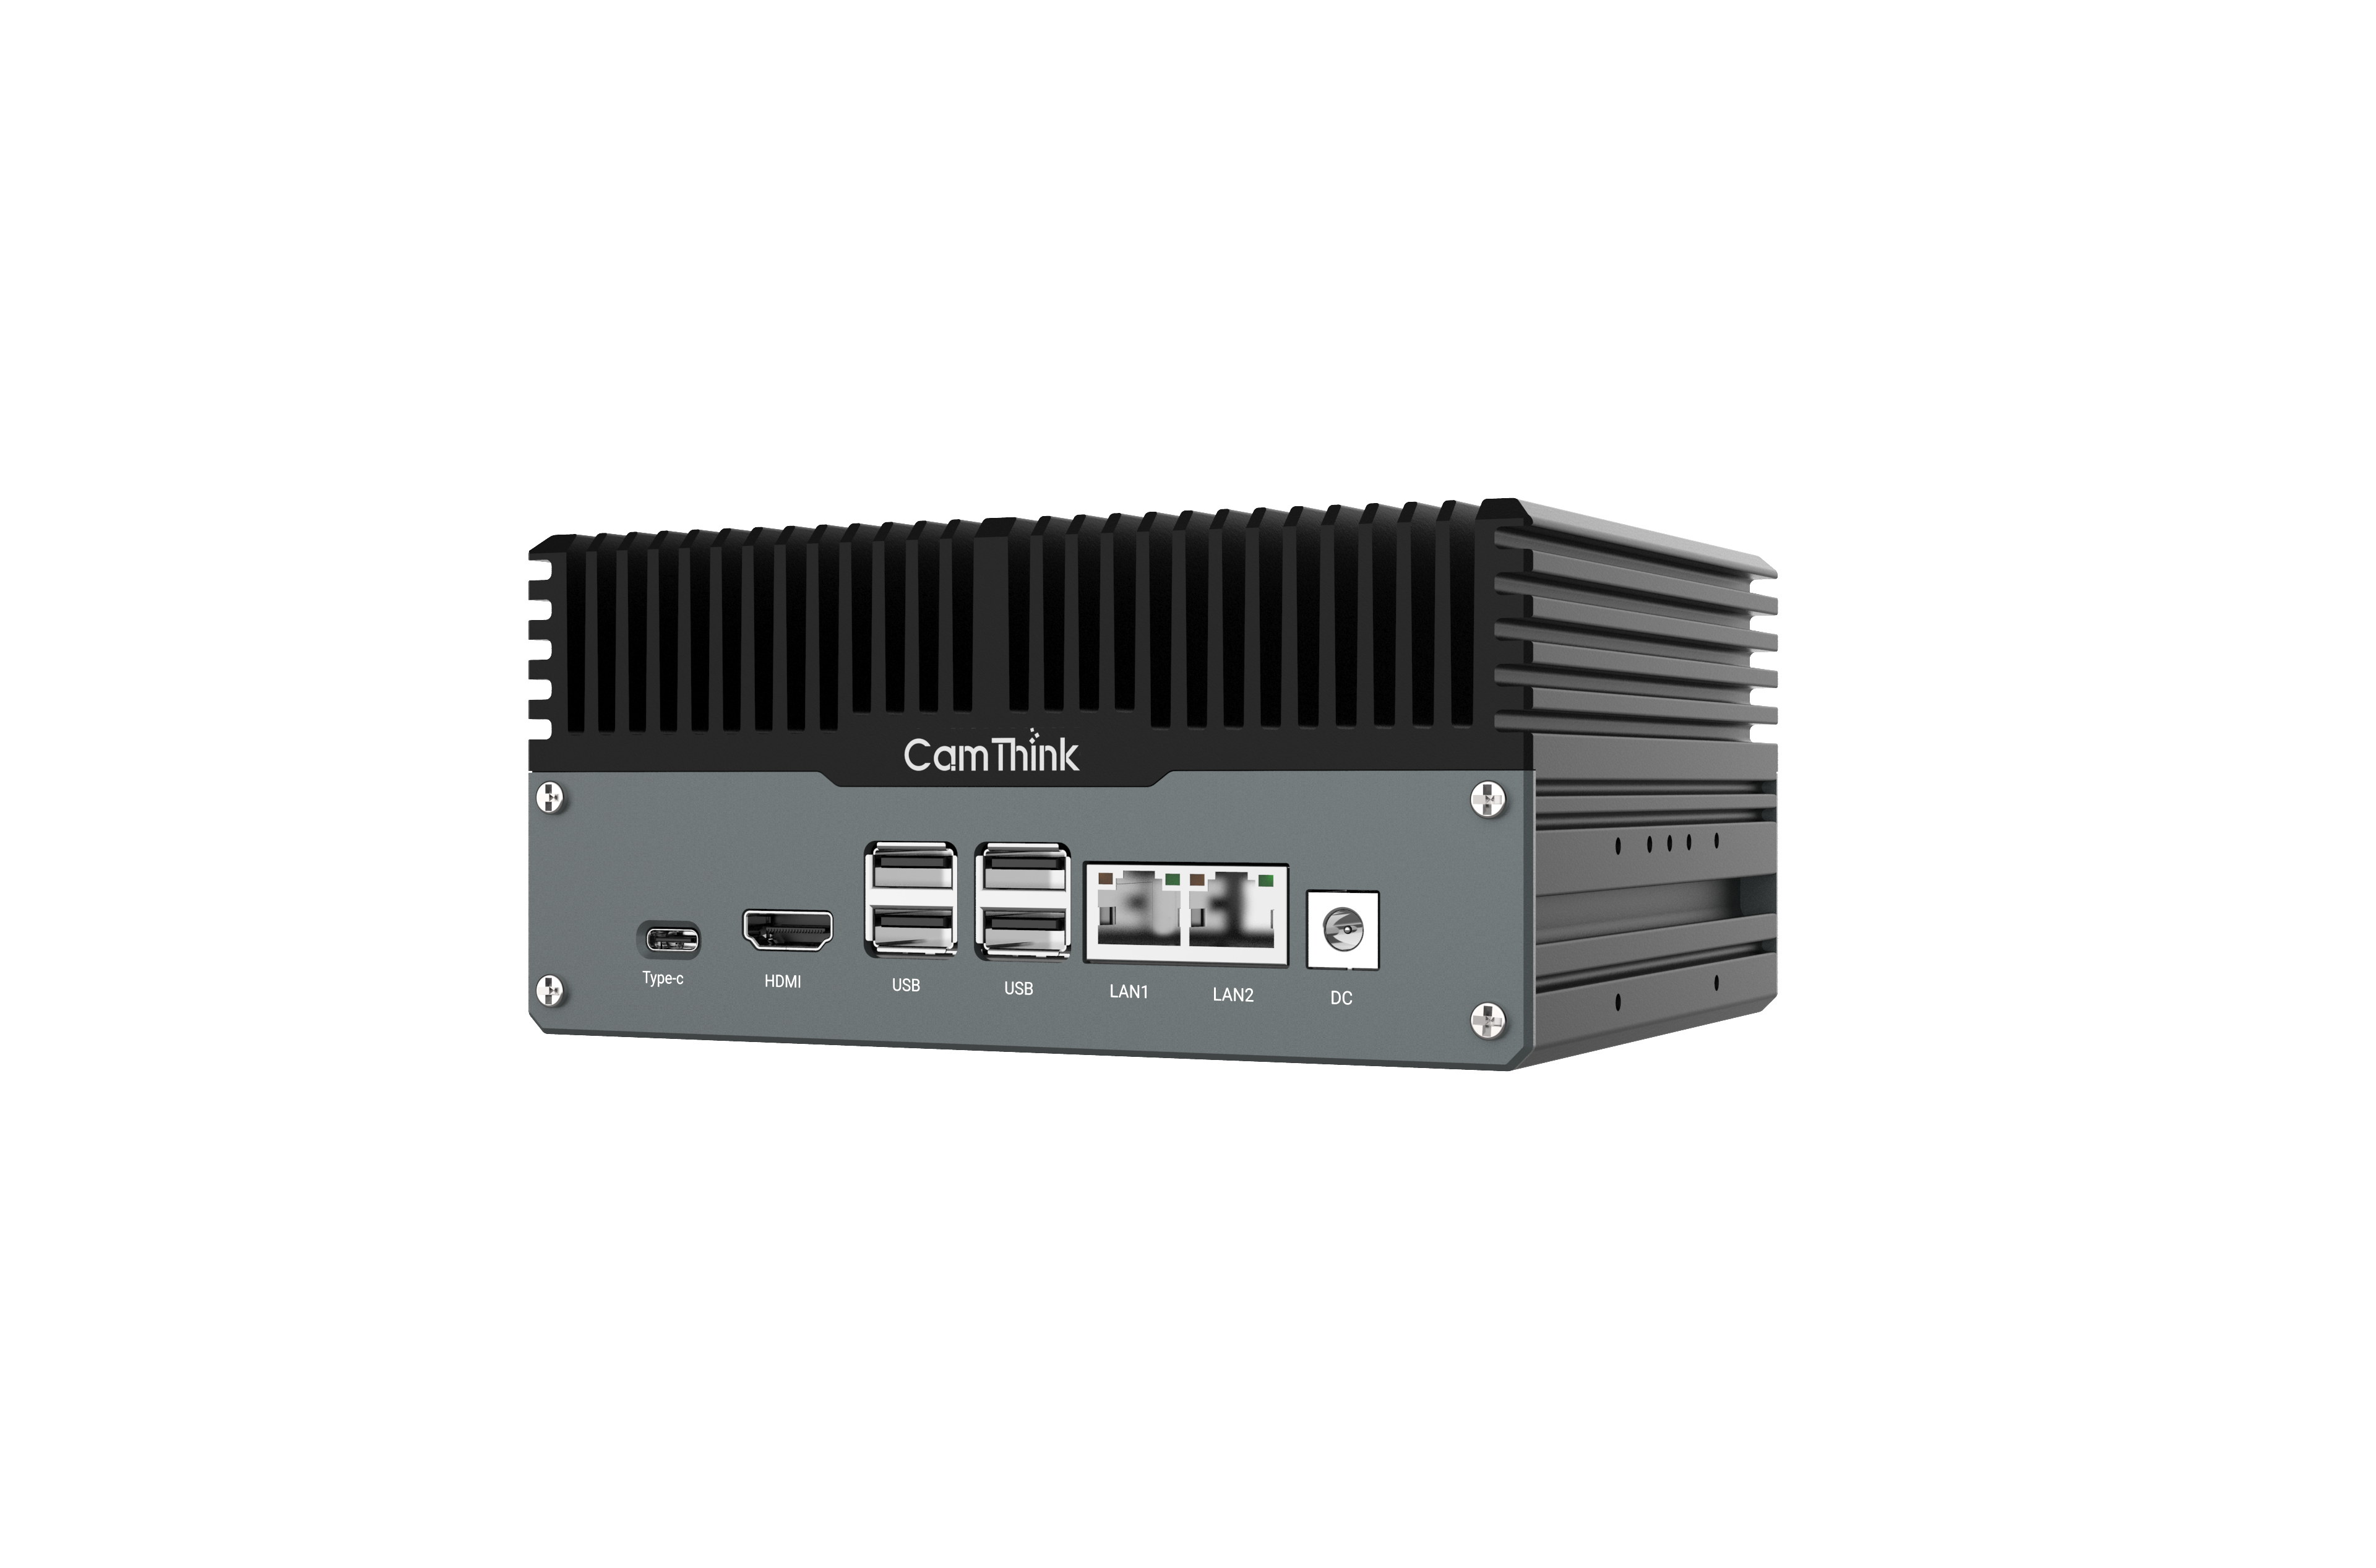 | 3 | NG4500 AI Box (platform host) | Linux host / NG4500 | 1 | Runs NeoMind: ingest, OCR, rules, data egress |
— | 4 | Batteries | 4× AA | 1 set per camera | Power supply |
— | 5 | Wi-Fi HaLow gateway | As needed: HaLow backhaul scenario | 1 | Bridges long-range backhaul into the LAN |
— | 6 | SIM (IoT) card | As needed: Cat.1 backhaul scenario | 1 per camera | Cellular backhaul |
Starter setup (≤10 meters): one NE101 (with bracket) per meter + one Linux host running NeoMind; as the meter count grows, add cameras only — the platform scales horizontally by capacity.
4. Network Topology (by Communication Option)
Network requirements differ by communication option — confirm them before deployment:
| Option | Networking |
|---|---|
| Wi-Fi | NE101 and the NG4500 (running NeoMind) join the same LAN; the host needs no public internet — ideal for campus / community intranet deployments |
| Wi-Fi HaLow | Requires a HaLow gateway: NE101 → HaLow gateway → the network where NeoMind lives; for long range and obstructed sites |
| Cat.1 | NE101 connects directly to the cloud over cellular; we recommend deploying NeoMind in the cloud (public reachable) — for scattered meters without a LAN |

General requirement: NE101 must be able to route to NeoMind's MQTT port (built-in broker, TCP 1883 by default, MQTTS supported — the host must open this port to the device subnet); recognition and ingestion complete locally on the host, and business systems integrate via OpenAPI / Data Push / Webhook.
5. Solution Setup
Build in this order: install NeoMind (NG4500 / PC) first, then add the NE101 device on the platform, then configure the device to report data, and finally commission and integrate.
5.1 Install NeoMind (NG4500 / PC)
The NG4500 AI Box is the recommended host; for evaluation, NeoMind can also run on a PC or any Linux machine.
- Platform install: one-line script / manual deployment / HTTPS setup — see Install & Upgrade
- Install the OCR extension: one-click install paddle-ocr-v6 from the extension marketplace — the local OCR engine that turns NE101 dial captures into readings
- Verify the camera component: confirm the built-in ne101_camera component is available — it receives NE101 uploads and feeds captures into the recognition extension
For detailed steps see Install Extensions & Components.
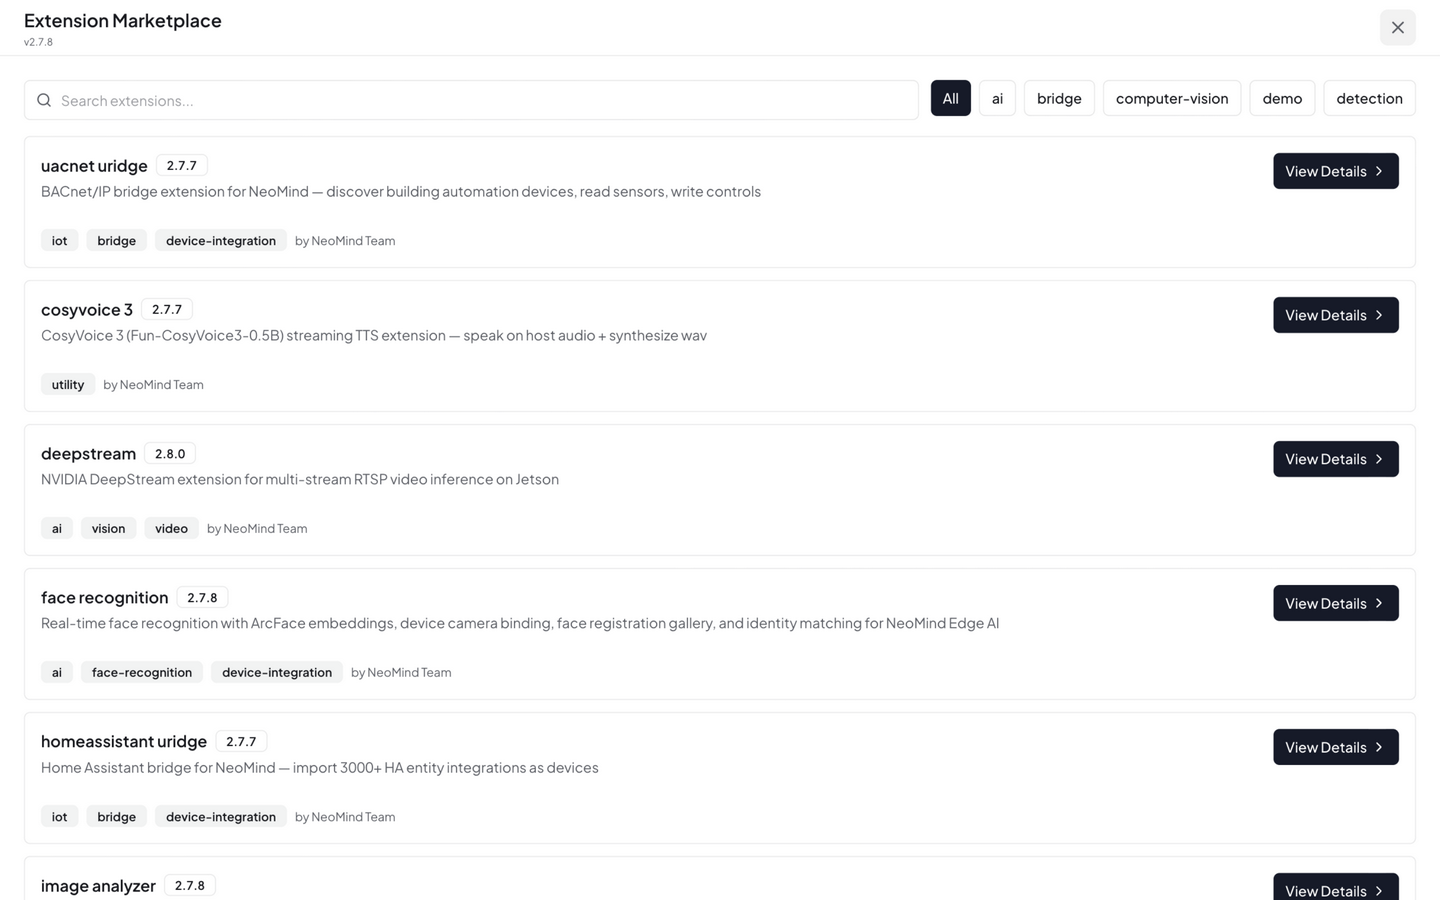
5.2 Add the NE101 Device in NeoMind
On the platform side, add the NE101 in the ne101_camera camera component and bind it to a project; note the MQTT details at the top of the component — Server Address and Data Reporting Topic — you will need them for the device-side configuration. Full steps: OCR Use Case — Capture Images from NE101.
5.3 Report Data from the NE101
- Long-press the NE101 shutter button for 2s to enable the device Wi-Fi AP; connect from a laptop or phone
- In the NE101 Web UI → System Settings → Communications, select the site router's Wi-Fi and make sure the device can reach the NeoMind host
- In Application Management, fill in the Data Reporting Topic and Server Address (the MQTT details noted in 5.2), then click connect
- From now on, every press of the shutter button uploads the image to the bound project
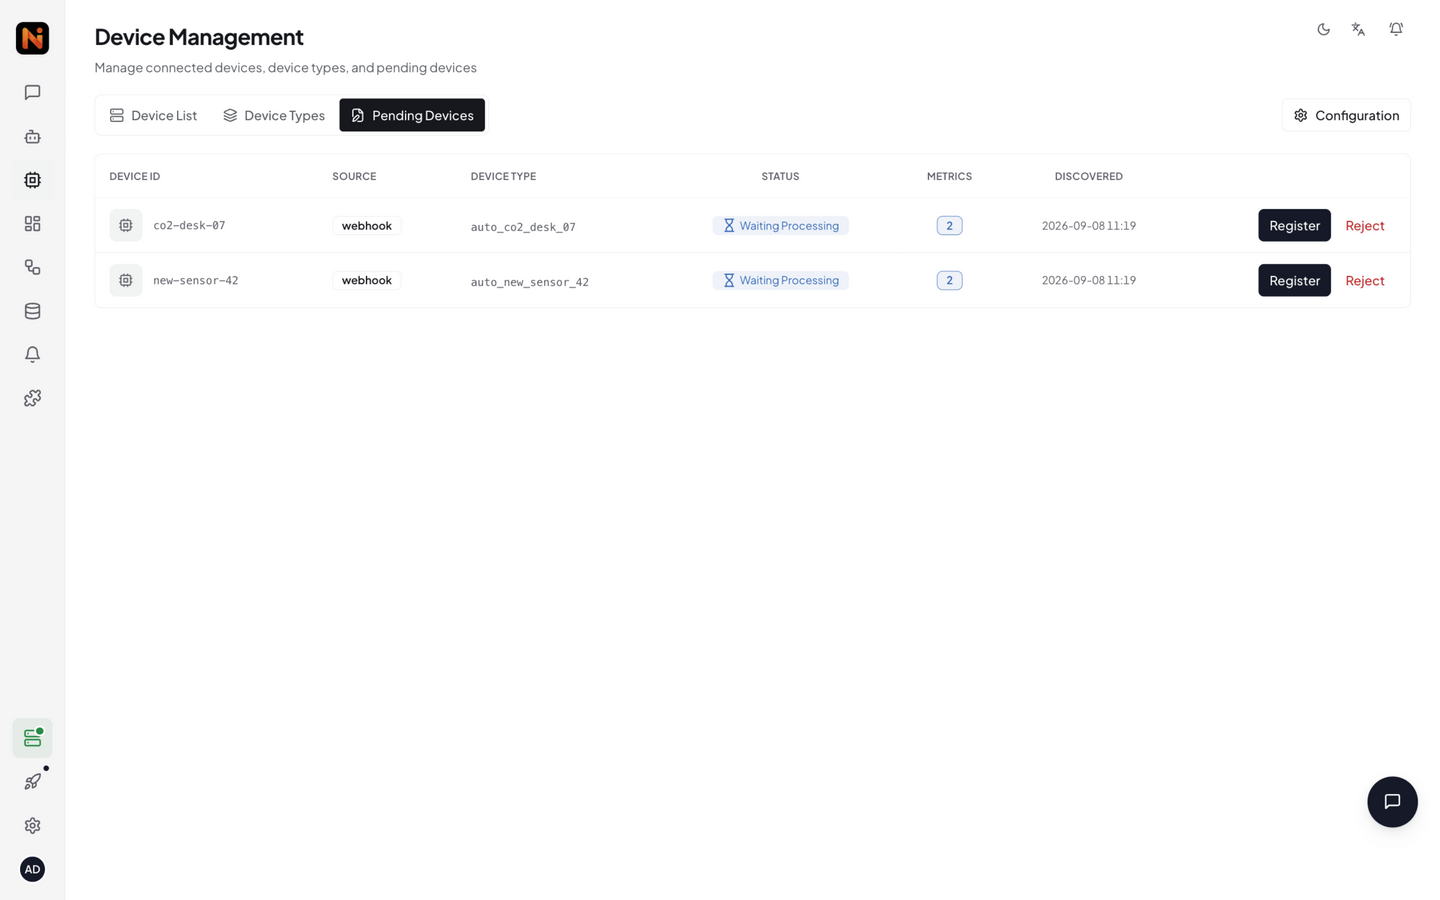
For device activation and Web UI configuration, see the NE101 Quick Start.
5.4 Commissioning
Verify link by link; if one fails, troubleshoot that link first:
- Capture: press the NE101 shutter manually and confirm the image reaches NeoMind (visible in the component's image list)
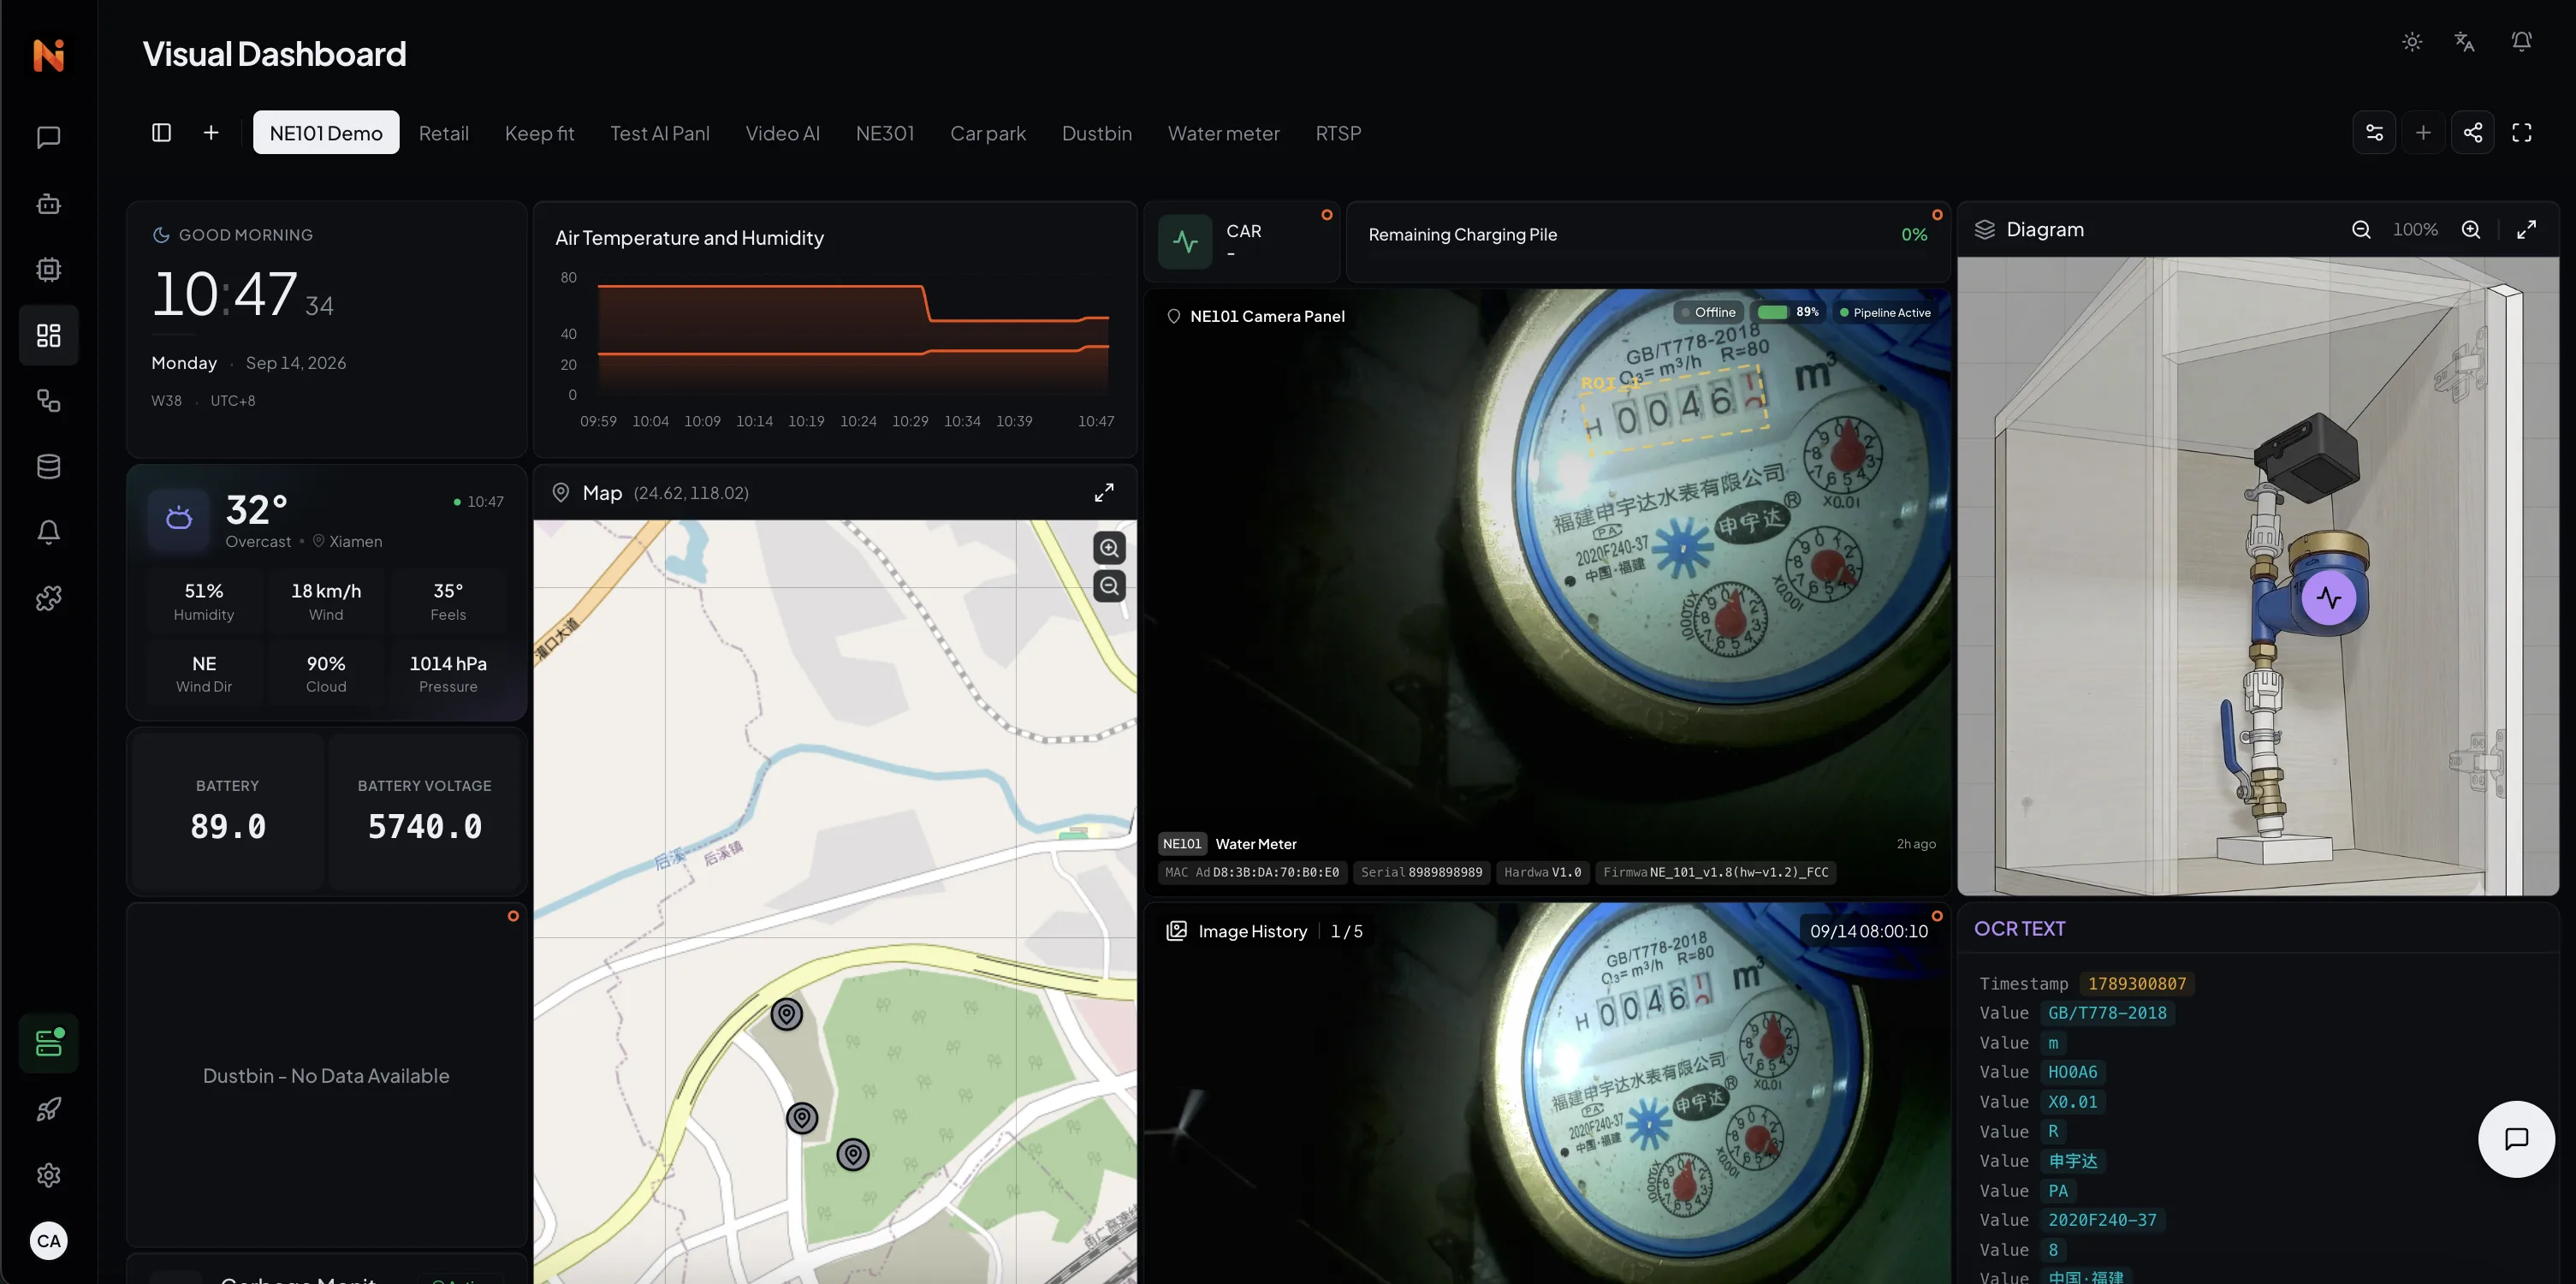
- Recognition: confirm the OCR pipeline produces the reading field (visible in the dashboard component)
- Rules: confirm the reading is parsed into a number by Transform and stored as the
meter_readingmetric (see Data Transforms) - Egress: verify Data Push / Webhook delivers readings to the business endpoint
5.5 Data Storage & Display
- Capture photos: stored on the NeoMind host; retention is controlled in the data retention settings and auto-purged on expiry
- Reading metrics: ingested as virtual metrics (e.g.
meter_reading) with history queries - Dashboard: three recommended cards — reading card (latest reading + time), consumption trend (day/week/month), device health (battery / signal / online); see Using Dashboards
5.6 Data Forwarding
Two outbound options for readings and alerts — choose by latency needs:
| Option | Description | Best for |
|---|---|---|
| Data Push | The platform pushes new data points of selected metrics to a business HTTP endpoint in real time (with retries) | Real-time linkage, big screens |
| OpenAPI pull | The business system pulls readings via REST API per settlement cycle | Daily / monthly settlement systems |
- Configuration: Data Forwarding / Platform API
- Alerts such as abnormal readings, low battery and offline devices go through the Notifications Webhook / IM / email channels
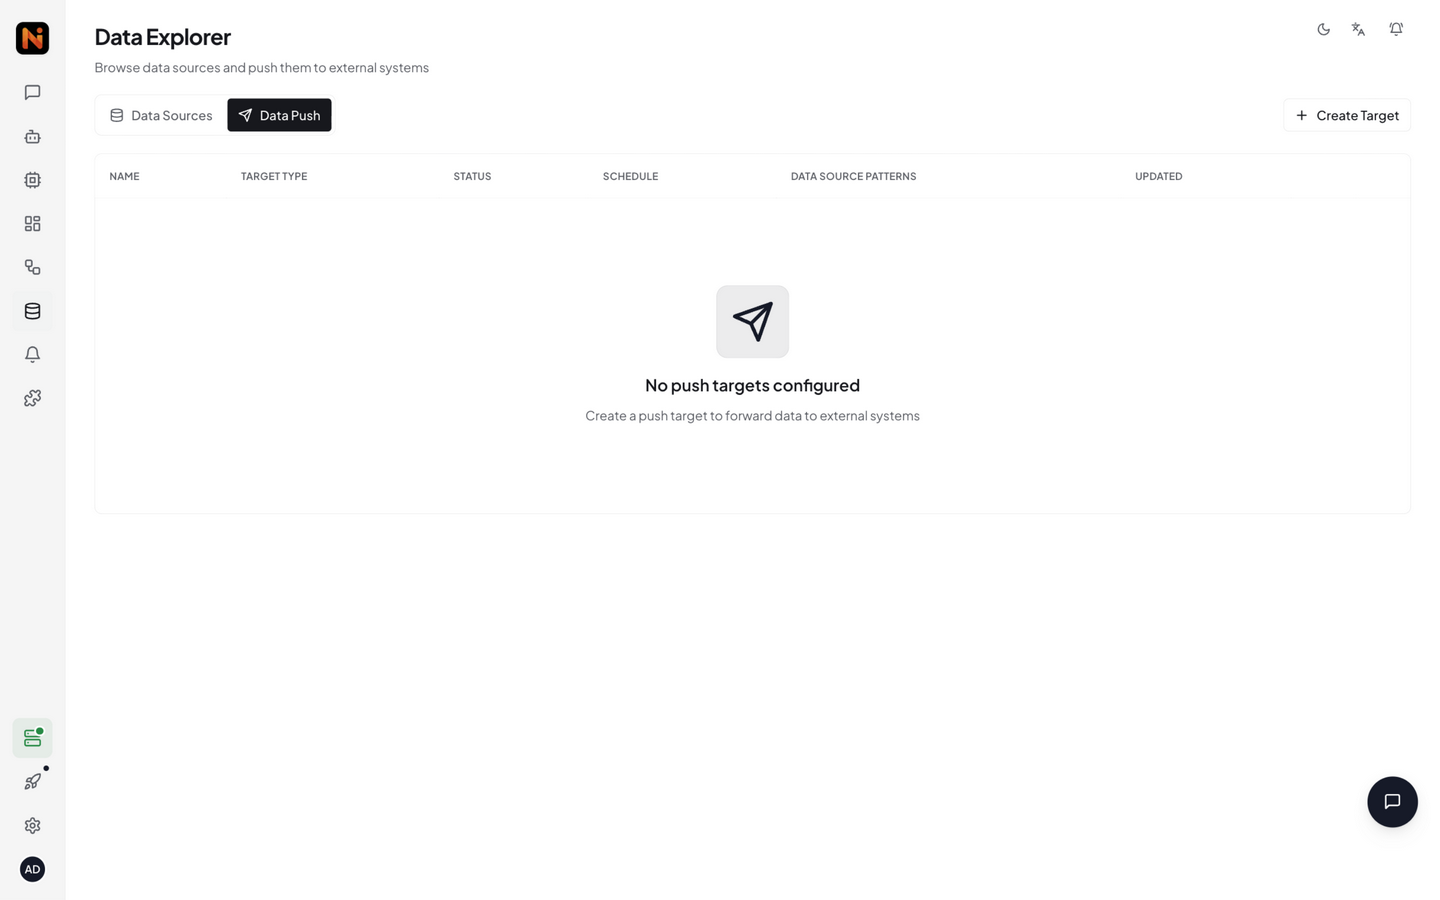
Field mapping example: meter no. ↔ device ID; reading ↔ meter_reading; reading time ↔ data point timestamp; evidence ↔ capture photo URL.
6. Technical Support
- Community: Discord / GitHub Discussions
- Solution customization & volume deployment: Contact Us — handled by the CamThink technical support team
- High-frequency capture / Type-C powered version: same as above; specify the capture frequency and deployment scale in your request
- Bracket customization: for non-standard meters or constrained mounting positions (size limits / multi-meter sharing), same as above; specify the meter dimensions and site photos