Deployment & Operations
This guide covers the complete lifecycle of an NE503 deployment, from first installation and handover to long-term maintenance: pre-deployment checks, network and time configuration, log and disk management, and firmware upgrade and recovery. All operations are performed through the Web console's Settings and Maintenance pages or via SSH. For first-time connectivity and a basic walkthrough, see the Quick Start.
1. Pre-Deployment Checklist
Before handover, verify each item below in order. Do not proceed to the next item until the current one passes.
| # | Item | Pass criteria |
|---|---|---|
| 1 | Power & mounting | PoE (802.3at) or DC 12V supply working (~5–6 W); device boots automatically on power-up |
| 2 | Network | Cable connected; device IP reachable via ping |
| 3 | Web console reachable | https://<device-ip> loads the login page (accept the self-signed certificate on first access) |
| 4 | Default passwords changed | Both the Web console (admin / password) and SSH (root / root) passwords changed |
| 5 | Time & timezone | Timezone matches the site; NTP sync succeeds; on-stream timestamp is correct |
| 6 | Streams working | RTSP main/sub streams playable: ffprobe -rtsp_transport tcp rtsp://<device-ip>:8554/main |
| 7 | AI services ready | Preloaded models healthy on Models; demo app starts normally |
| 8 | Peripherals | Alarm / Wiegand / audio wired as needed and enabled on Peripherals |
| 9 | Security baseline | Device not exposed to the internet; only necessary ports allowed — see Security Hardening |
| 10 | Handover record | Device IP / MAC, firmware version, location, and owner recorded |
Configuration methods for each item are in the sections below.
2. Network and Time Configuration
Two foundational configurations must be completed during deployment: a fixed device IP (an IP change breaks NVR / platform integrations) and time synchronization (wrong timezone or clock misaligns log and event timestamps, hurting diagnosis and reconciliation).
2.1 Static IP Configuration
Go to Settings → Network, IPv4 Settings (interface eth0):
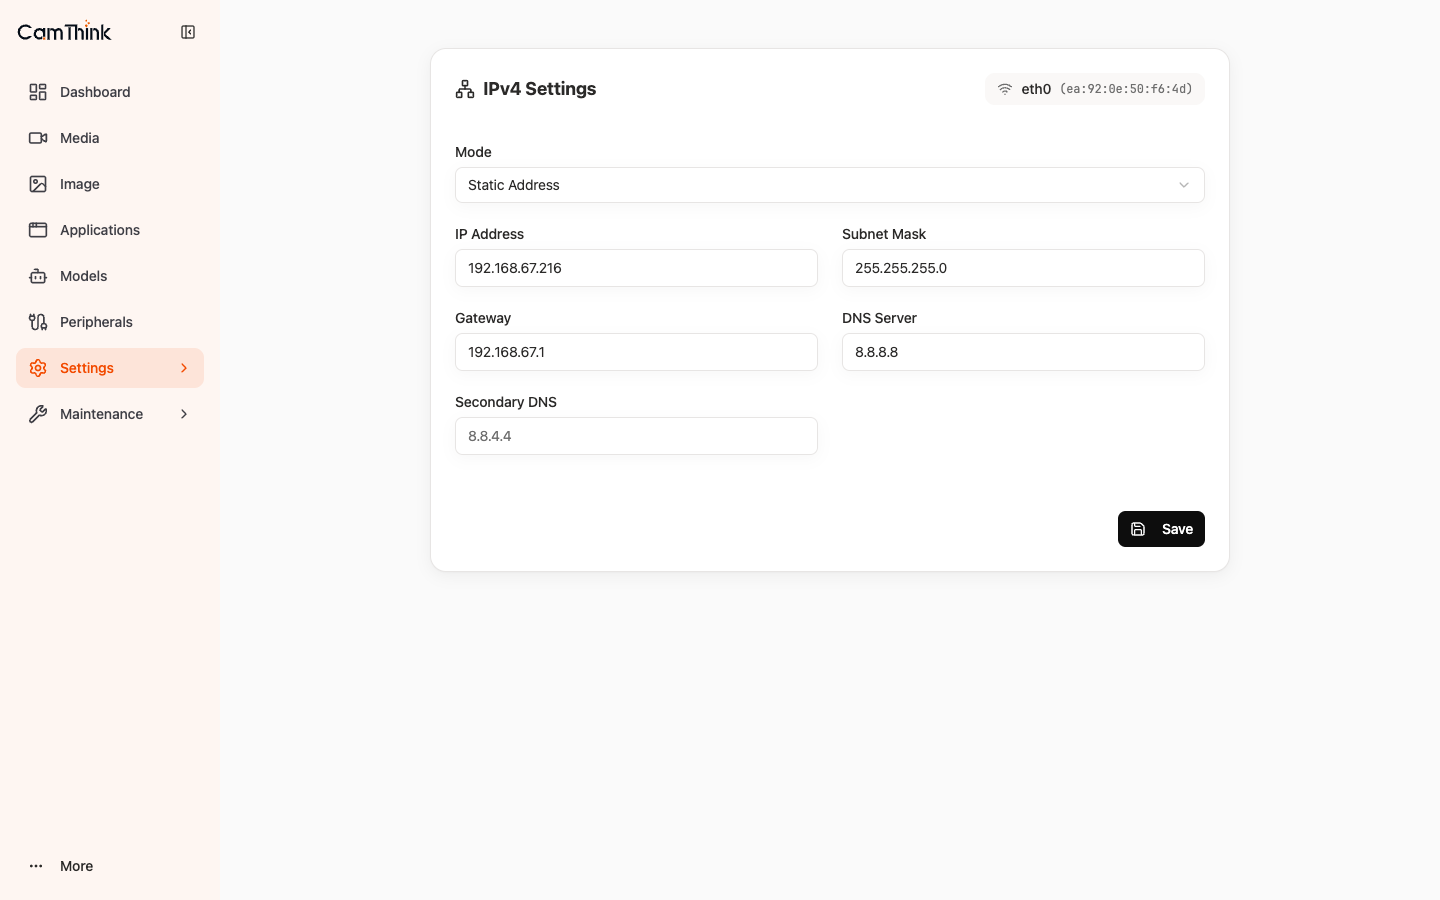
Field descriptions:
| Field | Description |
|---|---|
| Mode | DHCP (router-assigned) or Static Address (manual, fixed) |
| IP Address / Subnet Mask / Gateway | Required in static mode |
| DNS Server / Secondary DNS | DNS servers |
Procedure:
- Switch Mode to Static Address.
- Fill in the IP address, subnet mask, and gateway per the site network plan; set DNS as appropriate for the environment.
- After saving, the device serves at the new IP; access the console via the new address.
Completion criteria: the IP persists across reboots; the Web console is reliably reachable at that IP; downstream systems (NVR / business platform) have been updated with the new address.
In a DHCP environment where static configuration is not possible, bind the device IP to its MAC address on the router to achieve the same fixed result.
2.2 Timezone and NTP Configuration
Go to Settings → Time:
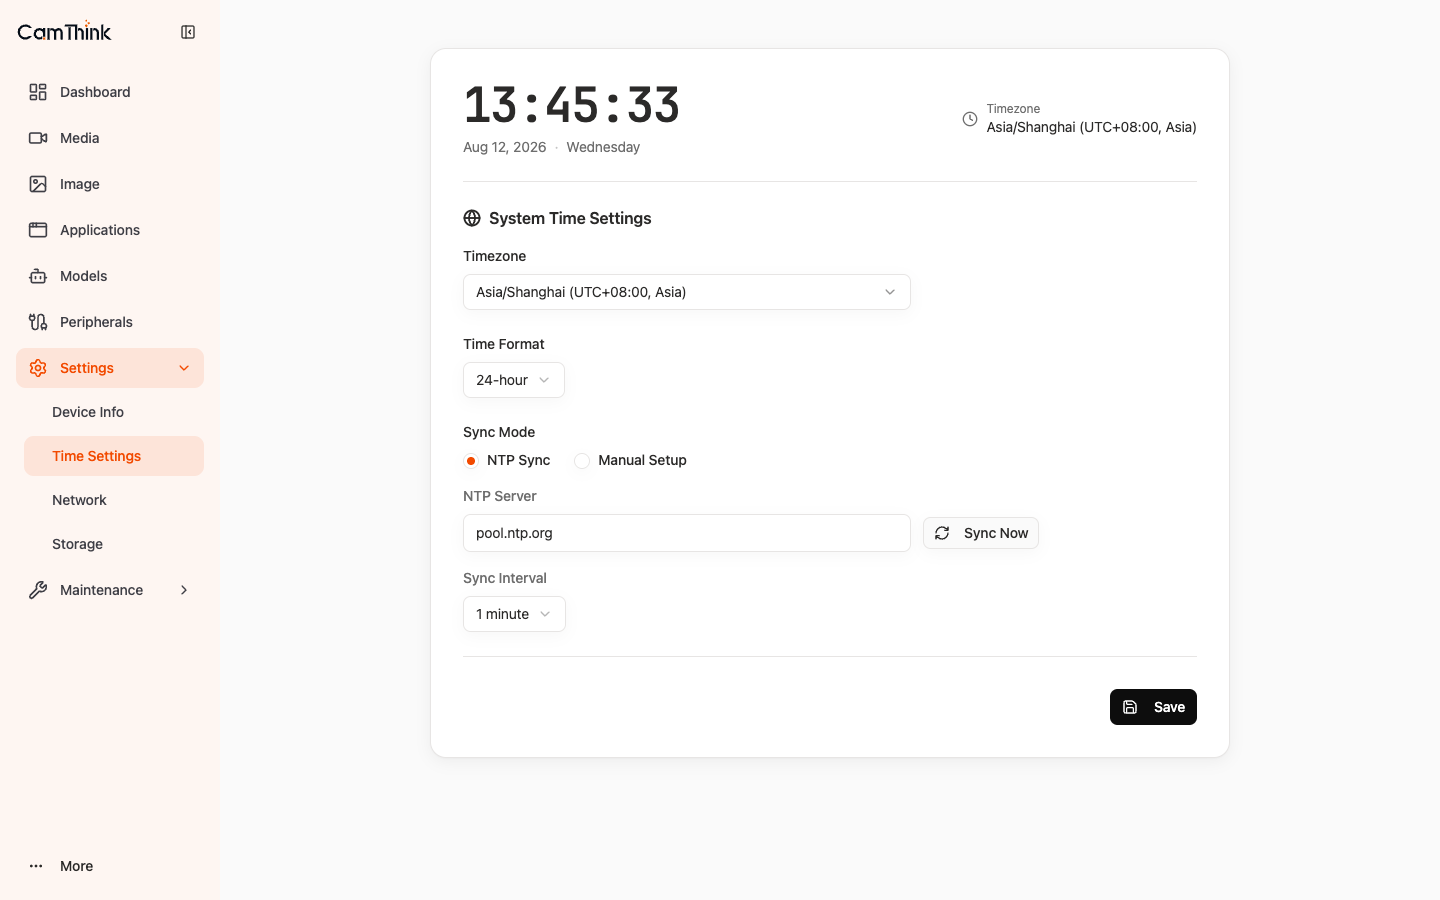
Field descriptions:
| Field | Description |
|---|---|
| Timezone | Site timezone |
| Time Format | 12 / 24 hour |
| Sync Mode | NTP Sync (network time) or Manual Setup |
| NTP Server | NTP server address (e.g. pool.ntp.org) |
| Sync Interval | Sync interval |
Procedure:
- Select the site timezone under Timezone.
- Set Sync Mode to NTP Sync and enter an NTP server reachable from the site.
- Click Sync Now to synchronize immediately.
Completion criteria: Sync Now completes without error; the on-stream timestamp matches local standard time.
3. Logs, Storage, and Maintenance Tools
3.1 Log Viewing and Collection
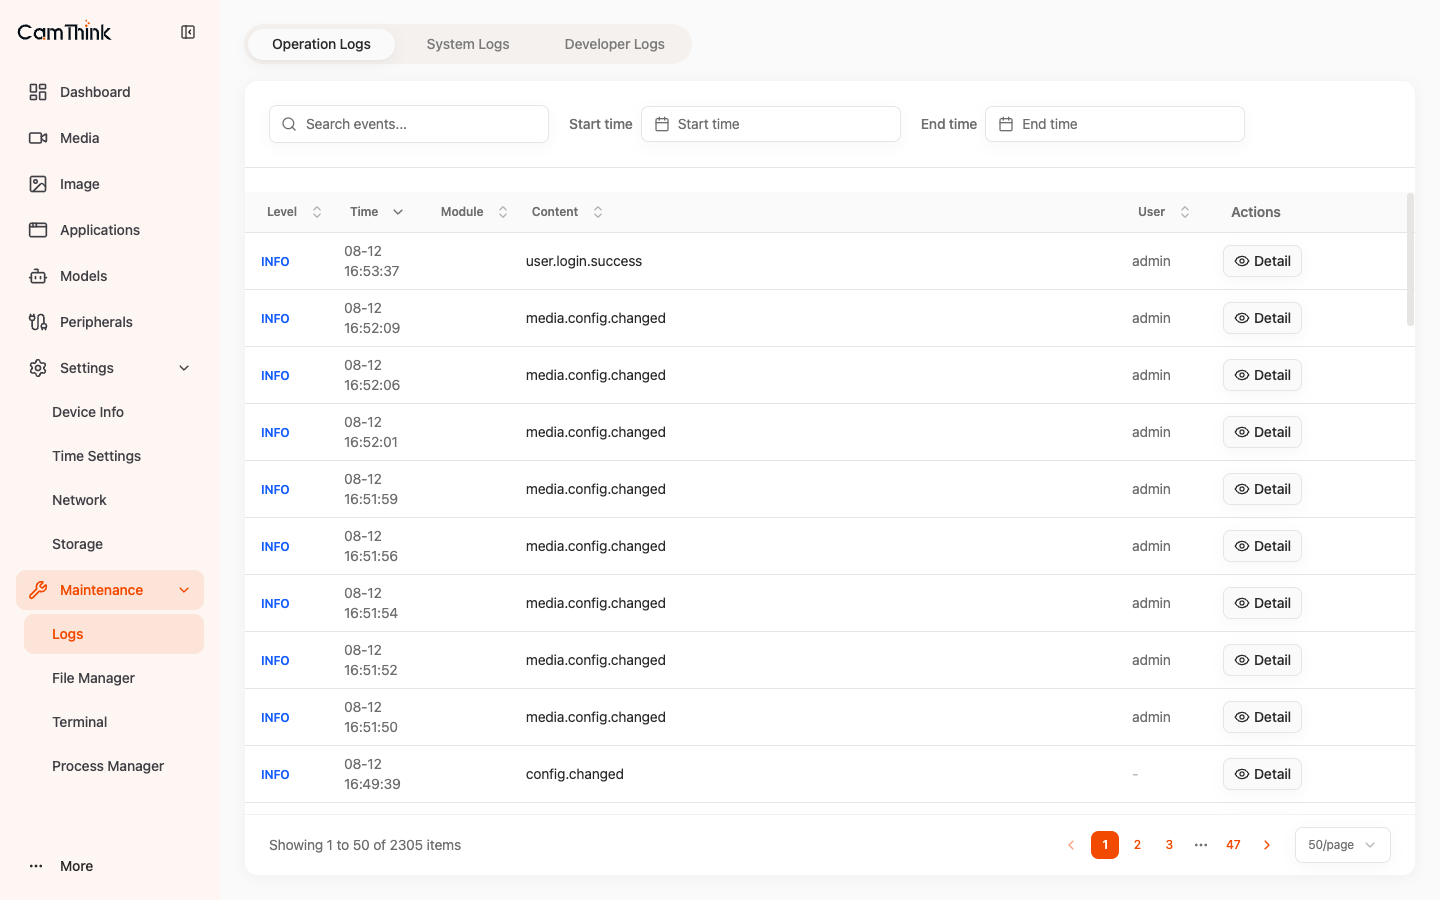
Daily inspection is done in Maintenance → Logs, which offers three views:
| View | Content |
|---|---|
| Operation Logs | Logins, app start/stop, configuration changes |
| System Logs | System-level events |
| Developer Logs | Developer debug logs |
Filter by time range and keyword; each entry has Detail for full information.
For remote collection and deep diagnosis:
| Channel | Method | Use case |
|---|---|---|
| REST API | GET /api/v1/apps/<id>/logs (NDJSON stream) | Remote app-log collection |
| SSH | journalctl -u <service>; platform log files under /data/aipc/logs/ | Deep platform-service diagnosis |
Common service names for journalctl: app-manager (app management), ai-runtime (AI inference), camera-daemon (camera), event-bus (event bus).
3.2 Storage and Disk-Space Planning
Settings → Storage shows built-in storage usage, split into System (system partition, not modifiable) and Data (data partition).
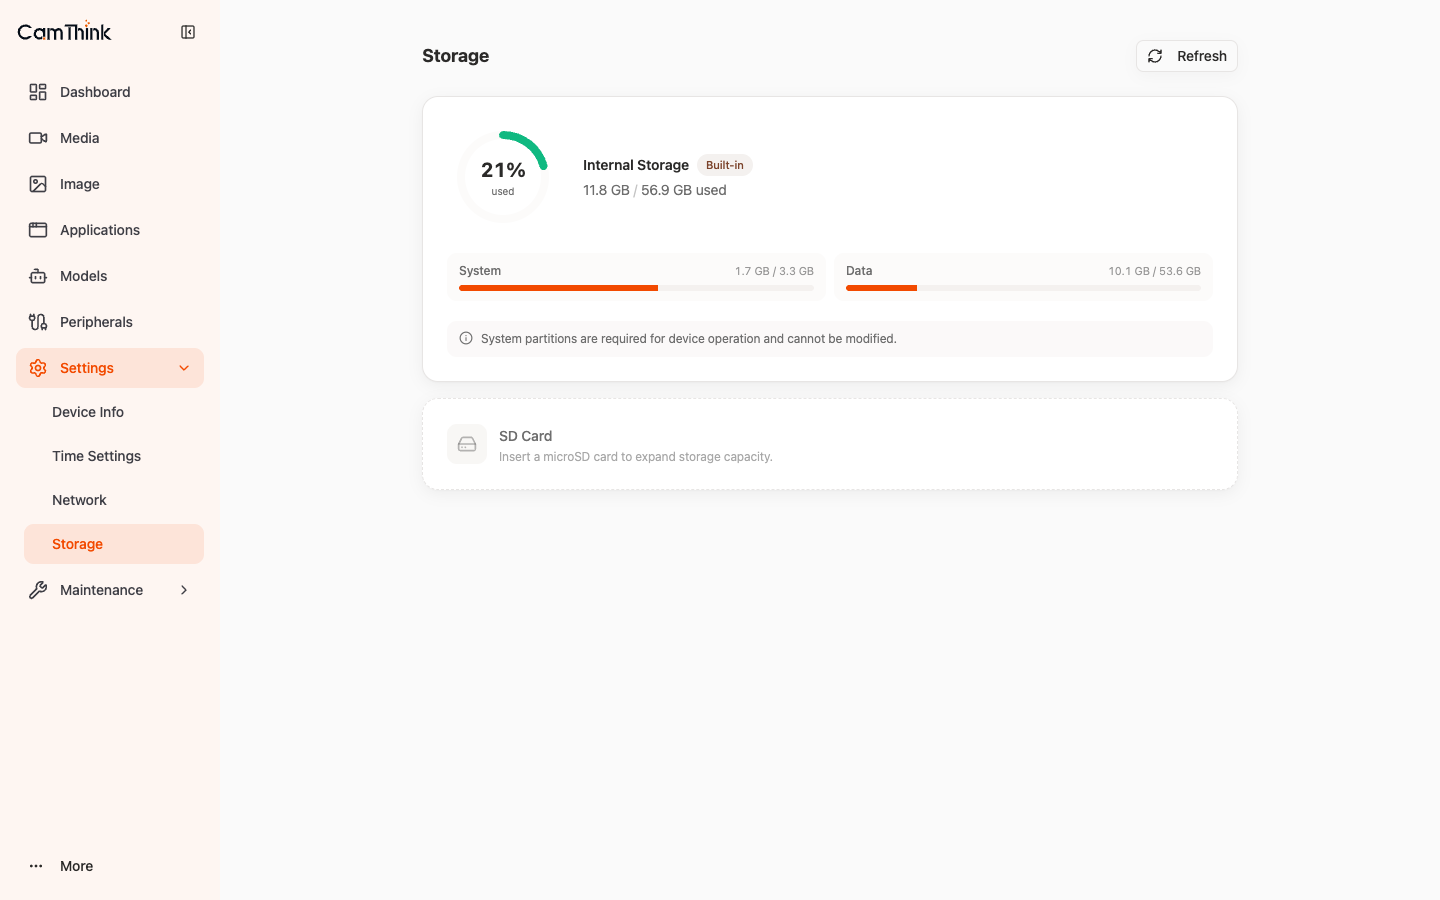
Space usage reference (measured on a 2026-08 firmware sample device):
| Partition / directory | Size | Purpose | Planning |
|---|---|---|---|
Root / | 3.3 G (system uses ~1.8 G) | System, read-only | Not writable, no planning needed |
/data | 54 G | Data partition | Budget for the items below |
/data/aipc/models | 20 M–3 G each | Model library | Detection models ~20 M, VLM ~3 G; estimate by planned imports |
/data/aipc/images & apps | ~100–450 M per app | App images and instances | Estimate by app count |
/data/aipc/logs | Can exceed 1 G | Platform logs | Clean regularly |
Storage management points:
- Alert threshold: when Data usage exceeds 80%, clean up logs, uninstall idle apps, or remove unused models; a microSD card can be inserted to expand capacity.
- Log cleanup: via SSH, run
truncate -s 0 /data/aipc/logs/*.log. - Video recording: the current firmware does not store video locally; recording is done by an external NVR / VMS pulling the streams (see Video and Imaging).
- Command-line management: use
aipc-cli; common commands in the Device Management Tools.
3.3 Maintenance Tools
The Maintenance page provides three more tools:
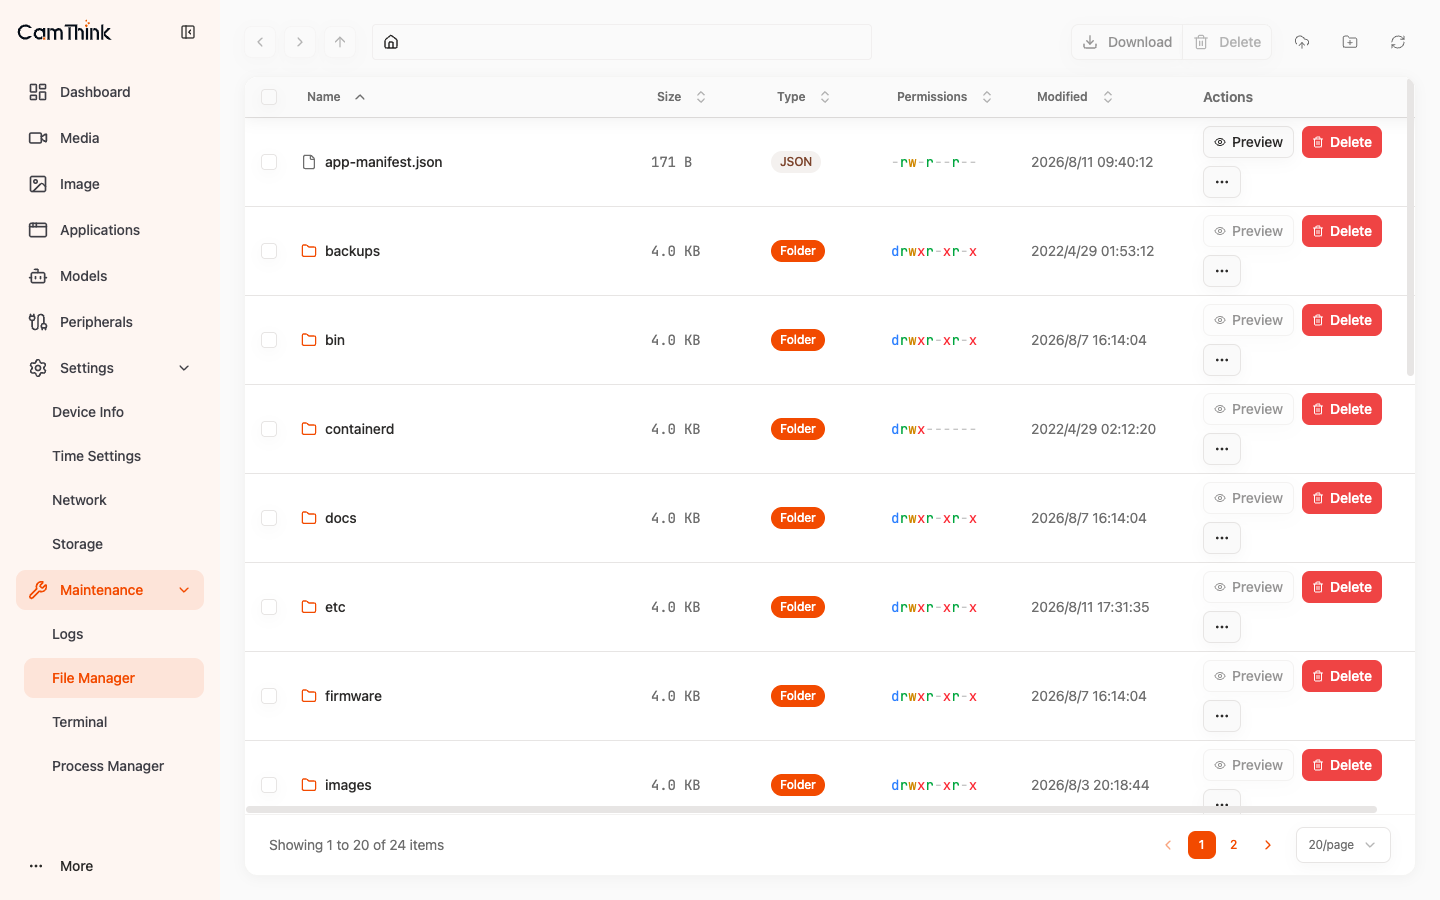
File Manager: browse and operate the device's /data/aipc filesystem. Supports path navigation and Download / Delete / Upload File / New Folder operations; each file supports Preview / Delete / More.
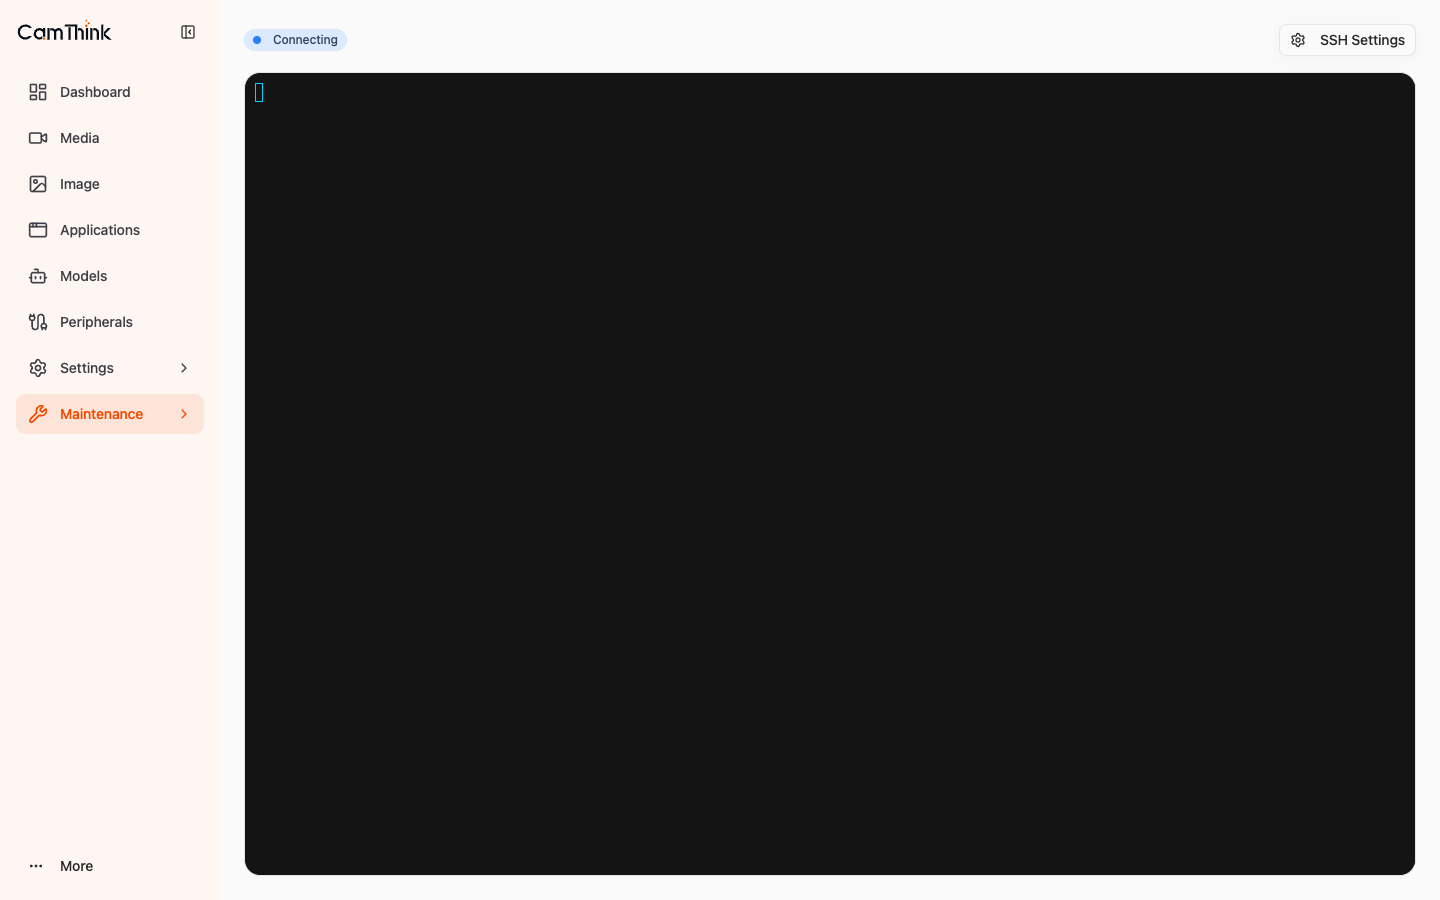
Terminal: a built-in Web SSH terminal providing command-line access without installing a client. Ready when the status shows Connected.
Process Manager: lists all running processes (PID / CPU / memory / status, etc.), supports filtered search, and allows Kill on abnormal processes.
Killing platform-critical processes (camera-daemon, ai-runtime, platform-api, event-bus) breaks functionality until a reboot; avoid unless necessary.
4. Firmware Upgrade and Recovery
4.1 Two-Layer Upgrade Mechanism
NE503 has two independently upgradable layers:
| Track | Scope |
|---|---|
| Firmware Update | Platform services, HAL, Web console (application layer) |
| System OS Update | Linux kernel, device tree, rootfs (OS layer) |
Go to Settings → Device Info; both current versions appear under Firmware & Hardware, each with an Update button. Device identity (model, serial number, MAC, IP) and uptime are also shown on this page.
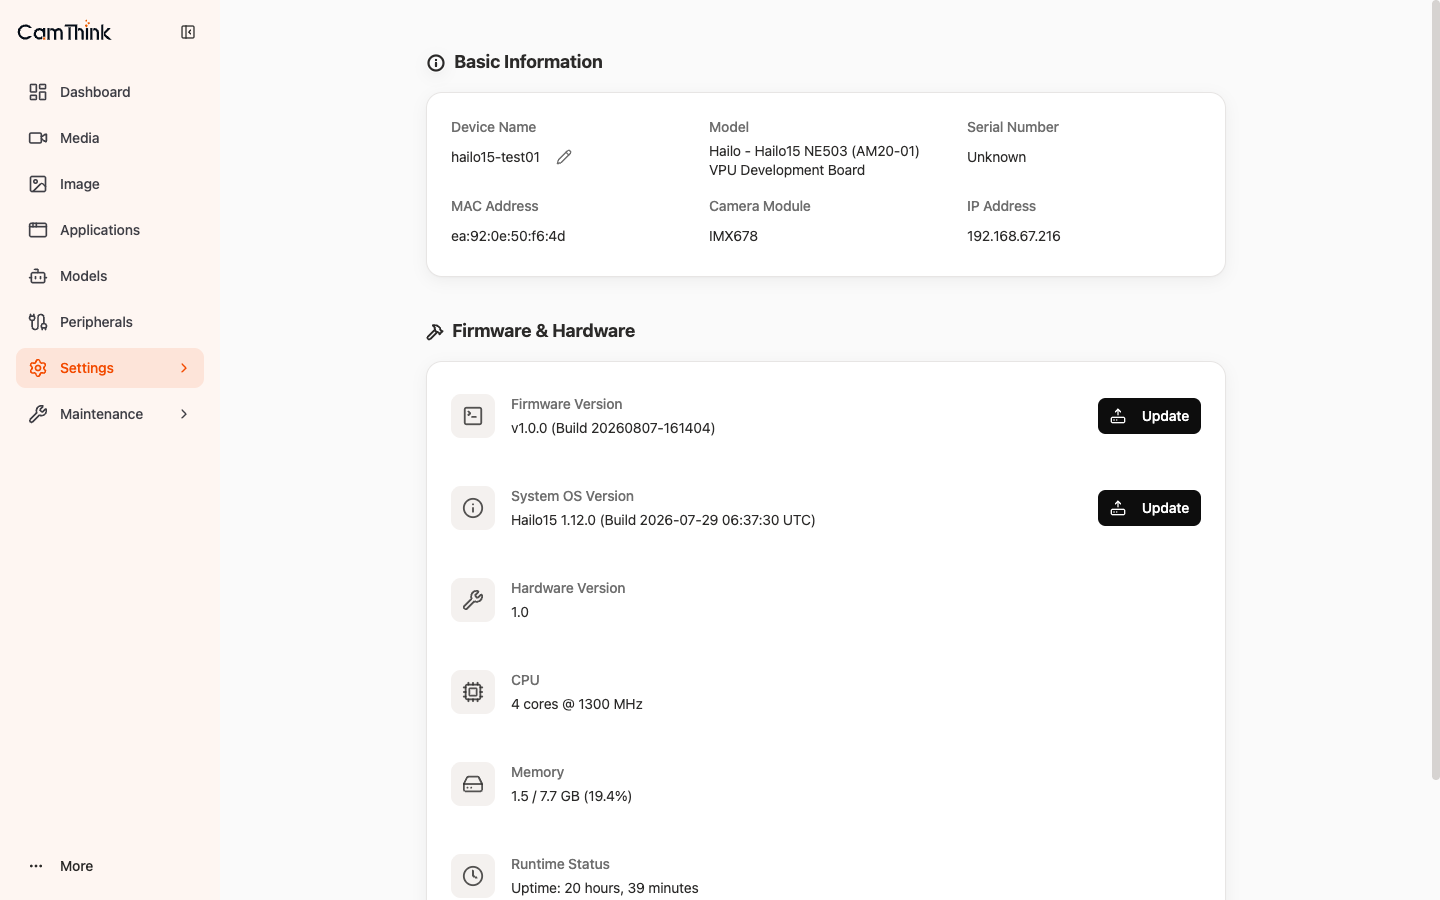
Upgrade procedure: click Update beside the version → upload the package → the system parses, validates, and writes it → the device reboots automatically on completion.
Note: an upgrade takes ~2–5 minutes. Never power off or operate the device during this window; schedule upgrades for off-peak hours.
4.2 Upgrade Compatibility Validation
Before installation, every package passes six compatibility gates (machine, product, hardware compatibility, compat level, data schema, minimum recovery version). Any failing gate rejects the package automatically — nothing is written to the device. Gate details in the Version Matrix.
4.3 Rollback and Recovery
| Scenario | Method |
|---|---|
| Platform services need rollback | Via SSH, run deploy.sh --rollback (shipped with the release package) to roll back to the previous version; --status shows current state |
| System upgrade failed | The device uses A/B double-copy plus recovery mode and can boot from the recovery partition; see os-upgrade.md in the open-source repo |
| Full reset needed | The current firmware has no one-click factory reset; reflash the device per System Flashing. Flashing wipes all /data content (models, apps, logs) — back up first |
| Interface-board MCU upgrade | The MCU firmware upgrades separately via OTA (ne503_ota_package_v<X.Y.Z>.bin); see baseboard-mcu-rtc-ota.md |
5. Production Security Baseline
Two security actions are mandatory before handover:
- Change default credentials: the Web console and SSH default passwords (
admin/password,root/root) must be changed before handover; see Security Hardening for the procedure. - Minimum exposure: keep the device off the public internet; allow only necessary ports and source IPs; disable SSH outside maintenance windows.
For full port lockdown, credential hardening, and least-privilege configuration, see Security Hardening.