5-Minute Quick Start
Experience NeoMind's core loop — device ingress → data visualization → AI conversation — as fast as possible. Each step has a ✓ checkpoint and troubleshooting tips.
For full installation options and troubleshooting see Install & Setup.
What You'll Achieve
By the end of this guide you will have:
- ✅ A NeoMind service running locally
- ✅ A large language model connected (local or cloud)
- ✅ Your first device connected and pushing data via webhook
- ✅ Live data visible on a dashboard
- ✅ Asked the AI a question in natural language and gotten an answer
- A macOS / Windows / Linux machine (4 GB+ RAM)
- No need to pre-install databases, message brokers, or any other infrastructure — everything is built into NeoMind
- For a local LLM (recommended): an extra 4–8 GB RAM; otherwise you can use a cloud API
Step 1: Install (1 min)
Option A: Desktop App (recommended)
Download the installer for your platform from GitHub Releases, double-click to install, then launch.
Option B: Server Deploy
curl -fsSL https://raw.githubusercontent.com/camthink-ai/NeoMind/main/scripts/install.sh | sh
After startup, open http://localhost:9375 in your browser.
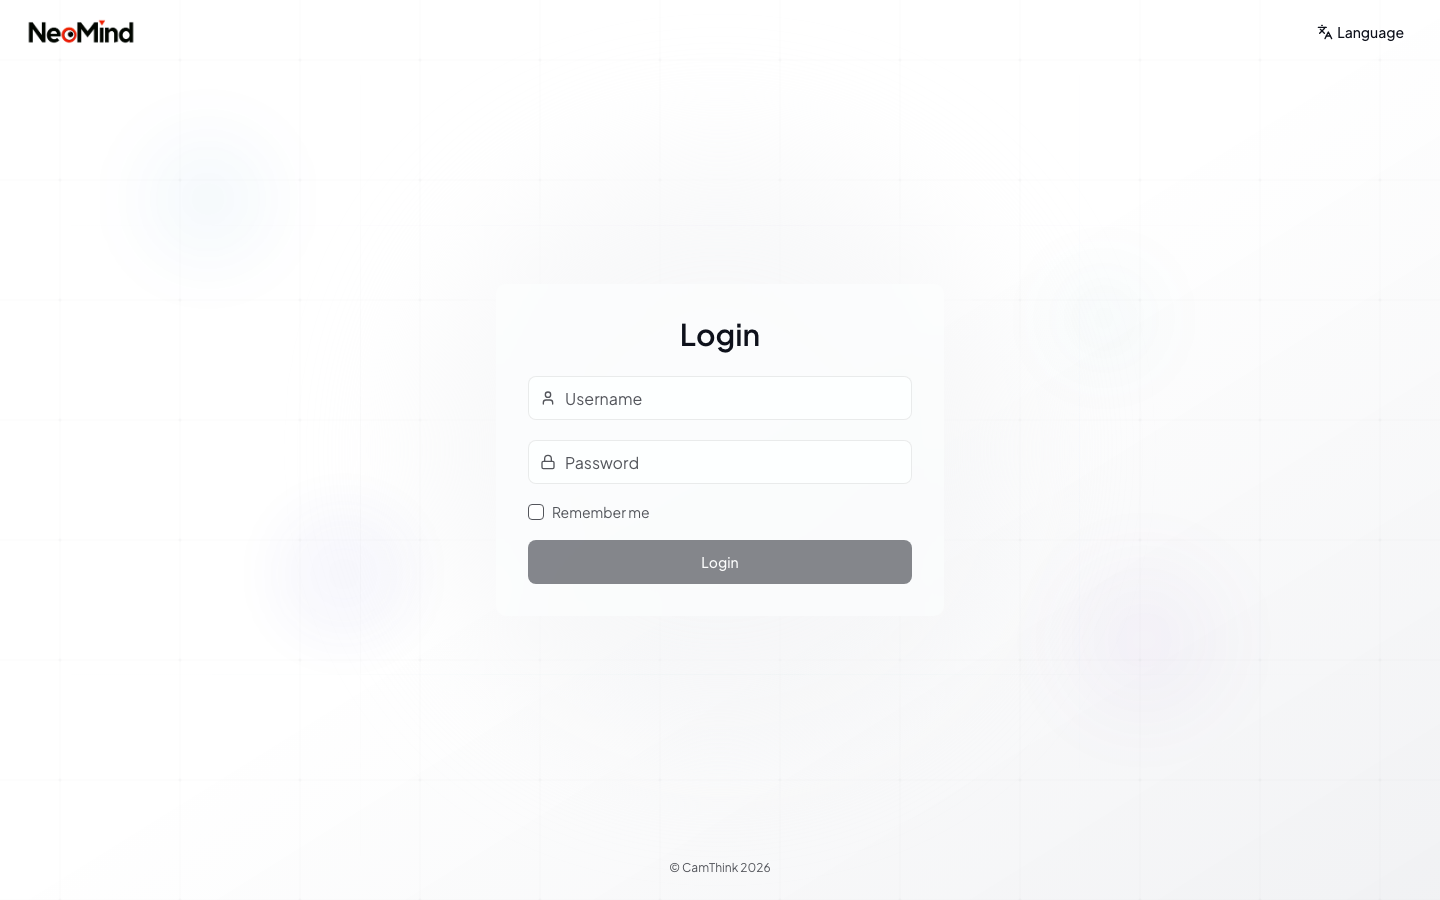
✓ Checkpoint: you see the login / register page = the server is running. Register an account and log in.
- Port in use? Default port is
9375; you can change it in the config file - macOS security block? First launch shows "cannot verify developer" — go to
System Settings → Privacy & Security → Open Anyway - Server without a browser? Use SSH port forwarding:
ssh -L 9375:localhost:9375 user@server
Step 2: Configure LLM Backend (1 min)
On first login you'll enter the setup wizard. NeoMind needs an LLM backend as its "brain" — pick one of three options:
| Option | Best for | Latency | Privacy | Requires |
|---|---|---|---|---|
| Ollama (local) | Recommended, offline use | Low | Never leaves LAN | 8 GB+ RAM |
| Cloud API | Most powerful models | Medium | Data goes to cloud | API Key |
| Skip for now | Just look around | — | — | — |
Option A: Ollama Local (recommended)
# 1. Install Ollama (if you haven't): https://ollama.com
# 2. Pull the model
ollama pull qwen3.5:4b
In the wizard:
- Backend type → Ollama
- URL →
http://localhost:11434(default) - Model →
qwen3.5:4b
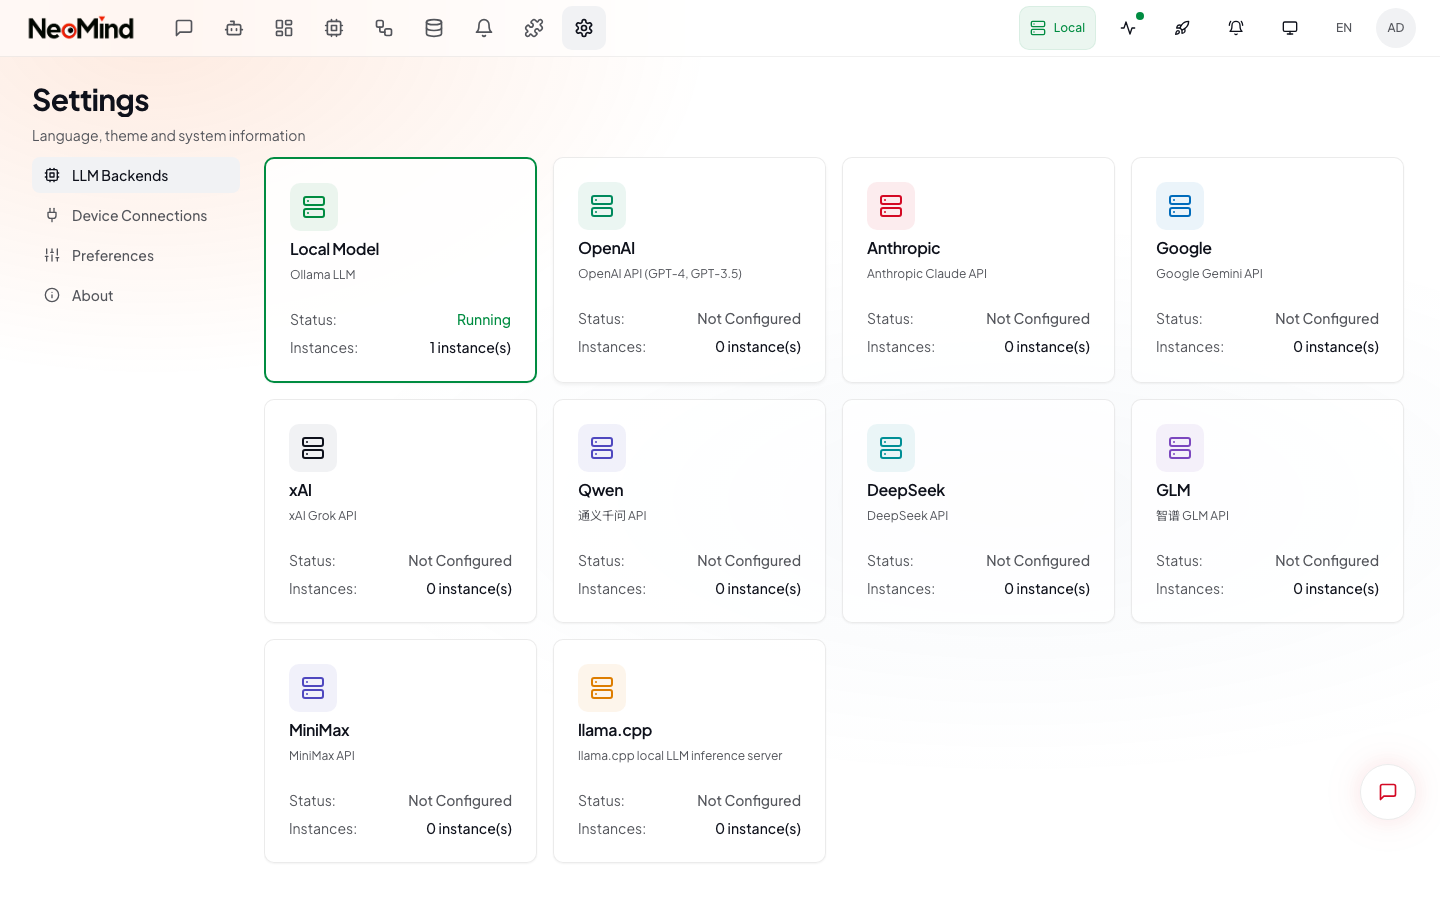
Option B: Cloud API
Pick OpenAI / Anthropic / GLM etc., enter your API Key and model name (e.g. gpt-4o, claude-sonnet-4-6).
✓ Checkpoint: the wizard shows "LLM backend connected" = the brain is ready.
- Ollama not running? Start it with
ollama servein a terminal - Model not pulled? Run
ollama listto confirmqwen3.5:4bexists - Cloud 401? Check that your API Key is valid and has credit
Skip the UI — one command does it:
# Ollama local
neomind llm create --name local --type ollama --endpoint http://localhost:11434 --model qwen3.5:4b

# Cloud API (GLM example)
neomind llm create --name glm --type openai \
  --endpoint https://open.bigmodel.cn/api/paas/v4 \
  --model glm-4-flash --api-key YOUR_API_KEY

# Test connection → set as default
neomind llm test local && neomind llm activate local
Full command reference: neomind llm --help
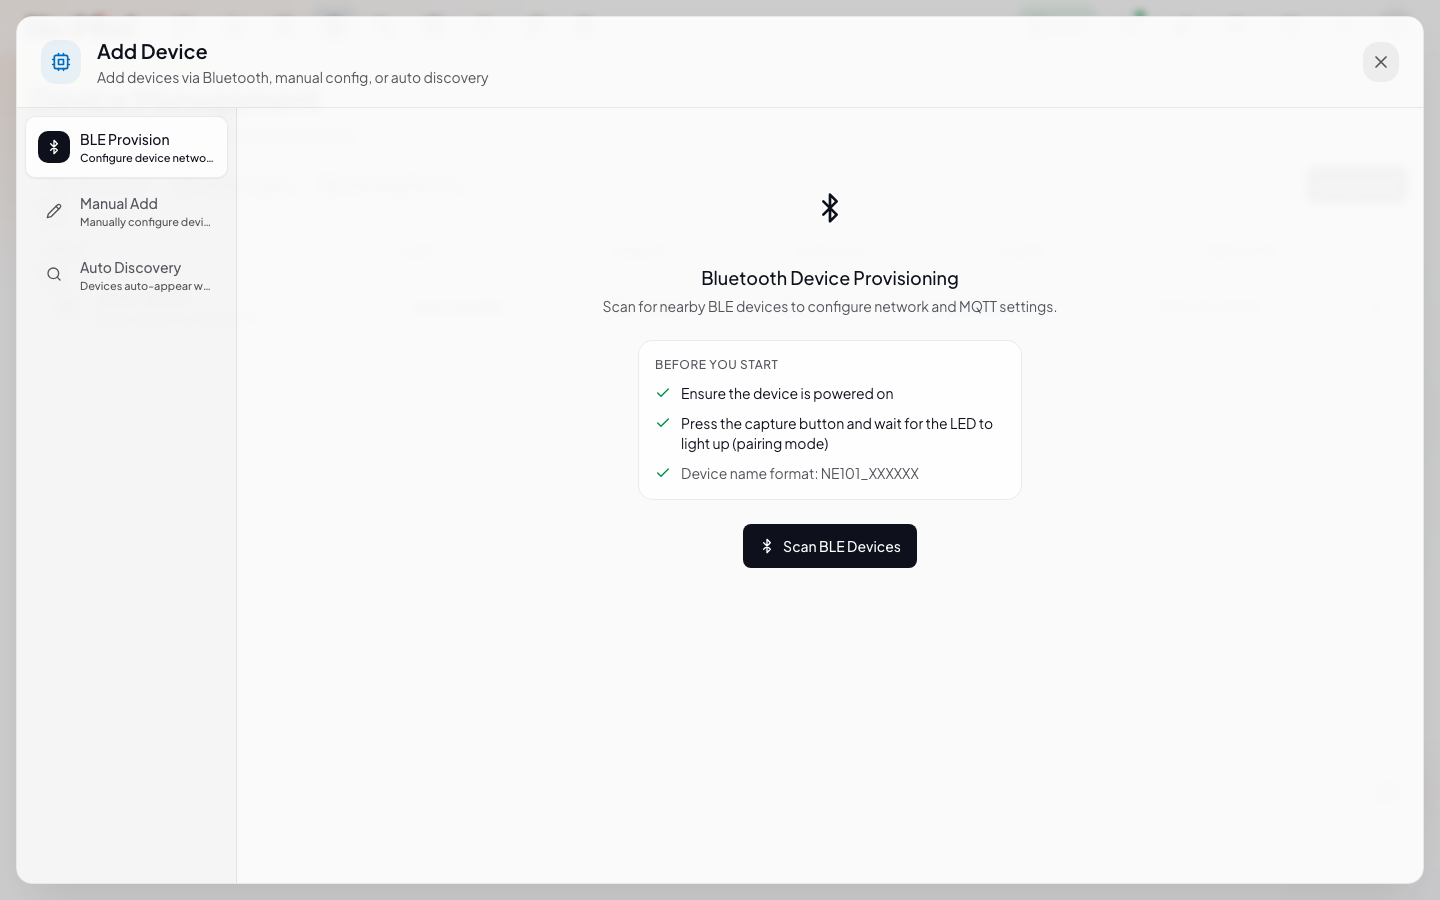
Step 3: Connect Your First Device (1 min)
The fastest ingress method is HTTP Webhook — no MQTT client needed, a single curl simulates a device.
3.1 Create the device
In the Web UI Devices page → click Add Device → select Webhook → name it demo-sensor.
After creation you'll get a dedicated Webhook URL (like /api/devices/<DEVICE_ID>/webhook).

3.2 Push data
Copy the command below, replace <DEVICE_ID> with your device's ID, and run it:
curl -X POST http://localhost:9375/api/devices/<DEVICE_ID>/webhook \
  -H 'Content-Type: application/json' \
  -d '{"temperature": 25.6, "humidity": 60}'
A {"success": true} response means it worked. Open the device detail page to see the latest telemetry values.
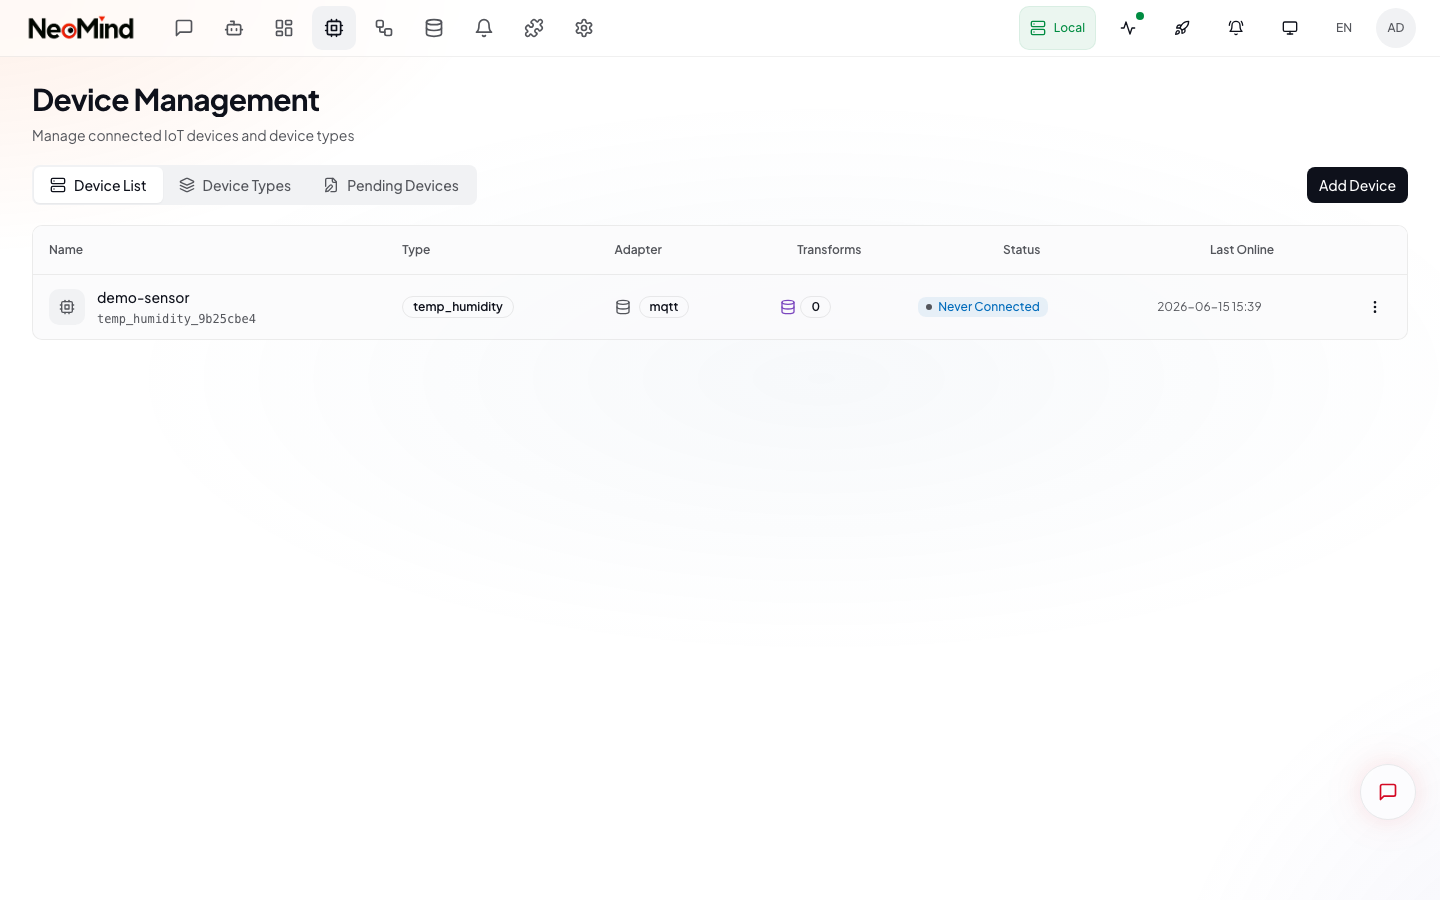
✓ Checkpoint: the device detail page shows
temperature: 25.6andhumidity: 60= data is in the database.
NeoMind has a built-in MQTT broker (localhost:1883) that supports real devices like ESP32, Raspberry Pi, industrial sensors, and more. See Onboard Devices.
- Wrong device ID? Click into the device in the device list — the ID is in the URL
- Forgot Content-Type? You must include
-H 'Content-Type: application/json'
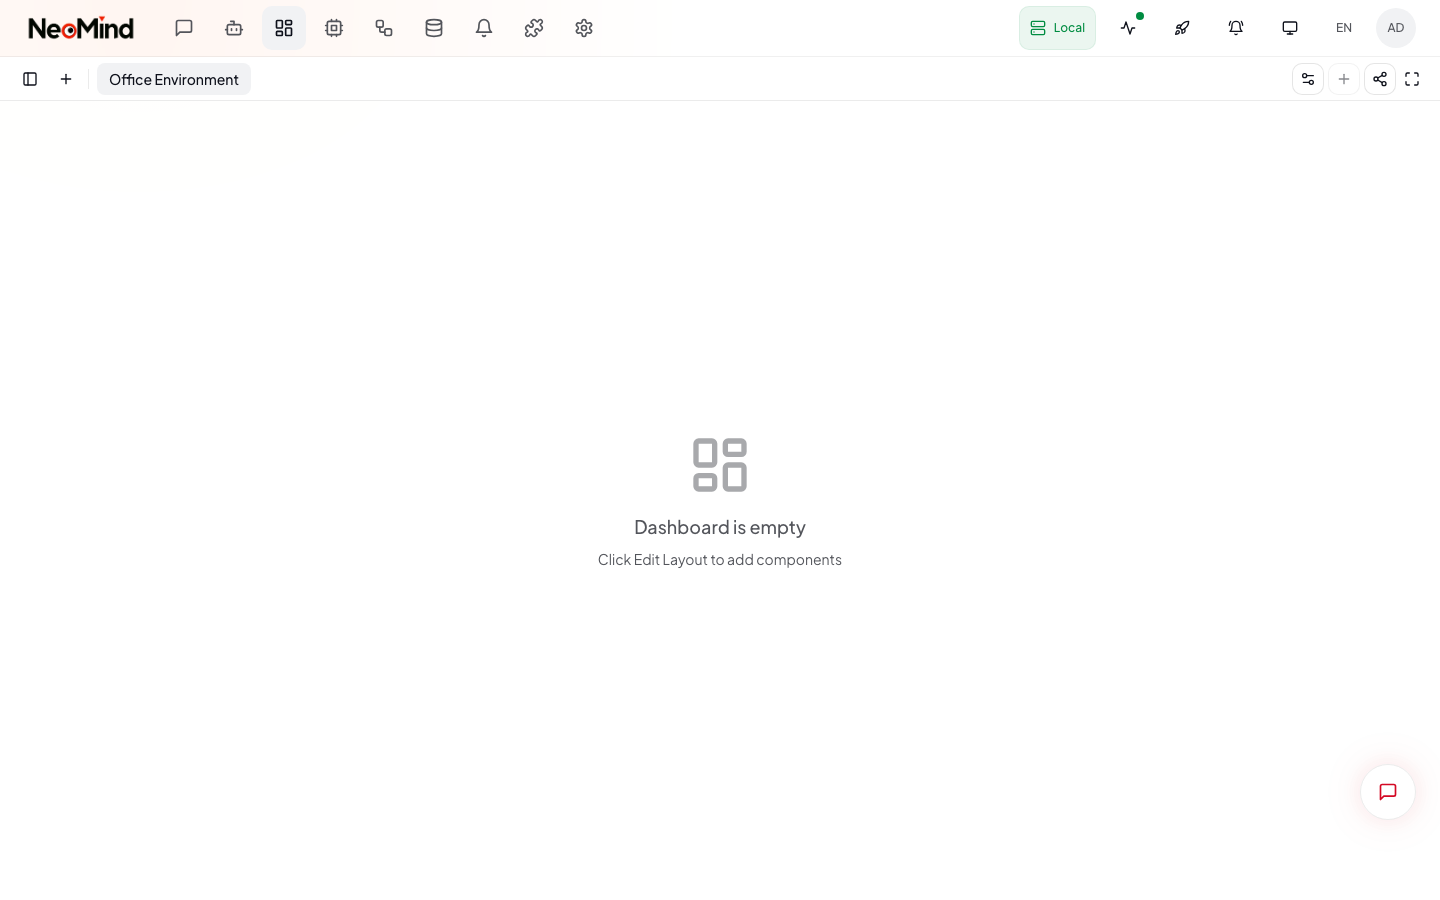
Step 4: See Data on the Dashboard (30 sec)
Go to the Dashboard page — a default dashboard is auto-created. Click Edit, then add a Value Card widget:
- Click Add Widget → choose Value Card
- Data source →
device:demo-sensor:temperature - Save
The unified data source reference format is {type}:{id}:{field}:
device:demo-sensor:temperature— device telemetryextension:weather:temp— extension metricagent:guard:status— agent status
Dashboards, rules, and data pushes all use this format. See the Glossary.
The temperature value appears live on the card. Push another webhook payload and watch it update instantly:
curl -X POST http://localhost:9375/api/devices/<DEVICE_ID>/webhook \
  -H 'Content-Type: application/json' \
  -d '{"temperature": 28.3, "humidity": 55}'
✓ Checkpoint: you see a live temperature reading on the dashboard = visualization loop is working.
See Use Dashboard.
Step 5: Ask AI Chat (30 sec)
Open AI Chat and type:
What devices do I have? What's the temperature of demo-sensor?
The AI Agent will query the device list and latest telemetry, then answer in natural language.

Now try something more ambitious — let the AI create an automation for you:
Notify me when temperature exceeds 30
The AI will understand your intent, create a rule, and configure a notification channel.
✓ Checkpoint: the AI answered your question = the intelligence loop is complete.
- LLM backend not connected? Go back to Settings → LLM Config and check status
- First reply is slow? Local models need to warm up on first inference — 10–20 seconds is normal
See AI Chat.
🎉 Core Loop Complete
Here's the pipeline you just verified end-to-end:
Every link is verified: data comes in, gets stored, is visualized, and can be queried.
Next Steps
Congratulations! You've completed the NeoMind core loop. From here:
| I want to... | Go to |
|---|---|
| Understand the architecture | Core Concepts — process model, data flow, extension mechanism |
| Look up a term | Glossary — Device / Extension / Agent / Rule |
| Configure more LLM backends | Configure LLM Backend — Ollama / cloud API |
| Connect real devices | Onboard Devices — MQTT / BLE / Webhook |
| Automate with AI Agents | AI Agent — scheduled / event-triggered autonomous agents |
| Set up automation rules | Automation Rules — threshold alerts / linked control |
| Configure notifications | Notifications — email / Slack / Telegram / Webhook |
| Install extensions (YOLO/OCR) | Extensions — install and configure vision AI extensions |
| See an end-to-end example | Use Cases — full object detection solution |
| Troubleshoot issues | Troubleshooting — common problems and solutions |
Last updated: 2026-06-15